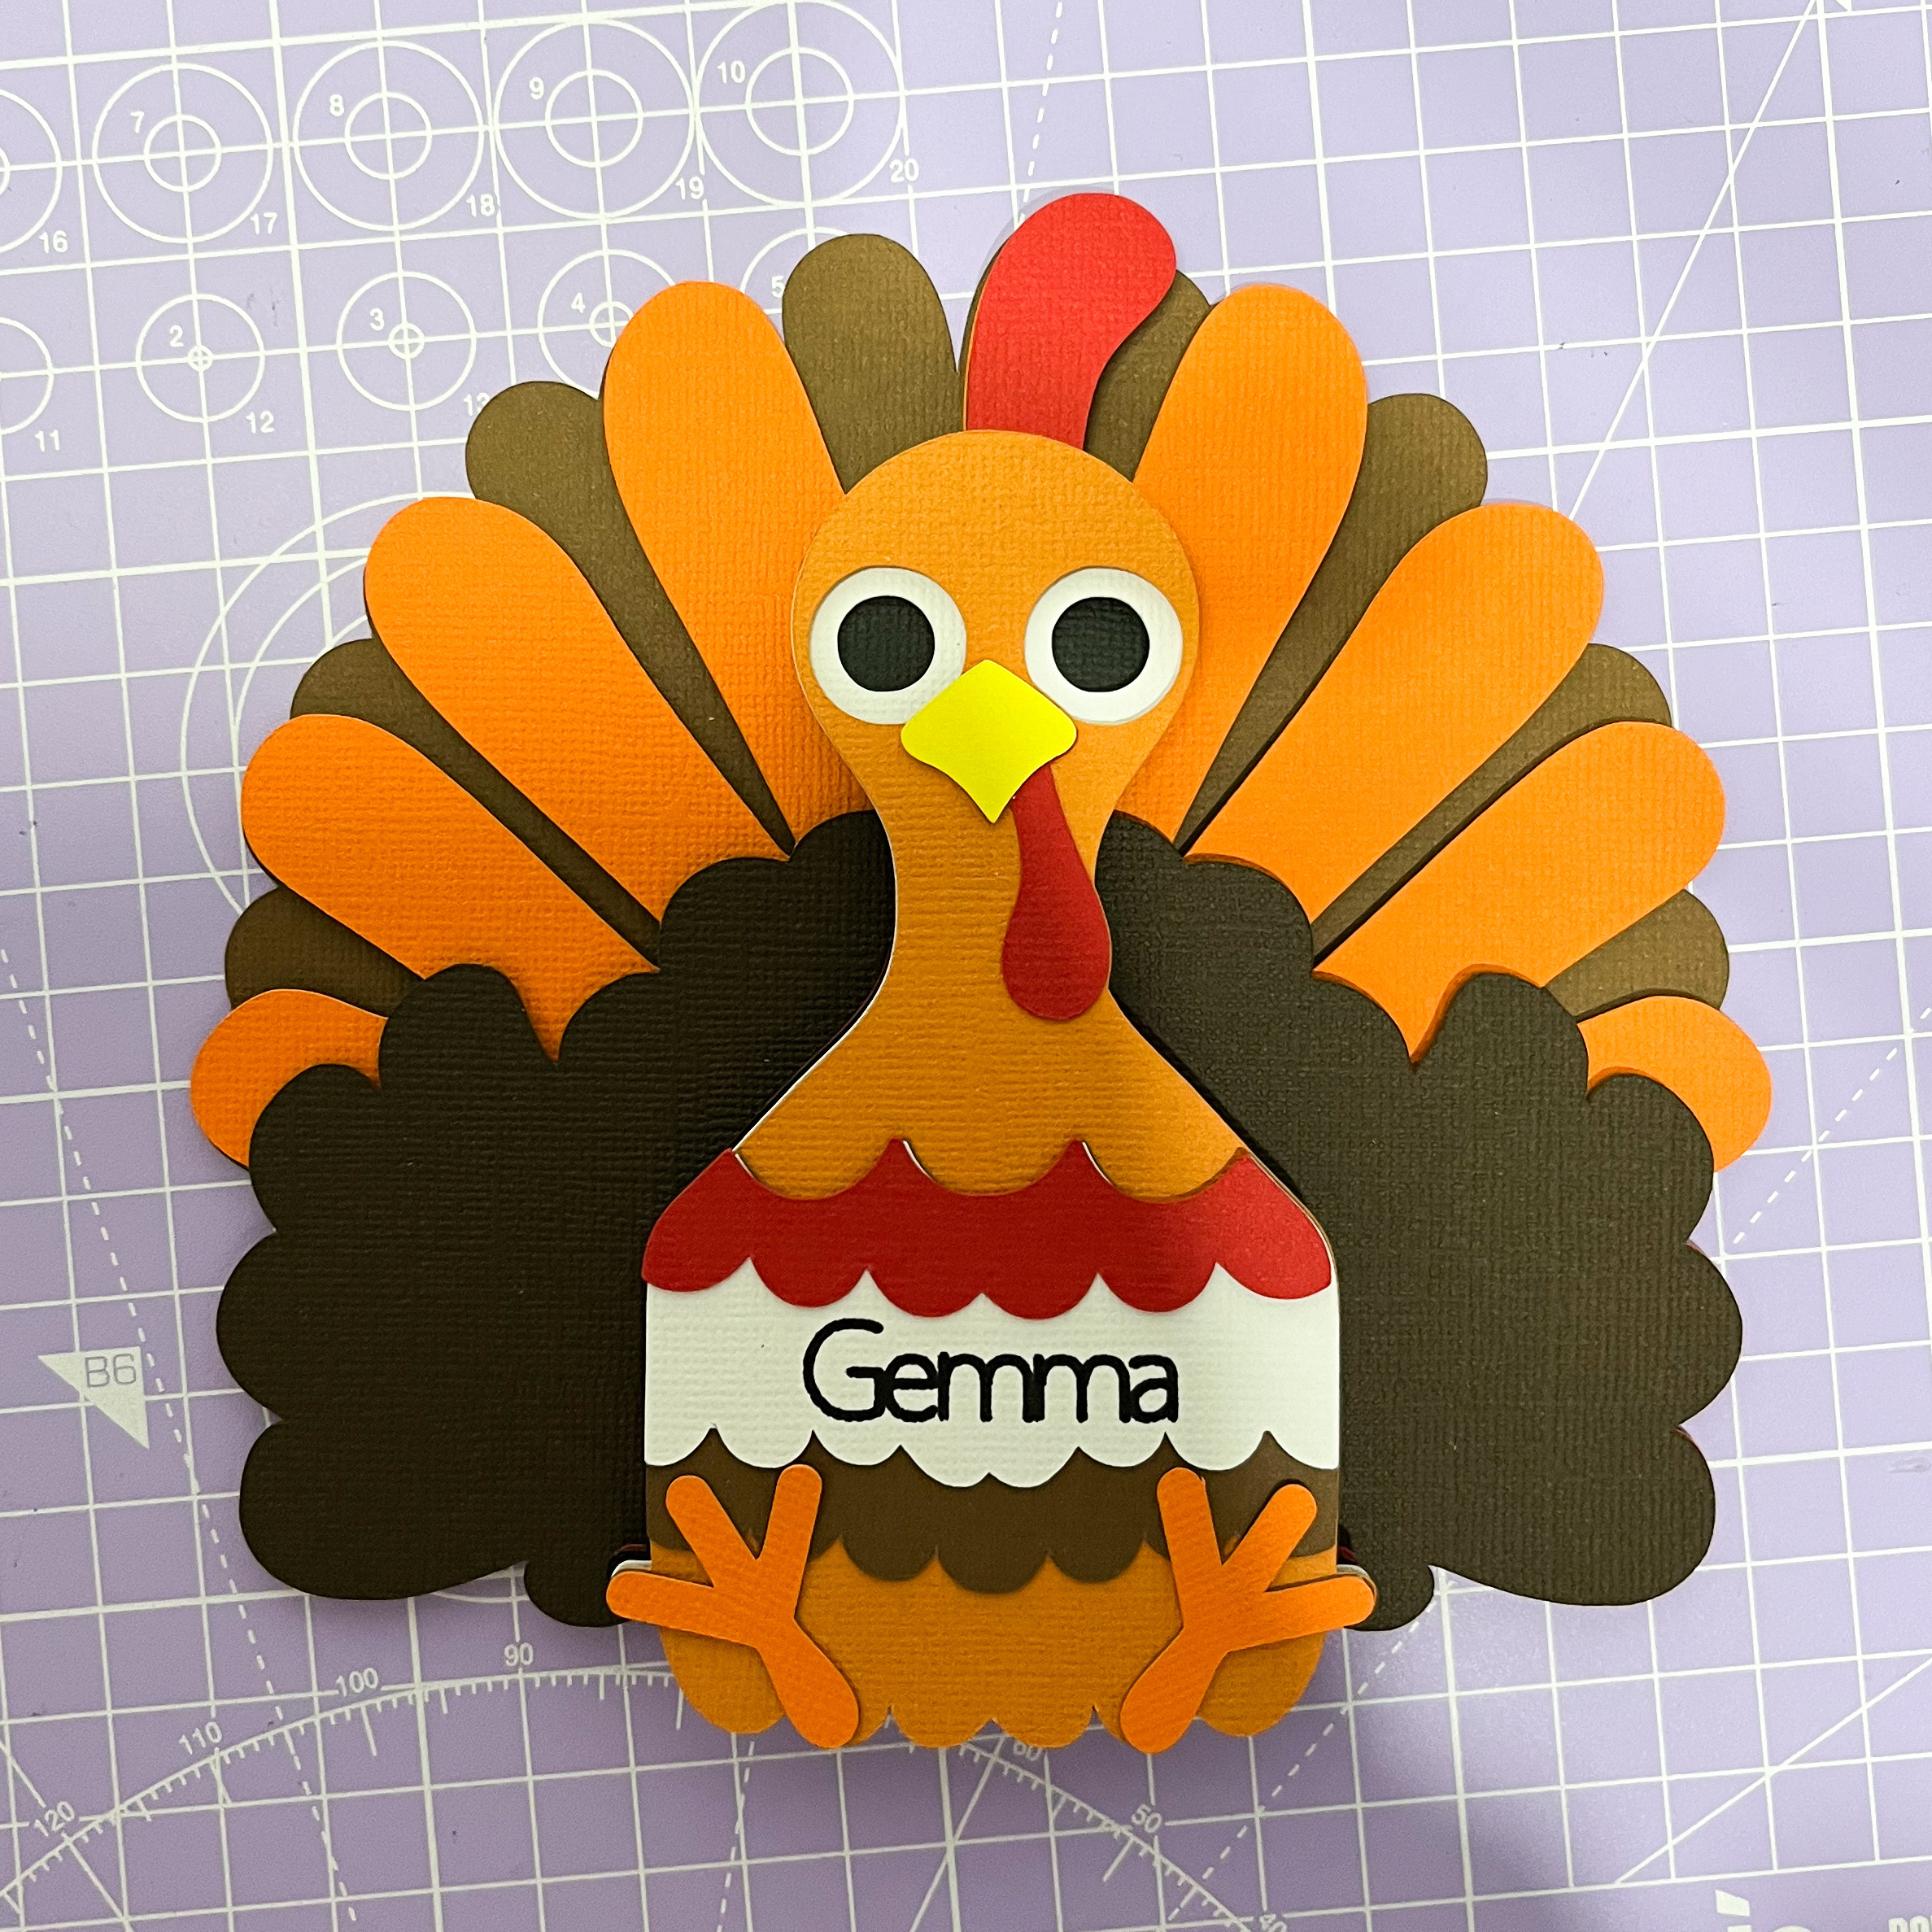


Make a Turkey place card design
Create festive turkey place cards for your Thanksgiving or Christmas table using your Cricut, Silhouette, Scan n Cut or other electronic cutting machine! Add each guest’s name to the turkey's belly. These adorable place cards will add a personal touch and charm to your holiday table!
Download the files for FREE below!
In this tutorial, I may include affiliate links, which means I earn a small commission if you make a purchase through these links—at no additional cost to you. This helps support my work and allows me to keep creating helpful content for you!
Materials you will need
To create your adorable turkey place card, you’ll need the following materials:
A Cricut machine (or another compatible cutting machine) for precise cuts.
Card stock in various colors from your chosen card pack, including shades of brown, red, orange, and yellow for the turkey feathers and body.
A standard grip mat to hold your cardstock while cutting.
Glue to assemble the layers and secure the pieces together.
Sticky foam tape or dots to assemble the layers and secure the pieces together.
With these materials, you’ll be able to craft a festive and charming turkey place card for your holiday table setting!
Download the file.
To download the file, click the link below, or use the alternative link to find the project in Cricut Access.
Preparing and Cutting
To personalise this design with your guests’ names, first you will need to write the text in Design Space (or your other cutting software). This is how we do it in Cricut design space:
1) select the design and right click it, select ungroup
2) Click the text button and type your text / name.


3) Select the writing and change it to a writing font.
4)place the text on the white area of the turkey, and in the layers panel select the text and the white layer and click attach


5) Now the text is attached to the design, click make it and cut your turkey out of card stock. I would suggest using 216gsm docraft papermania textured cardstock and a standard grip mat.

Assembly
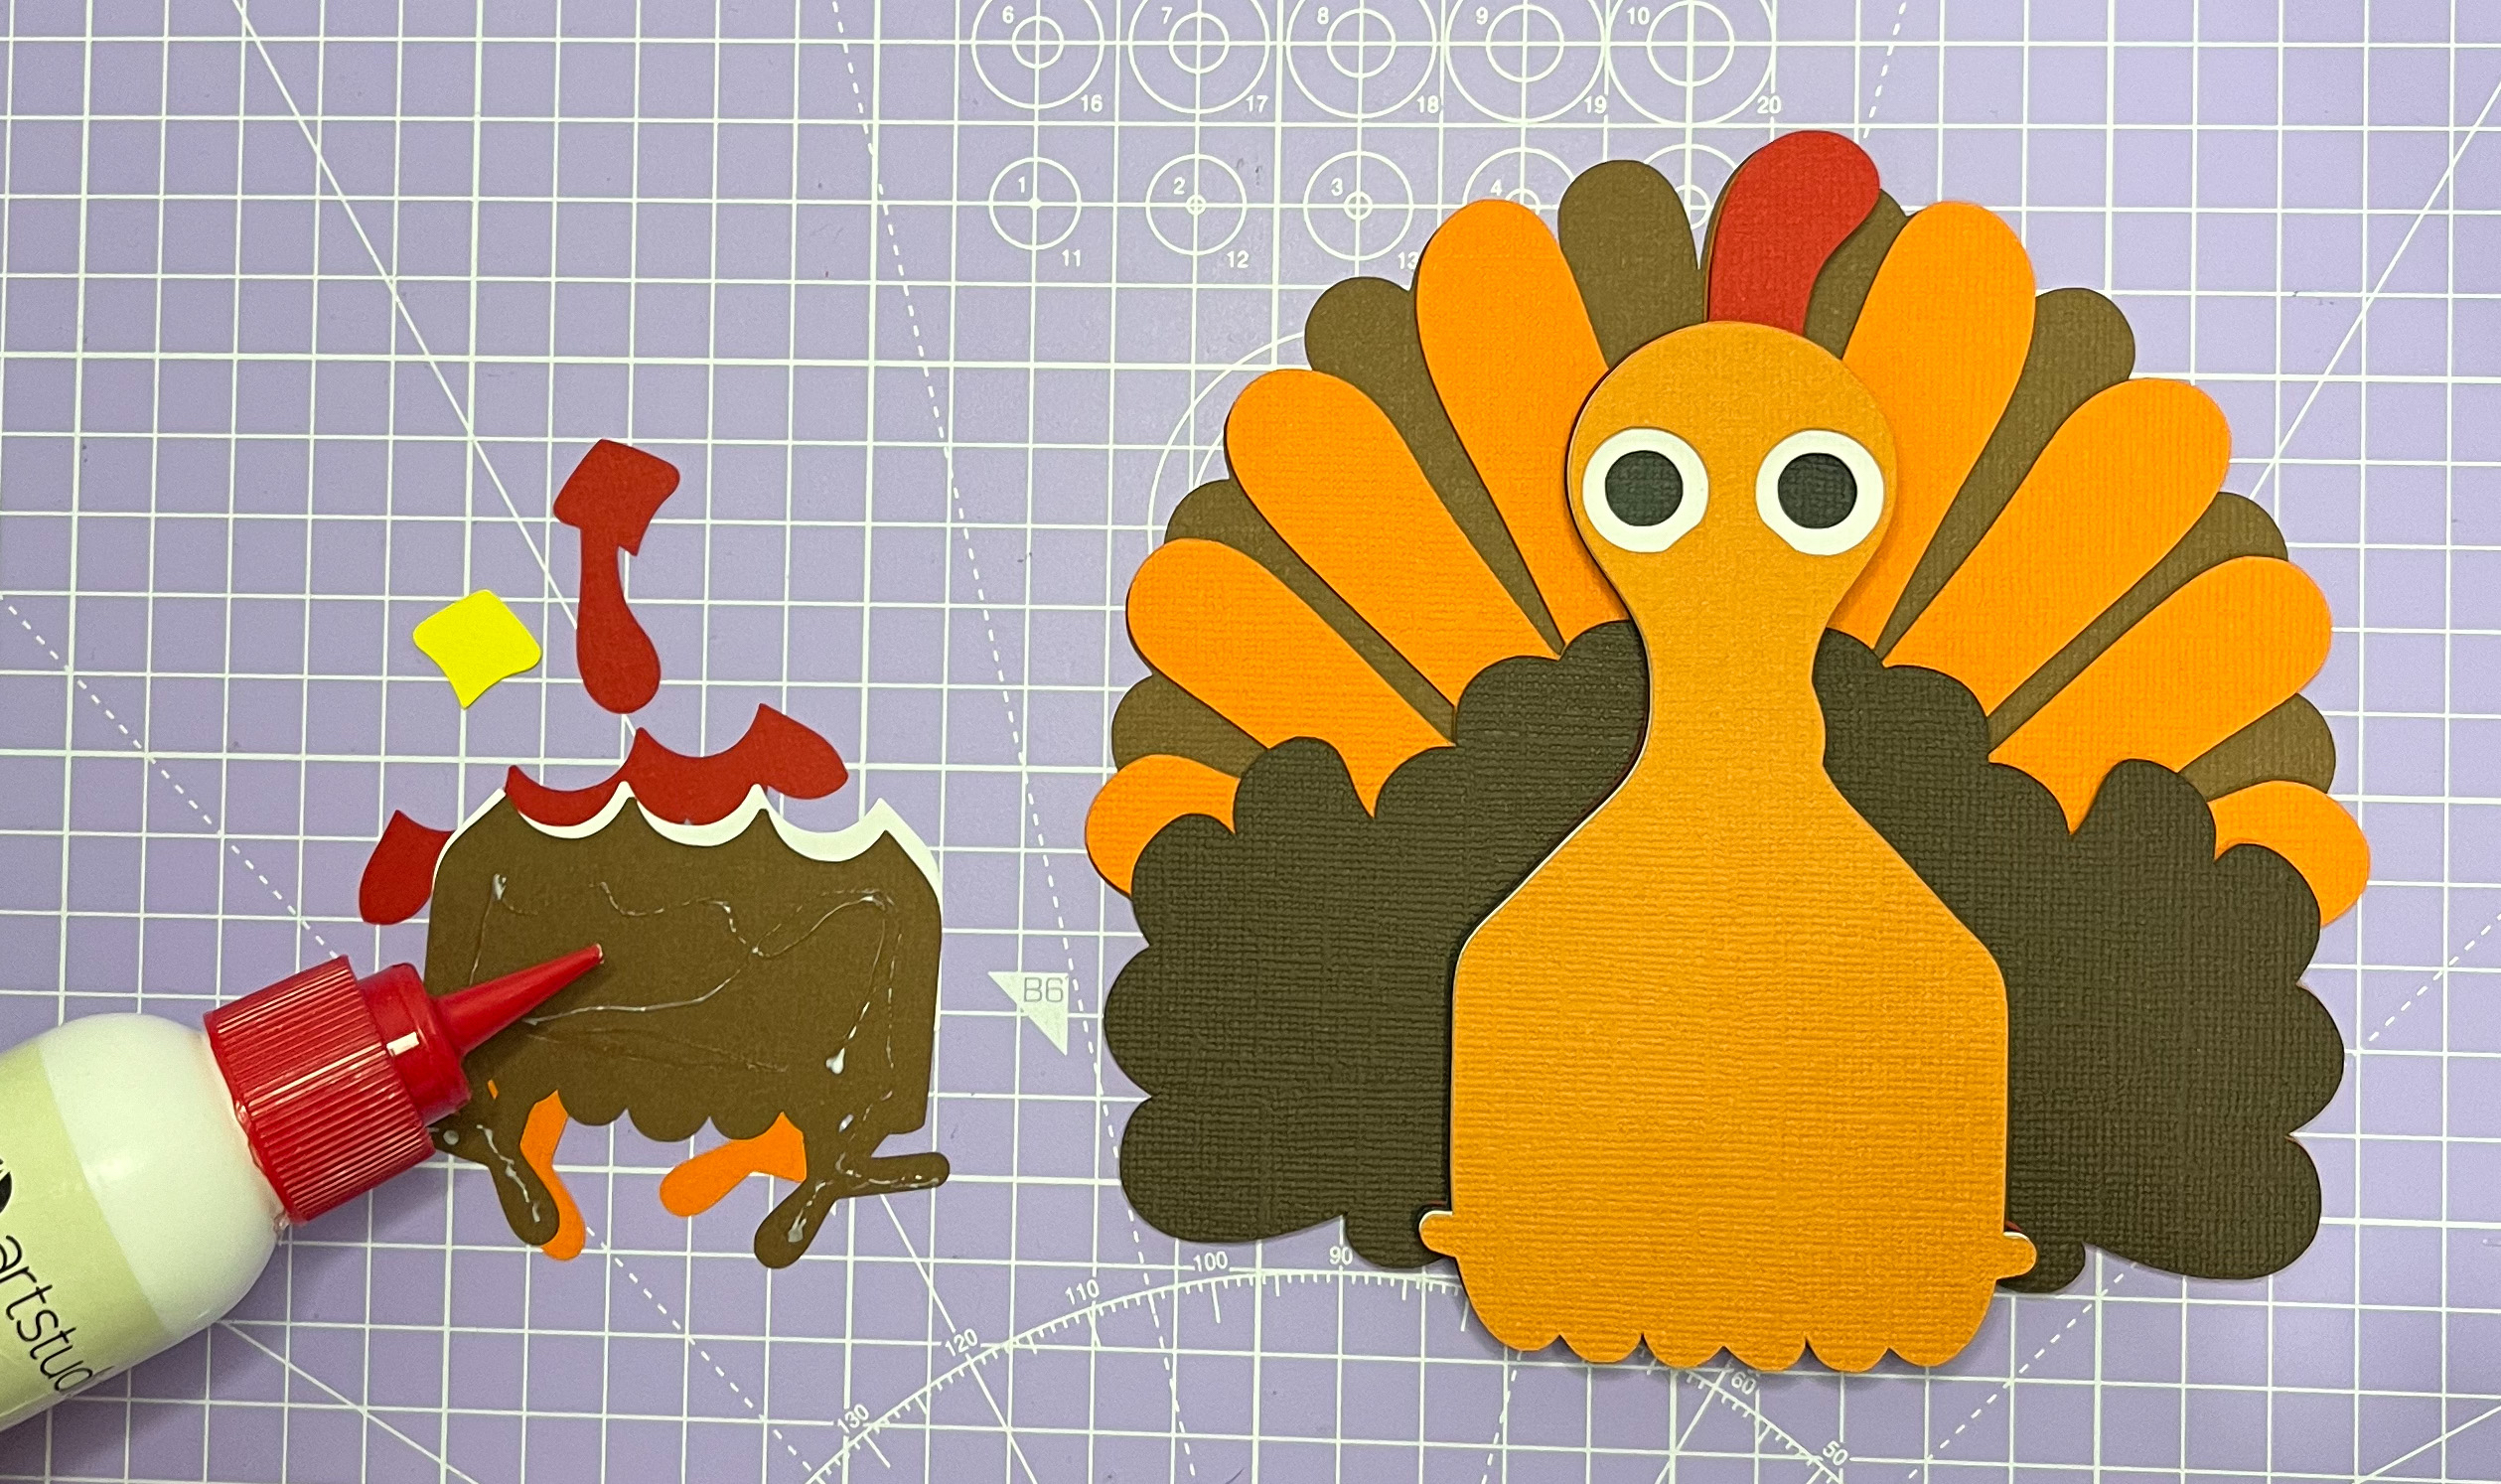
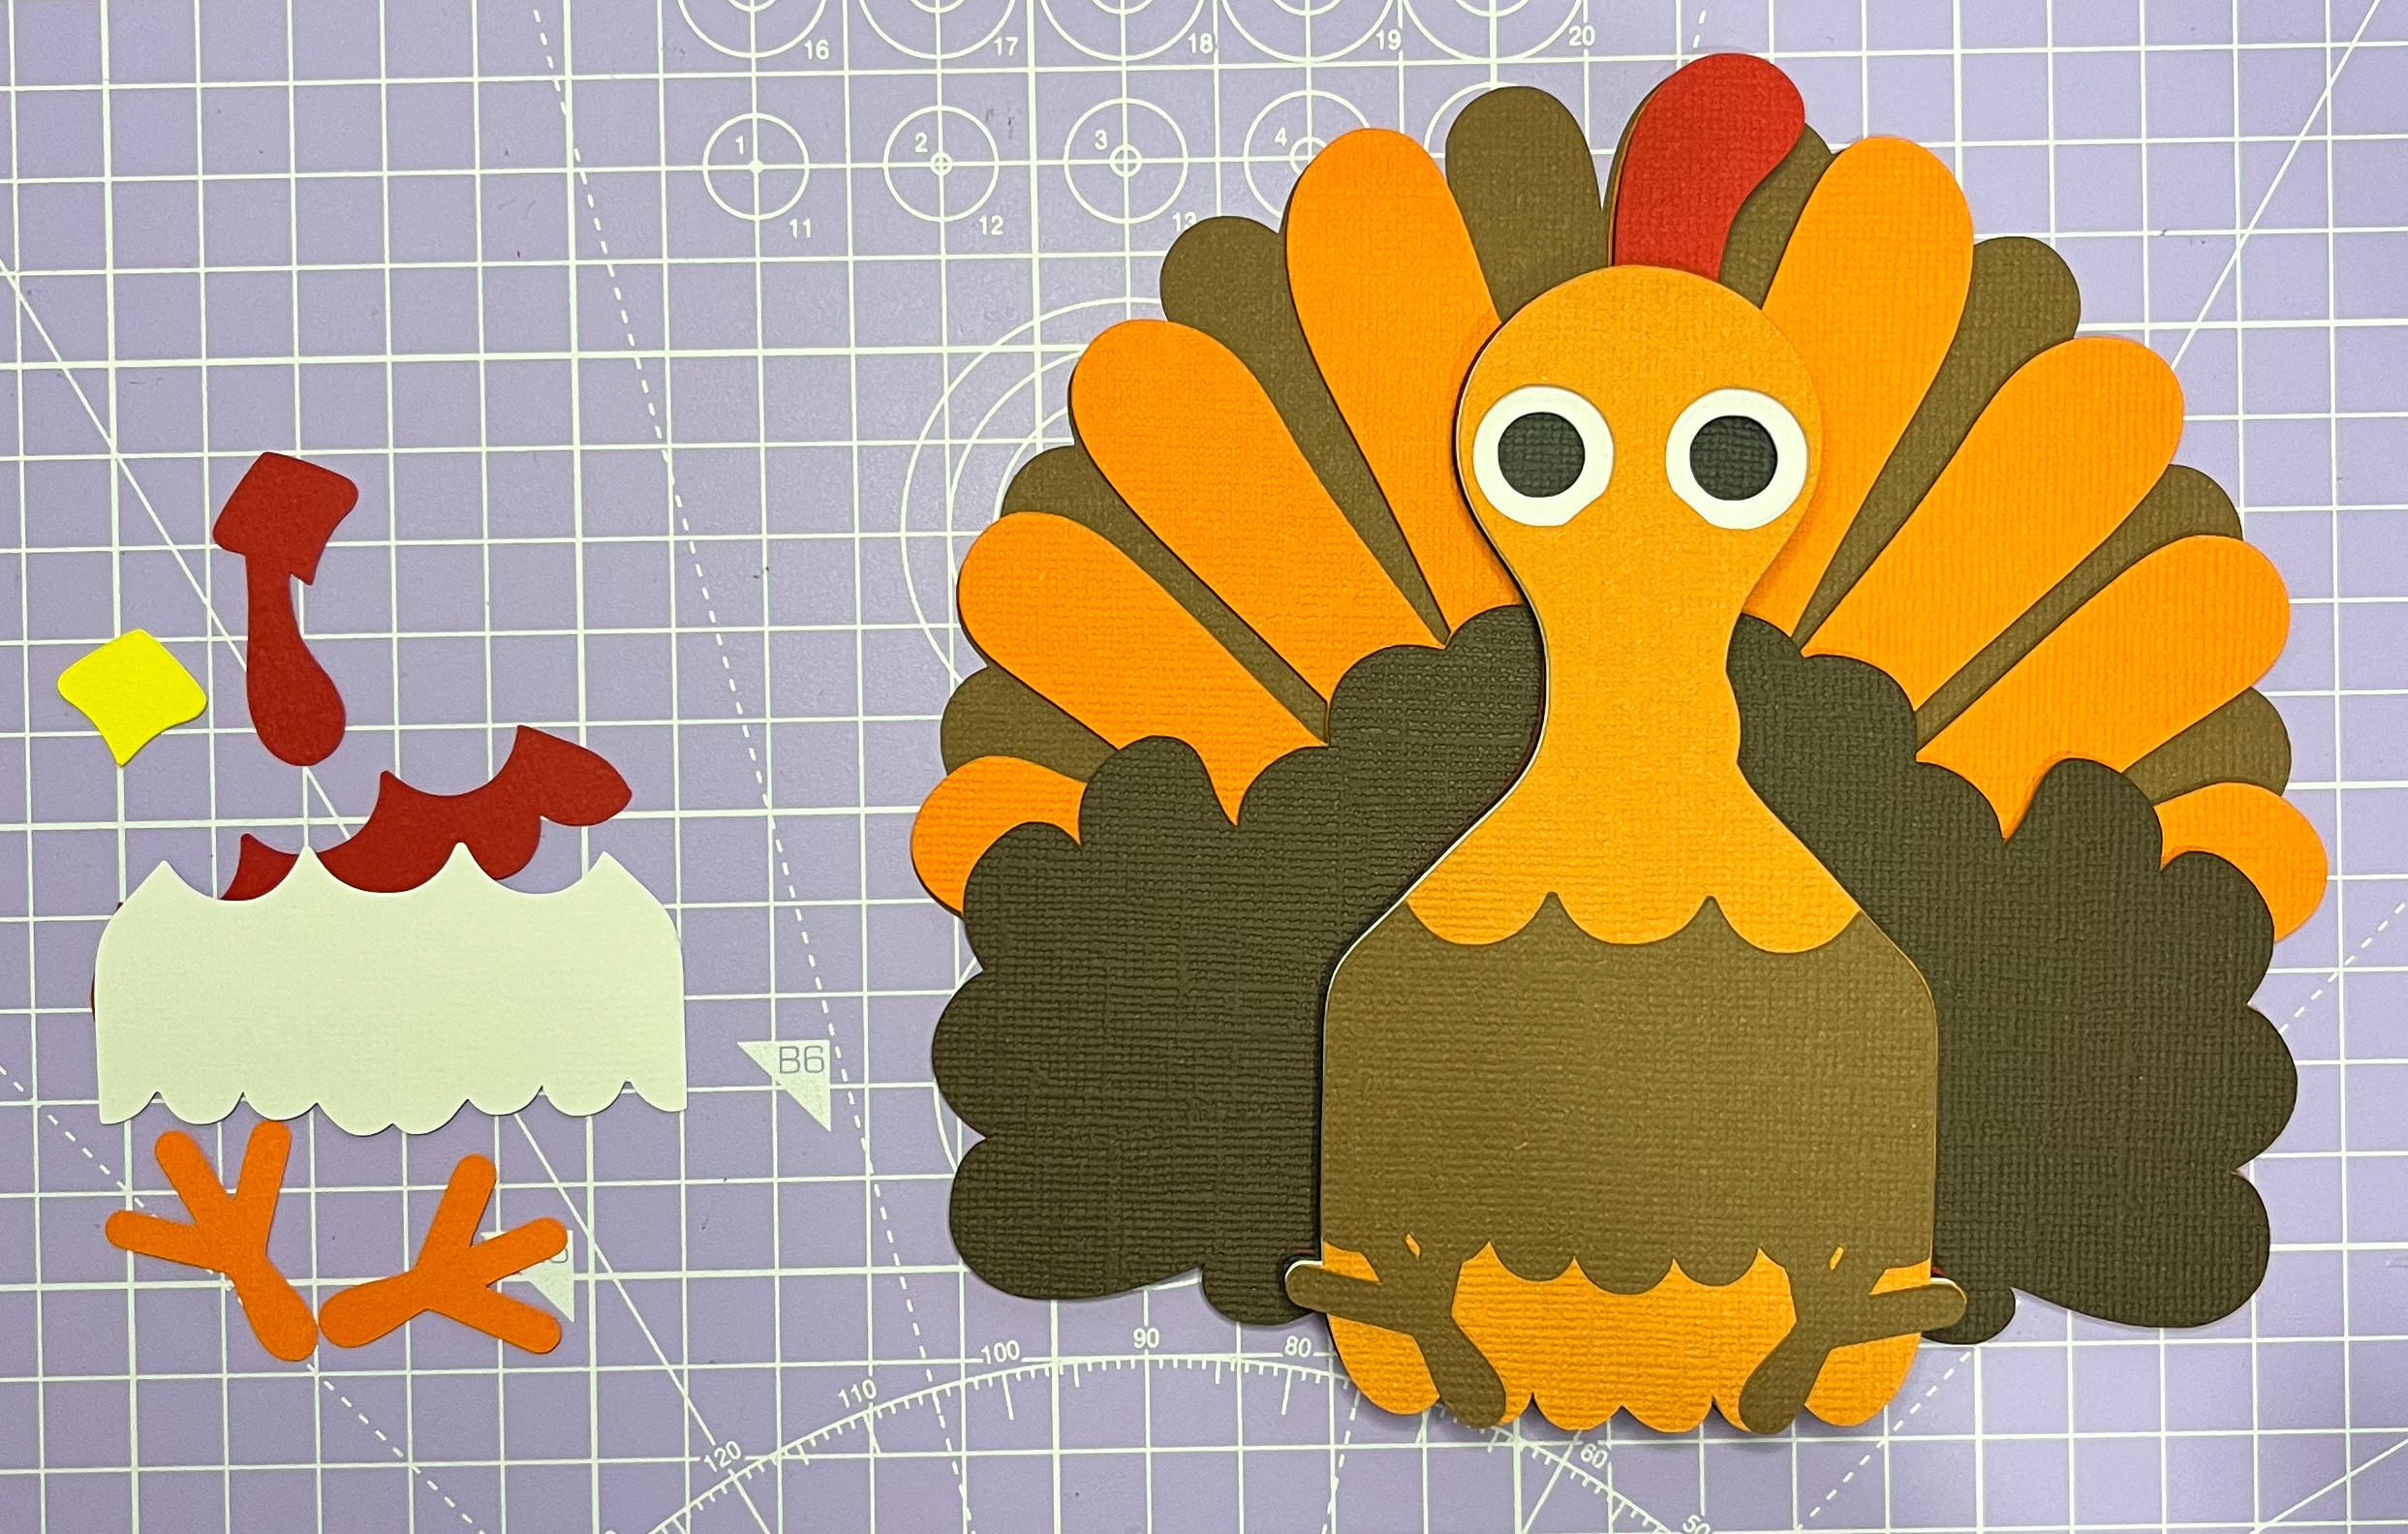
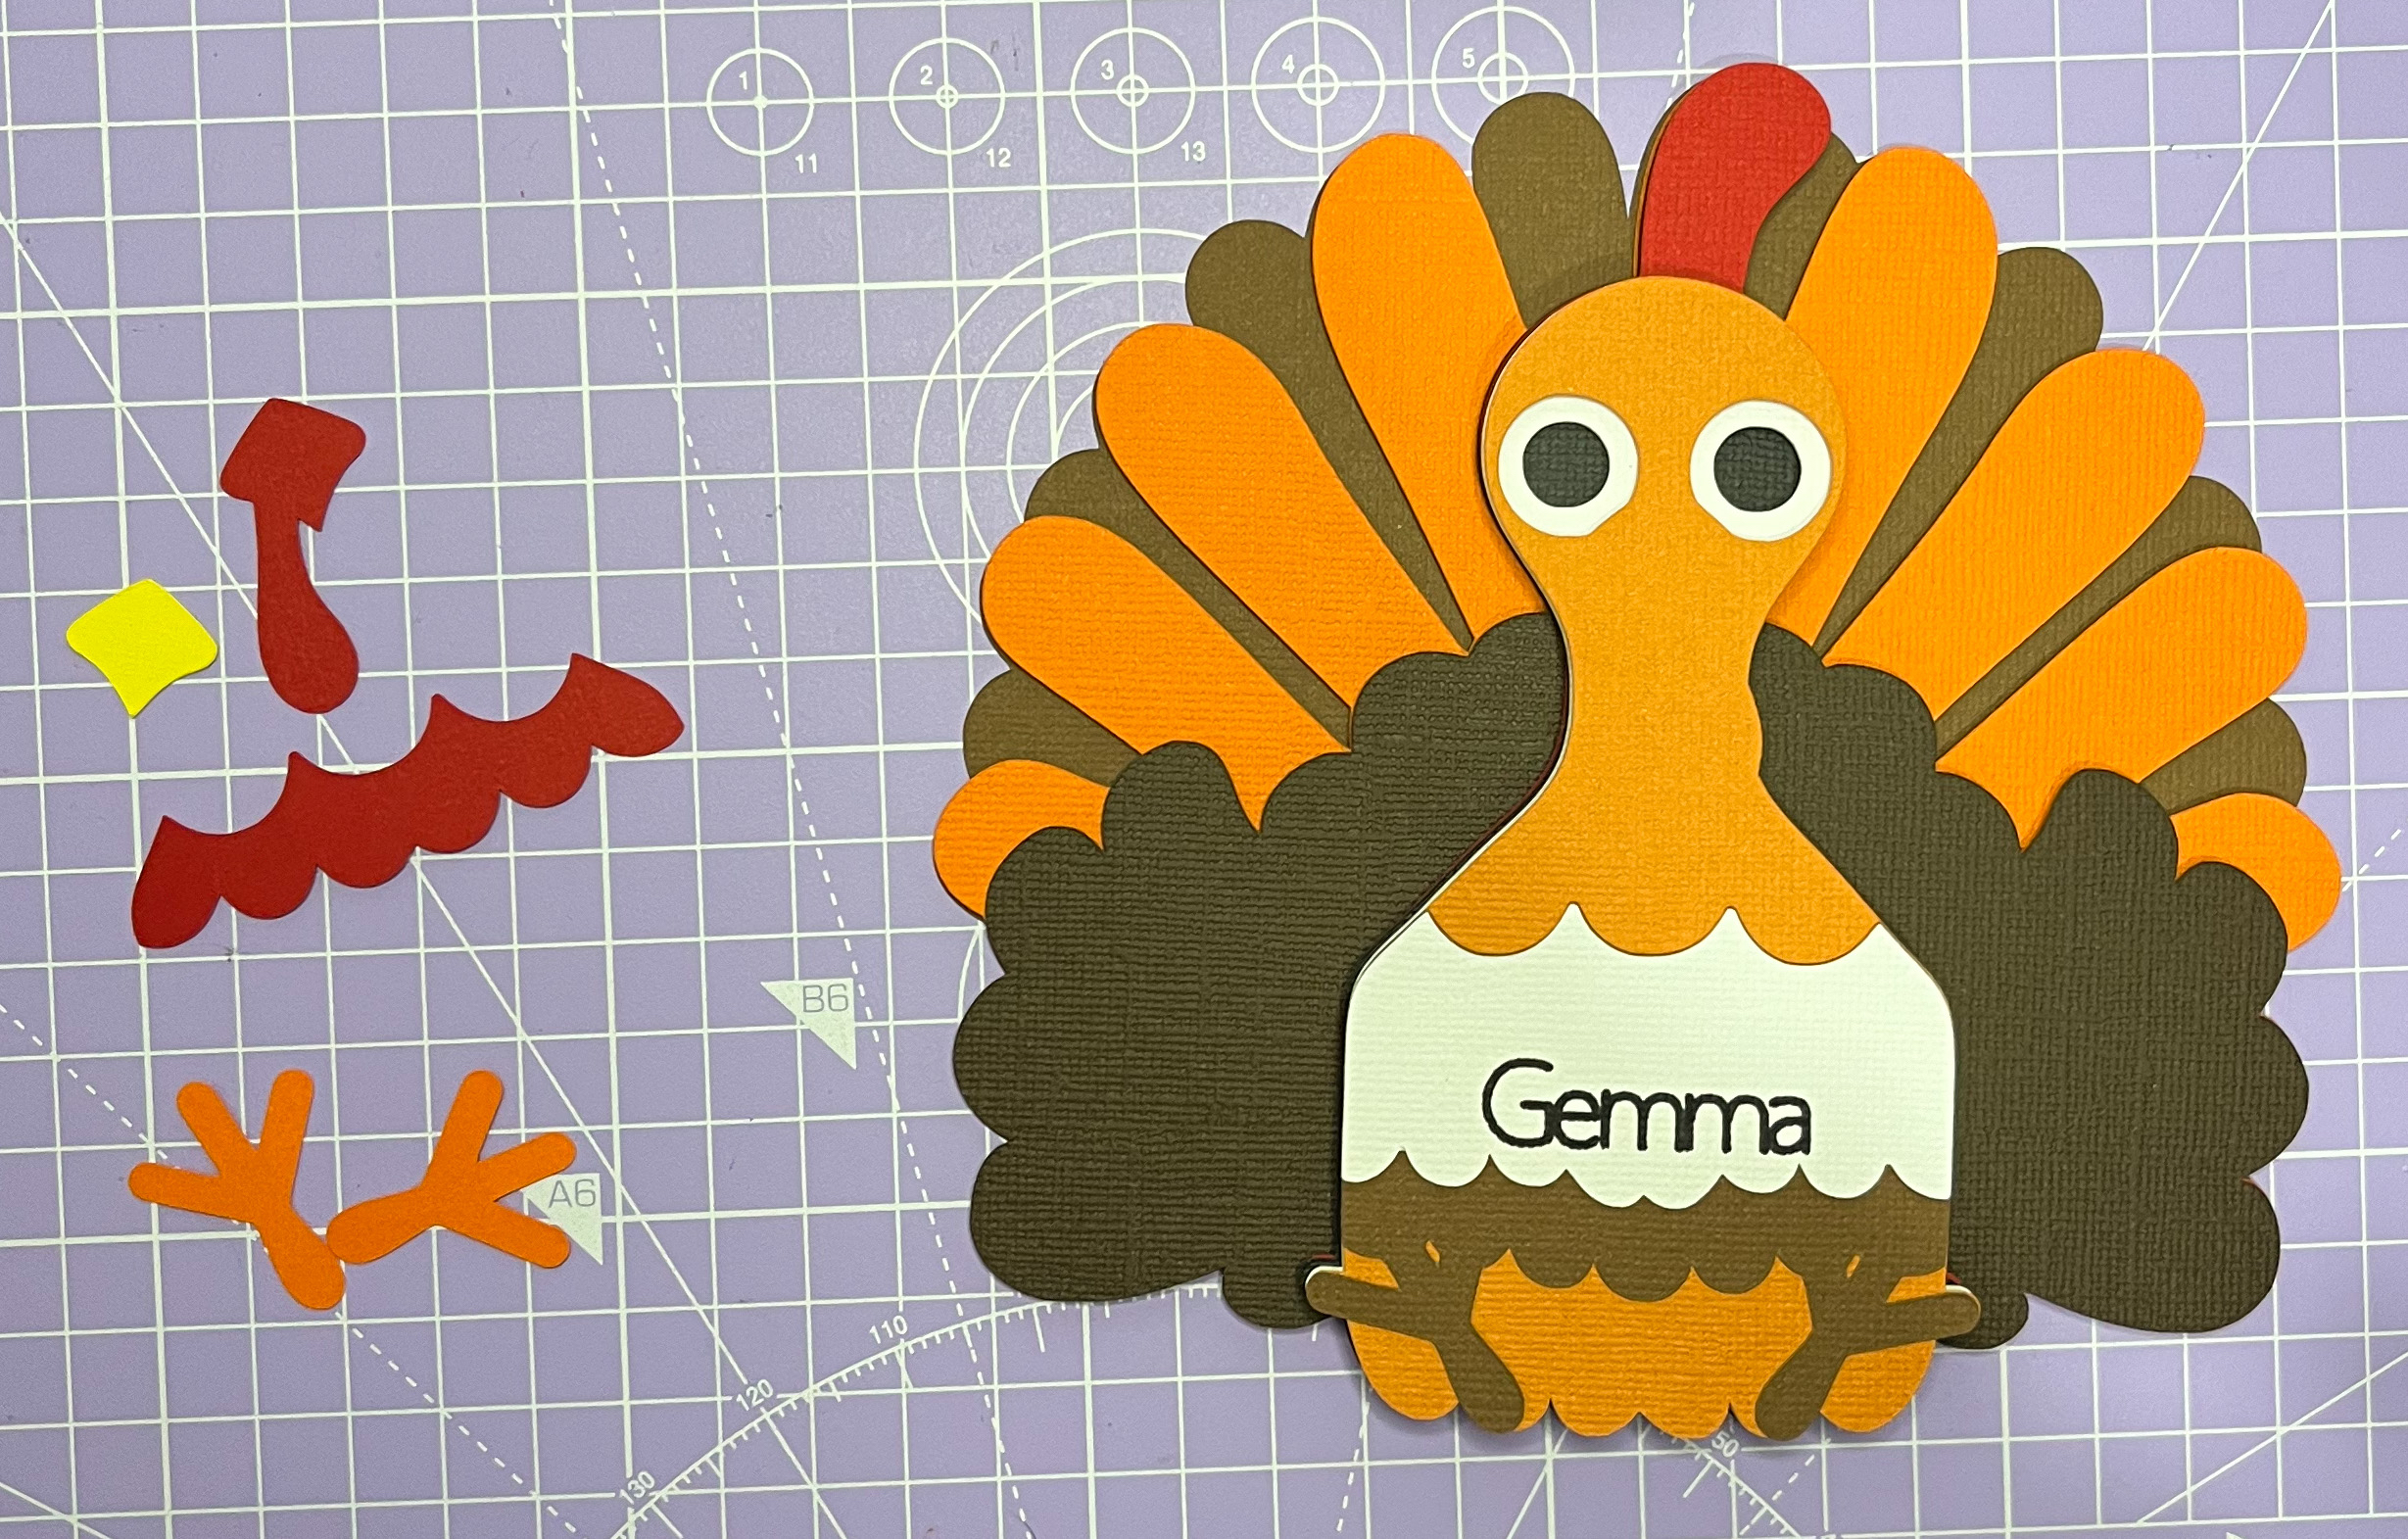
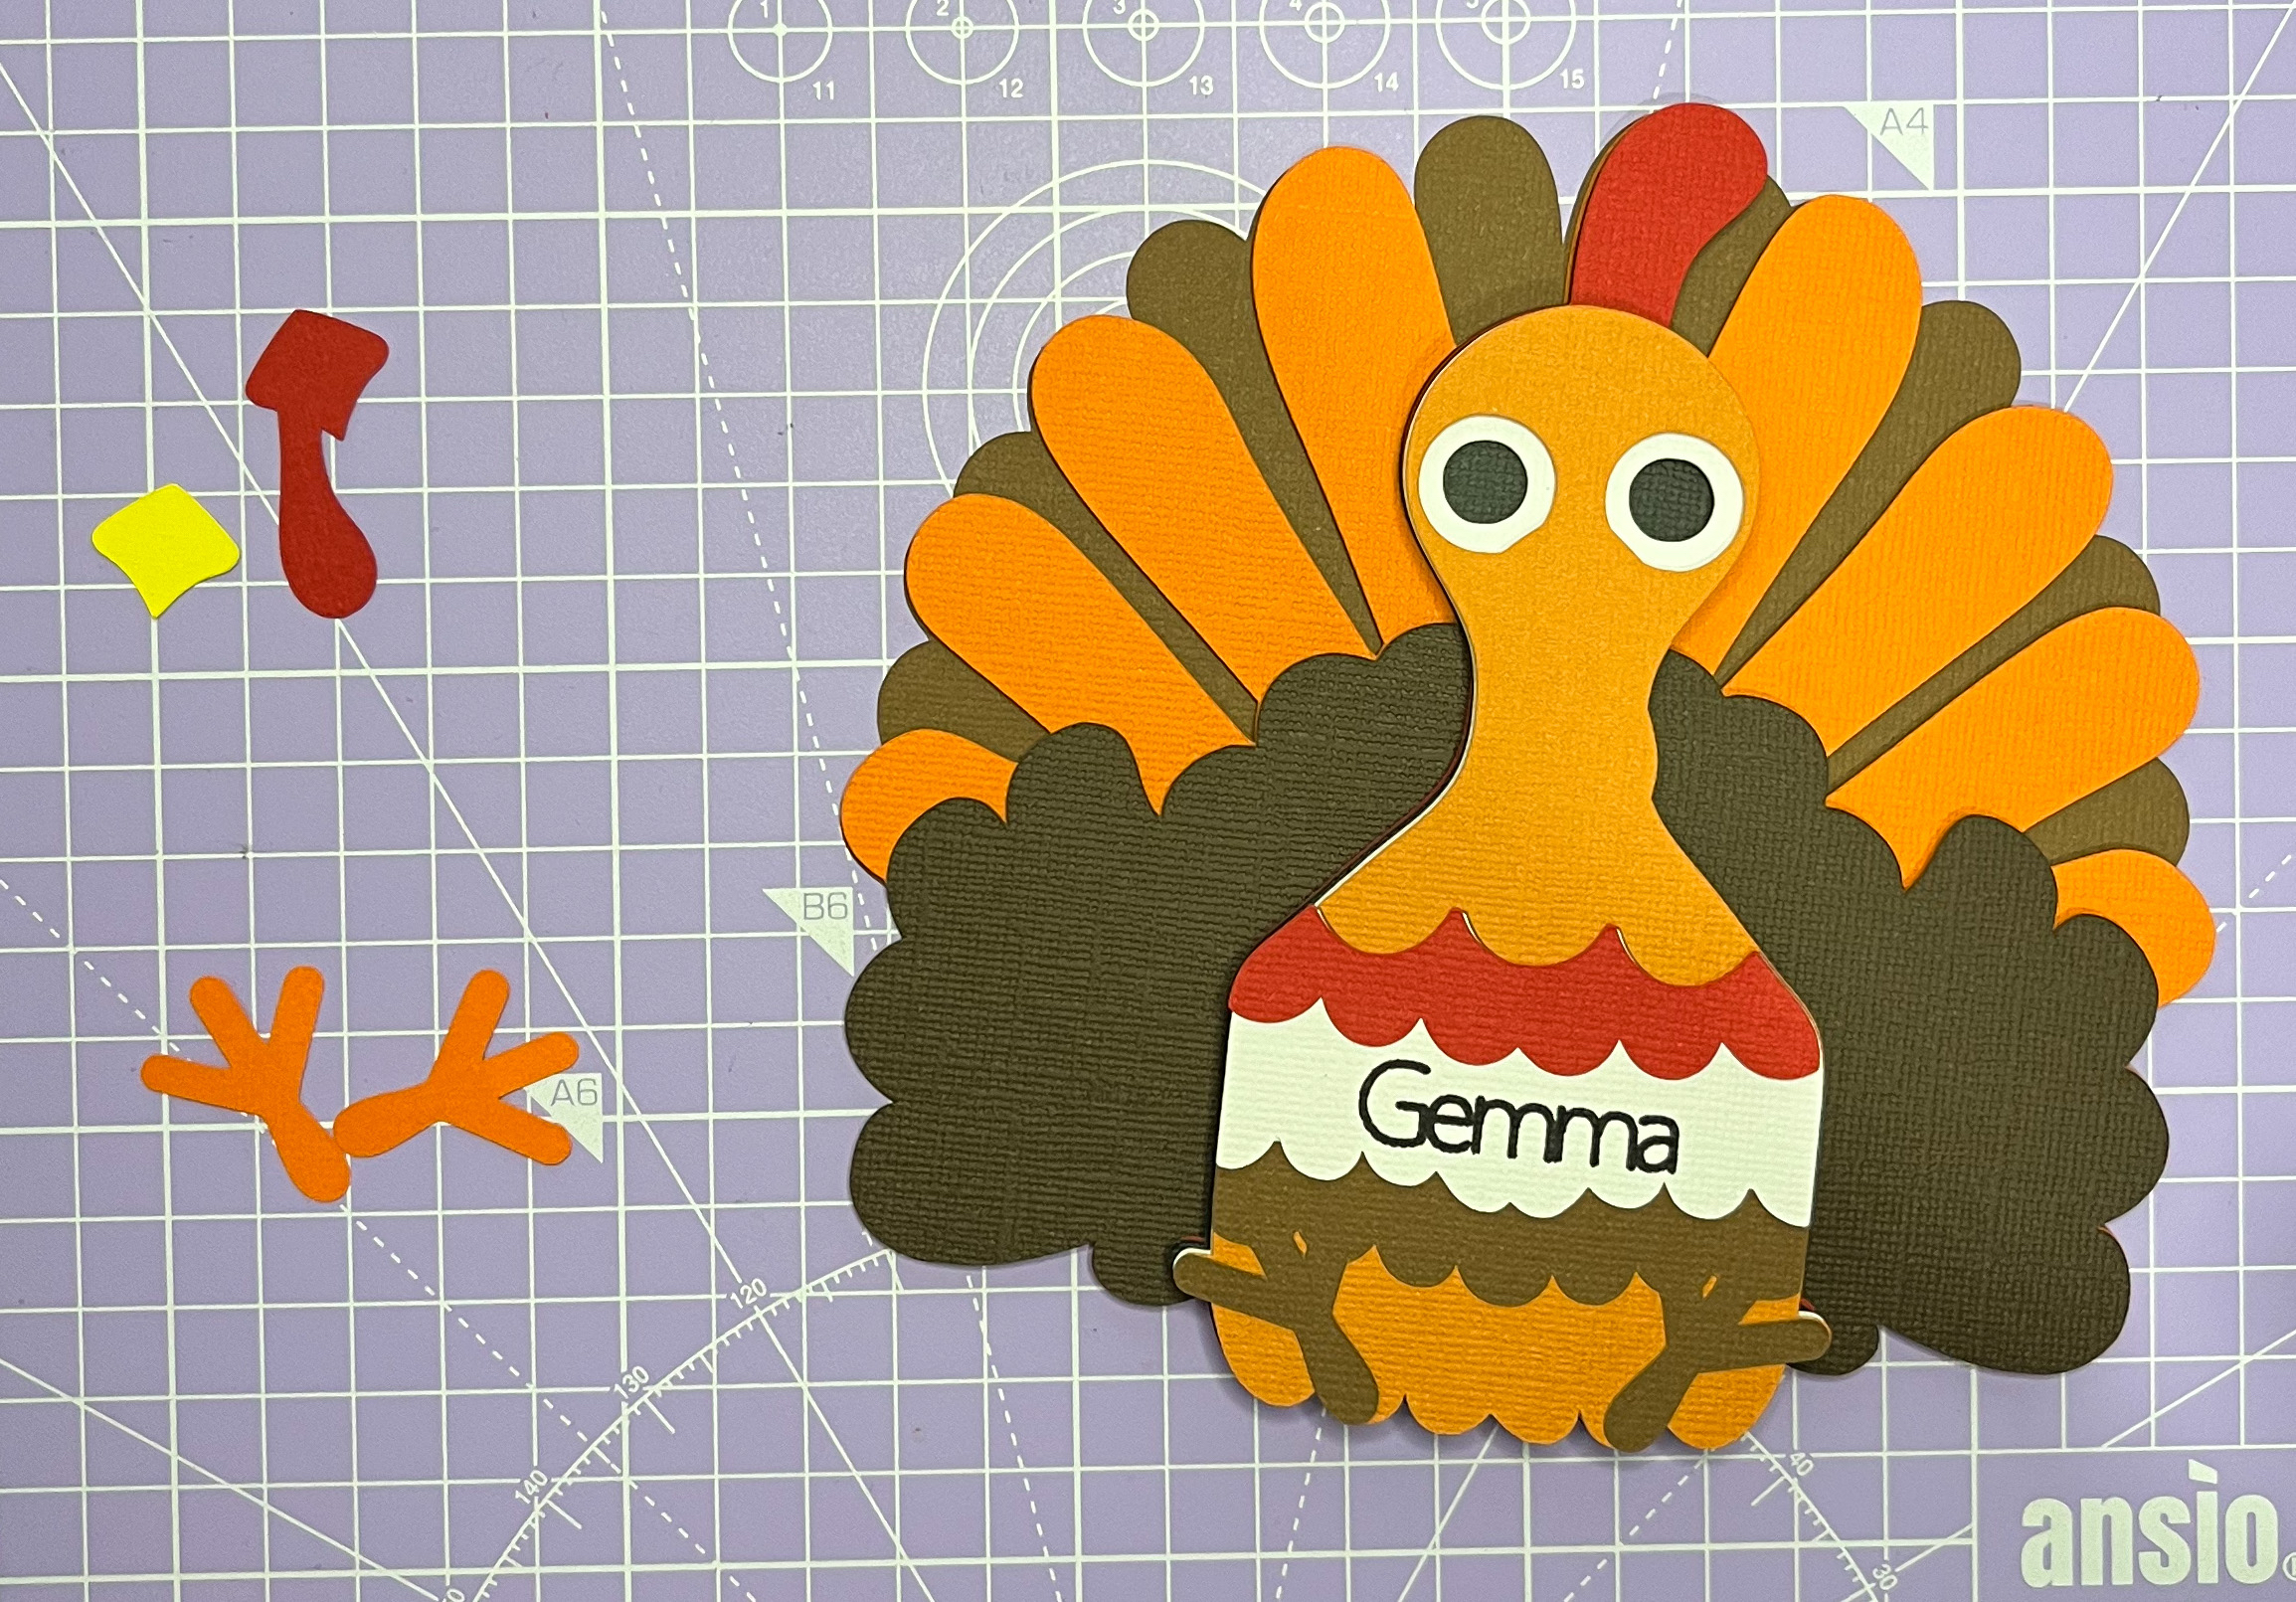
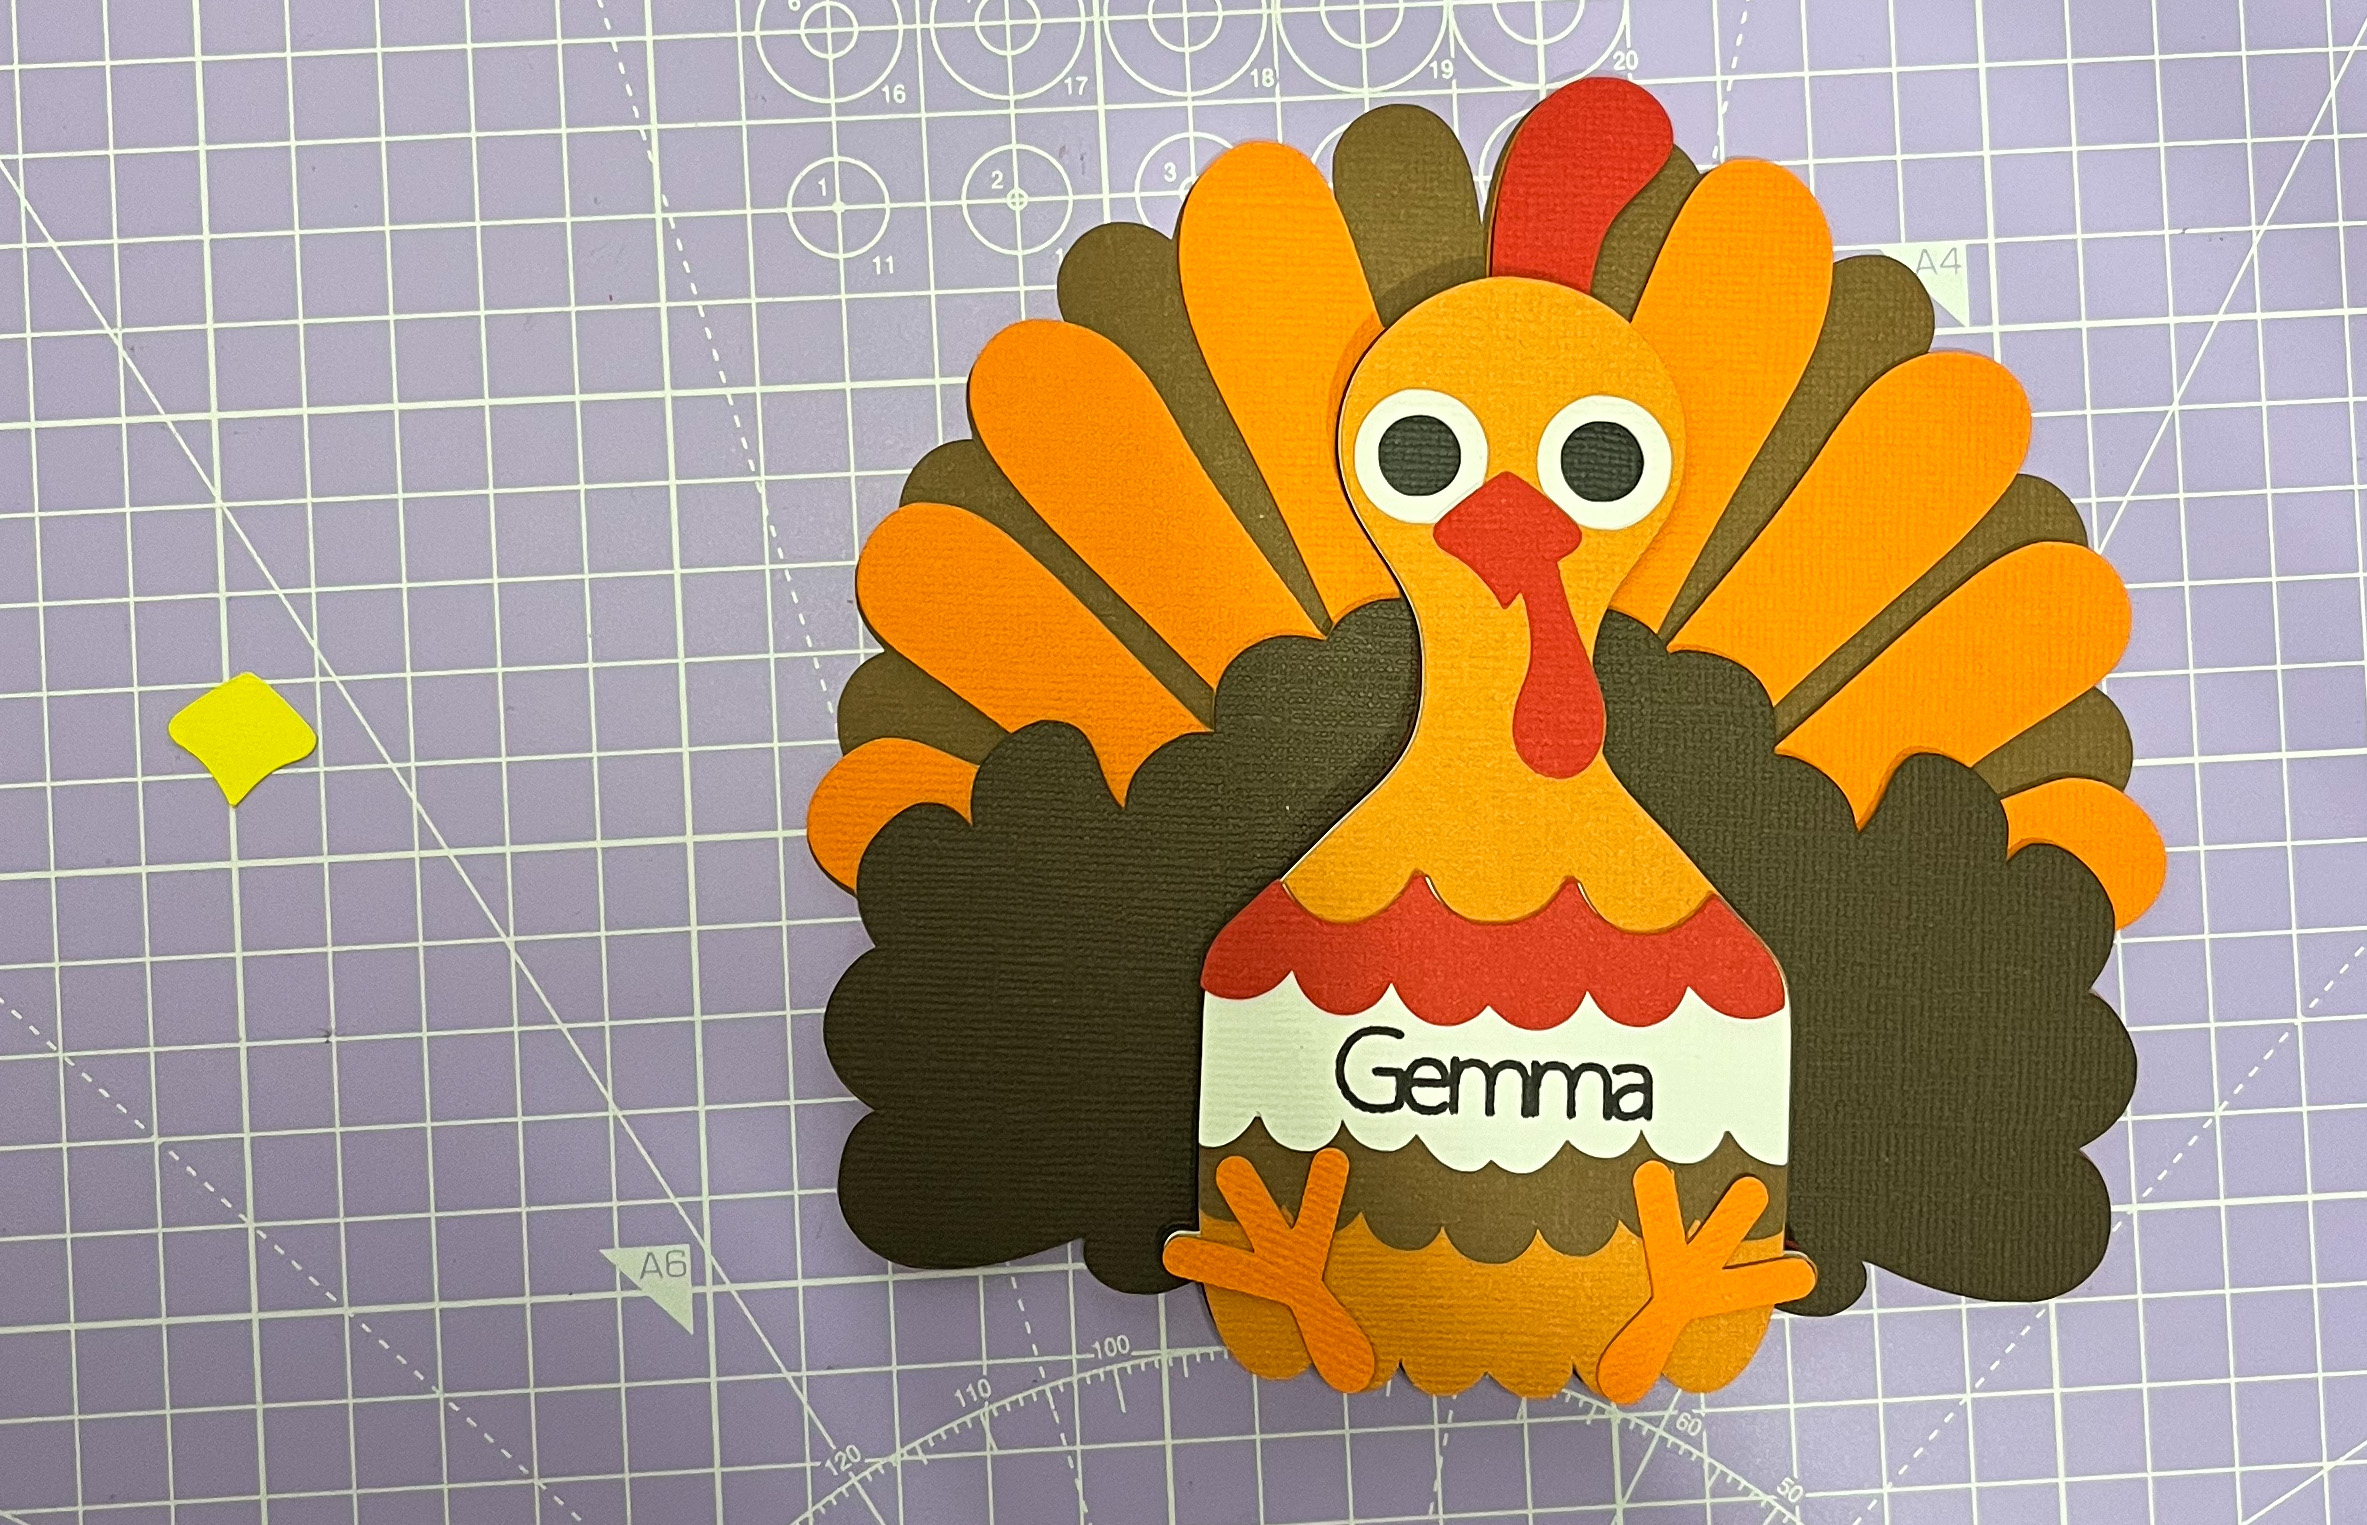
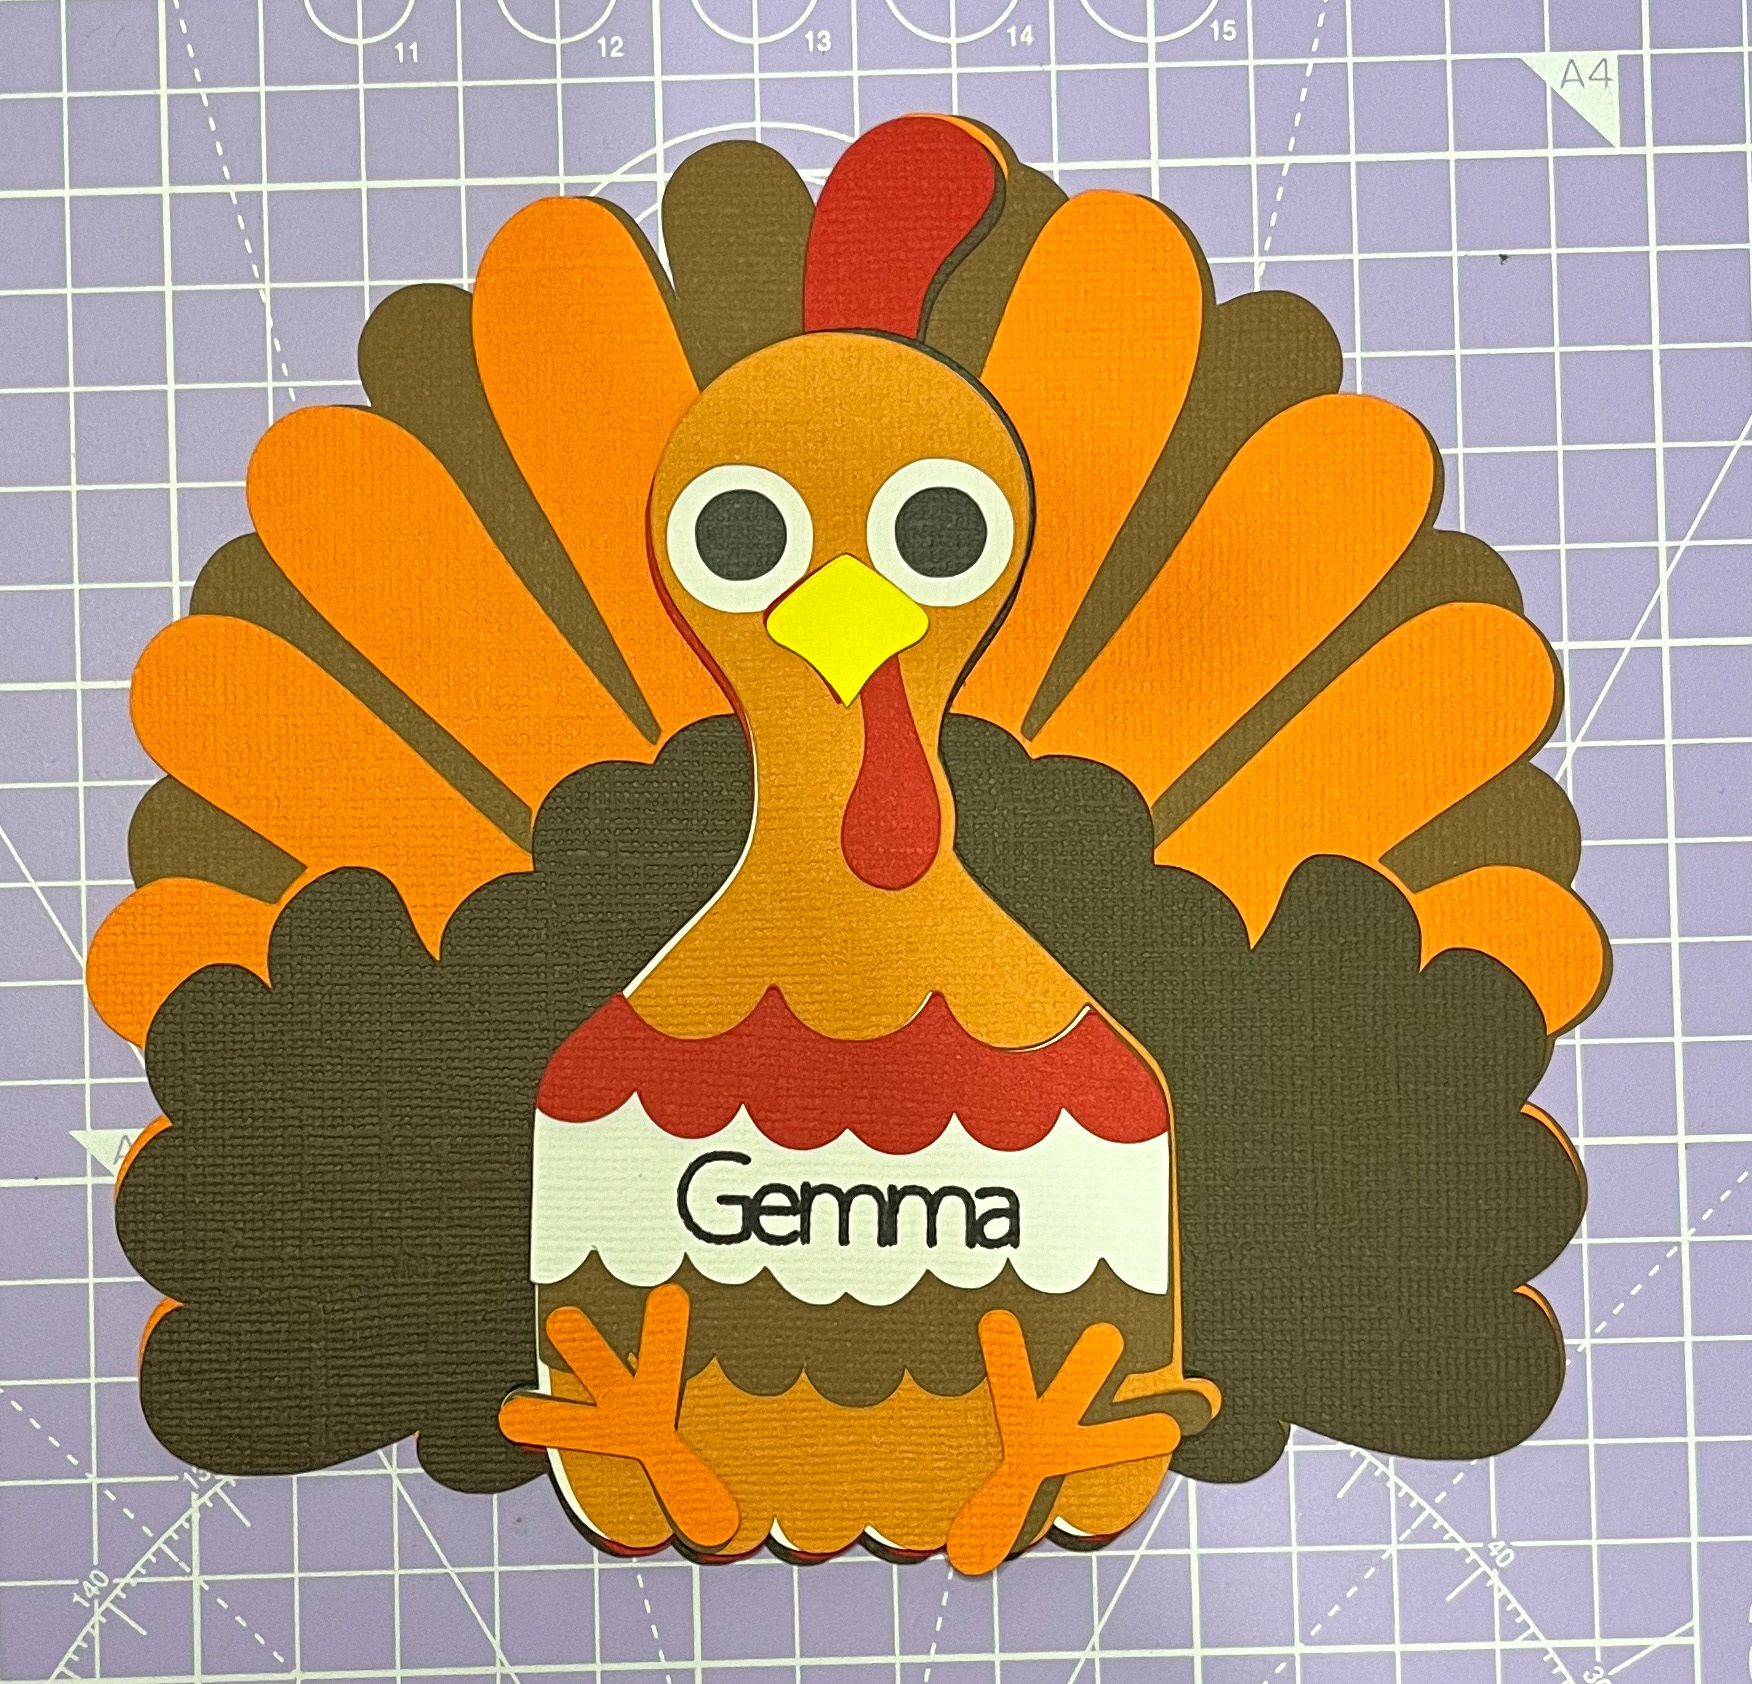
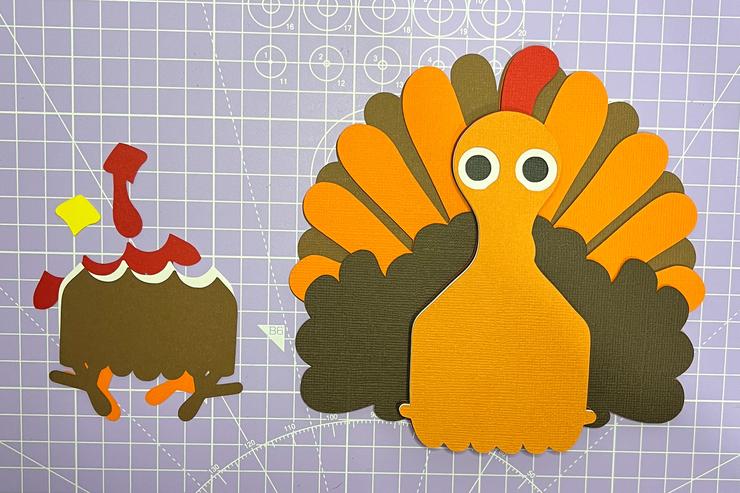
First, let’s assemble the turkey design. Once you’ve cut out all your cardstock pieces, arrange them in order. If you’re unsure about the placement of each piece, load the design onto your Cricut canvas, ungroup it, and pull the layers apart to see how they fit together. For now, set the back easel piece aside—we’ll come back to it at the end of the tutorial.
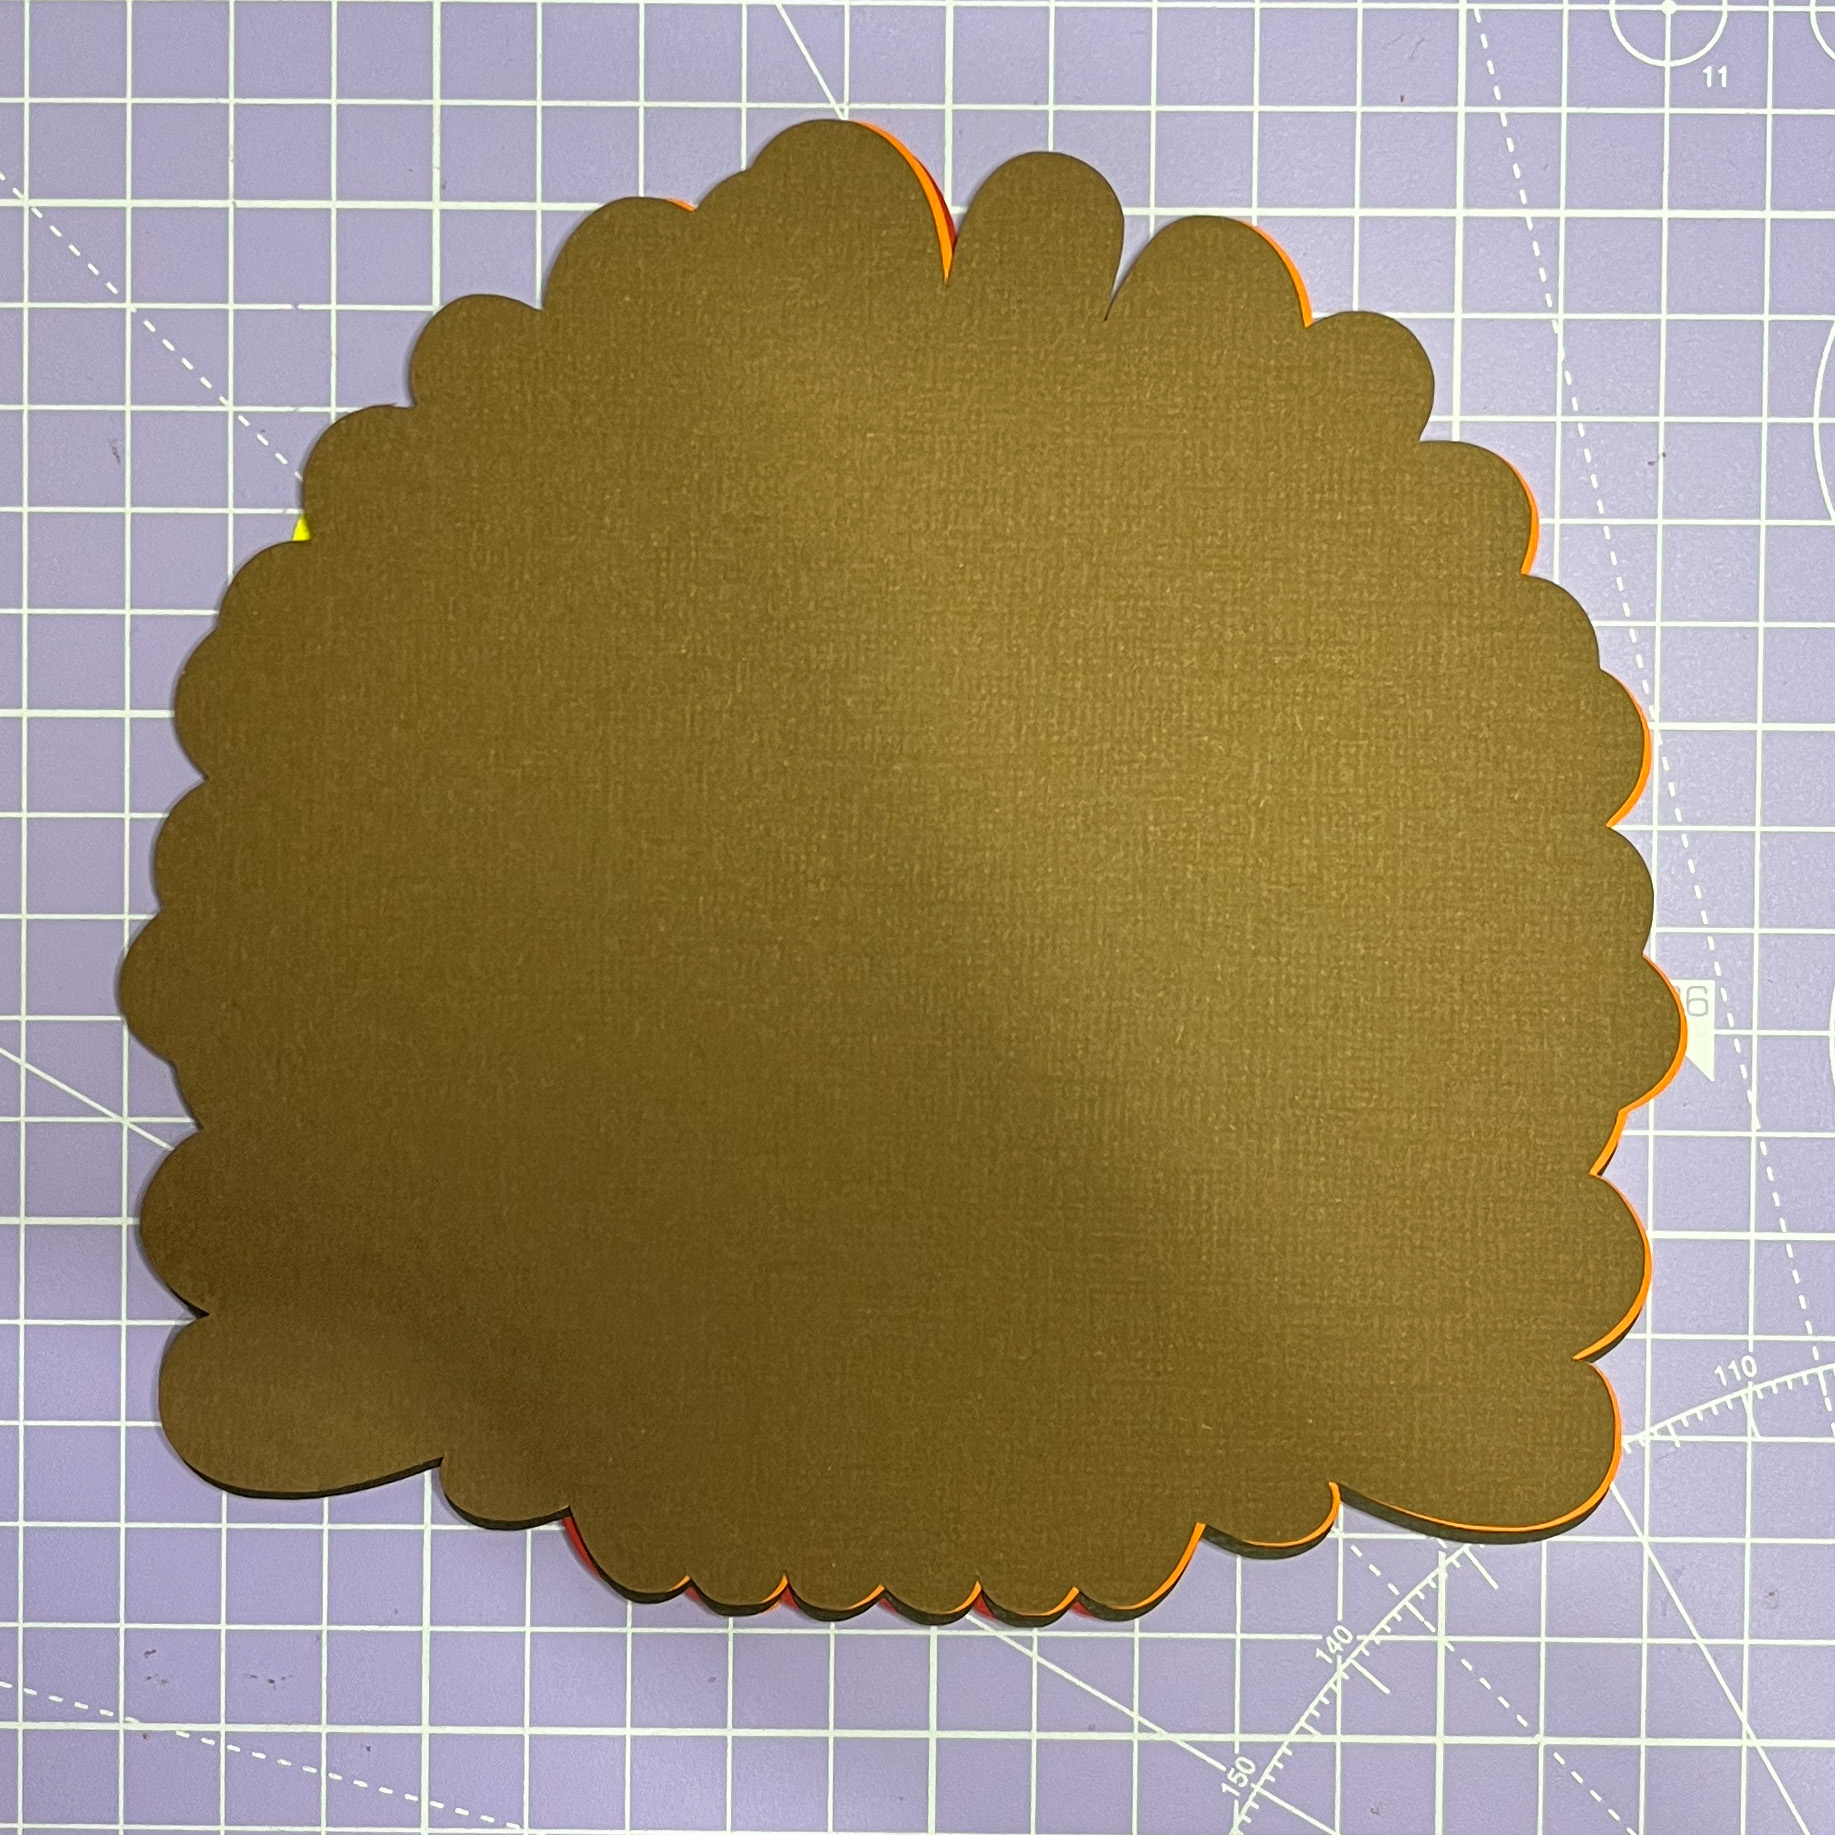
Next, carefully flip all the layered pieces upside down, as shown in the photos below.
Adding Dimension with Sticky Foam
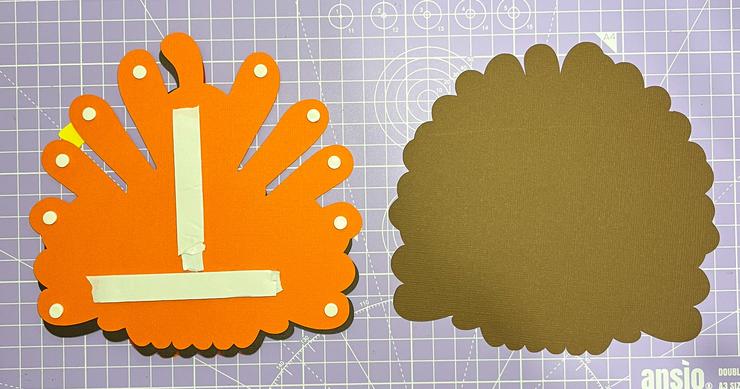
Now, use sticky foam or dots or a mix of foam and dots to start assembling the turkey layers, following the arrangement shown in the photos. This will add dimension and bring your turkey design to life!
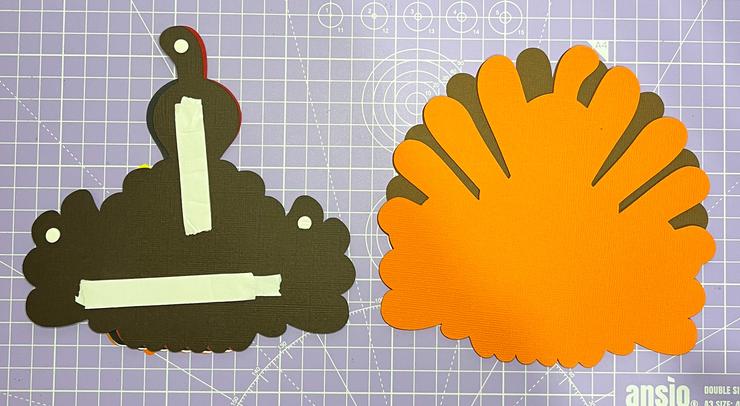
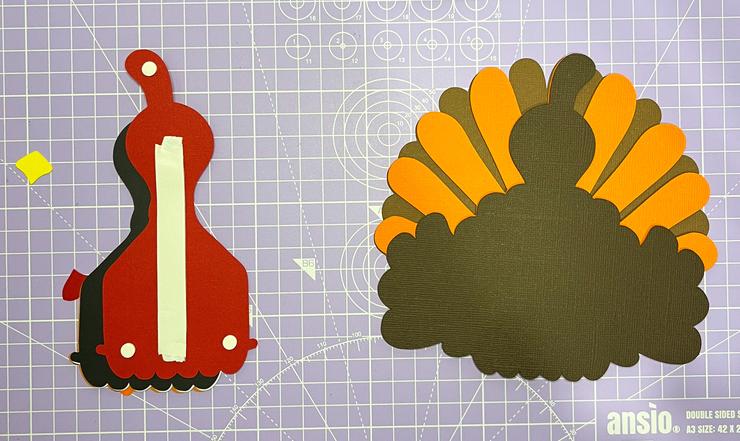
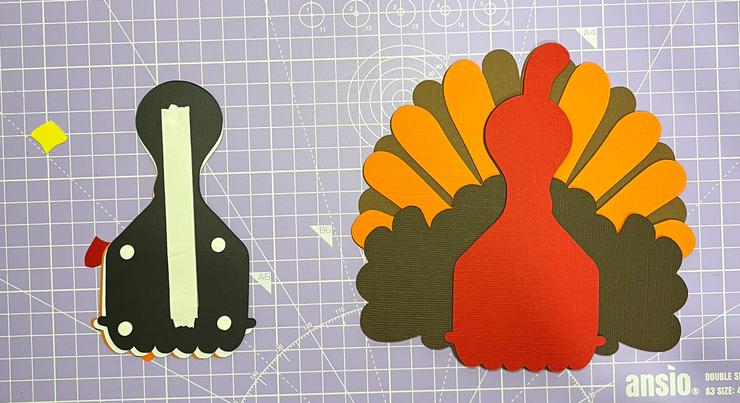
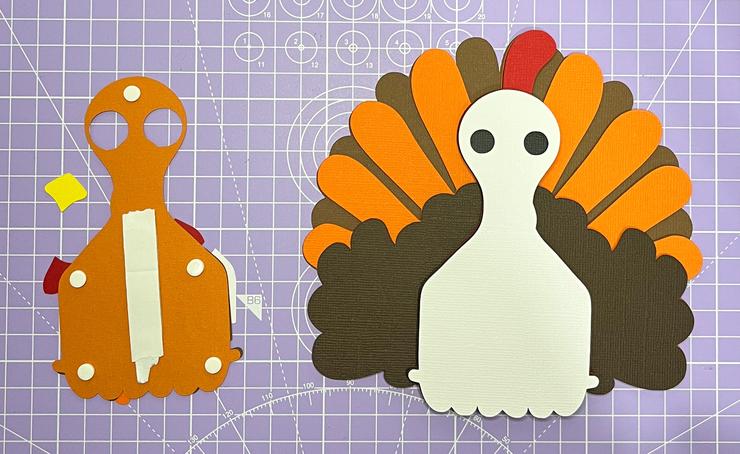
Superscript
Now, let’s create the easel!
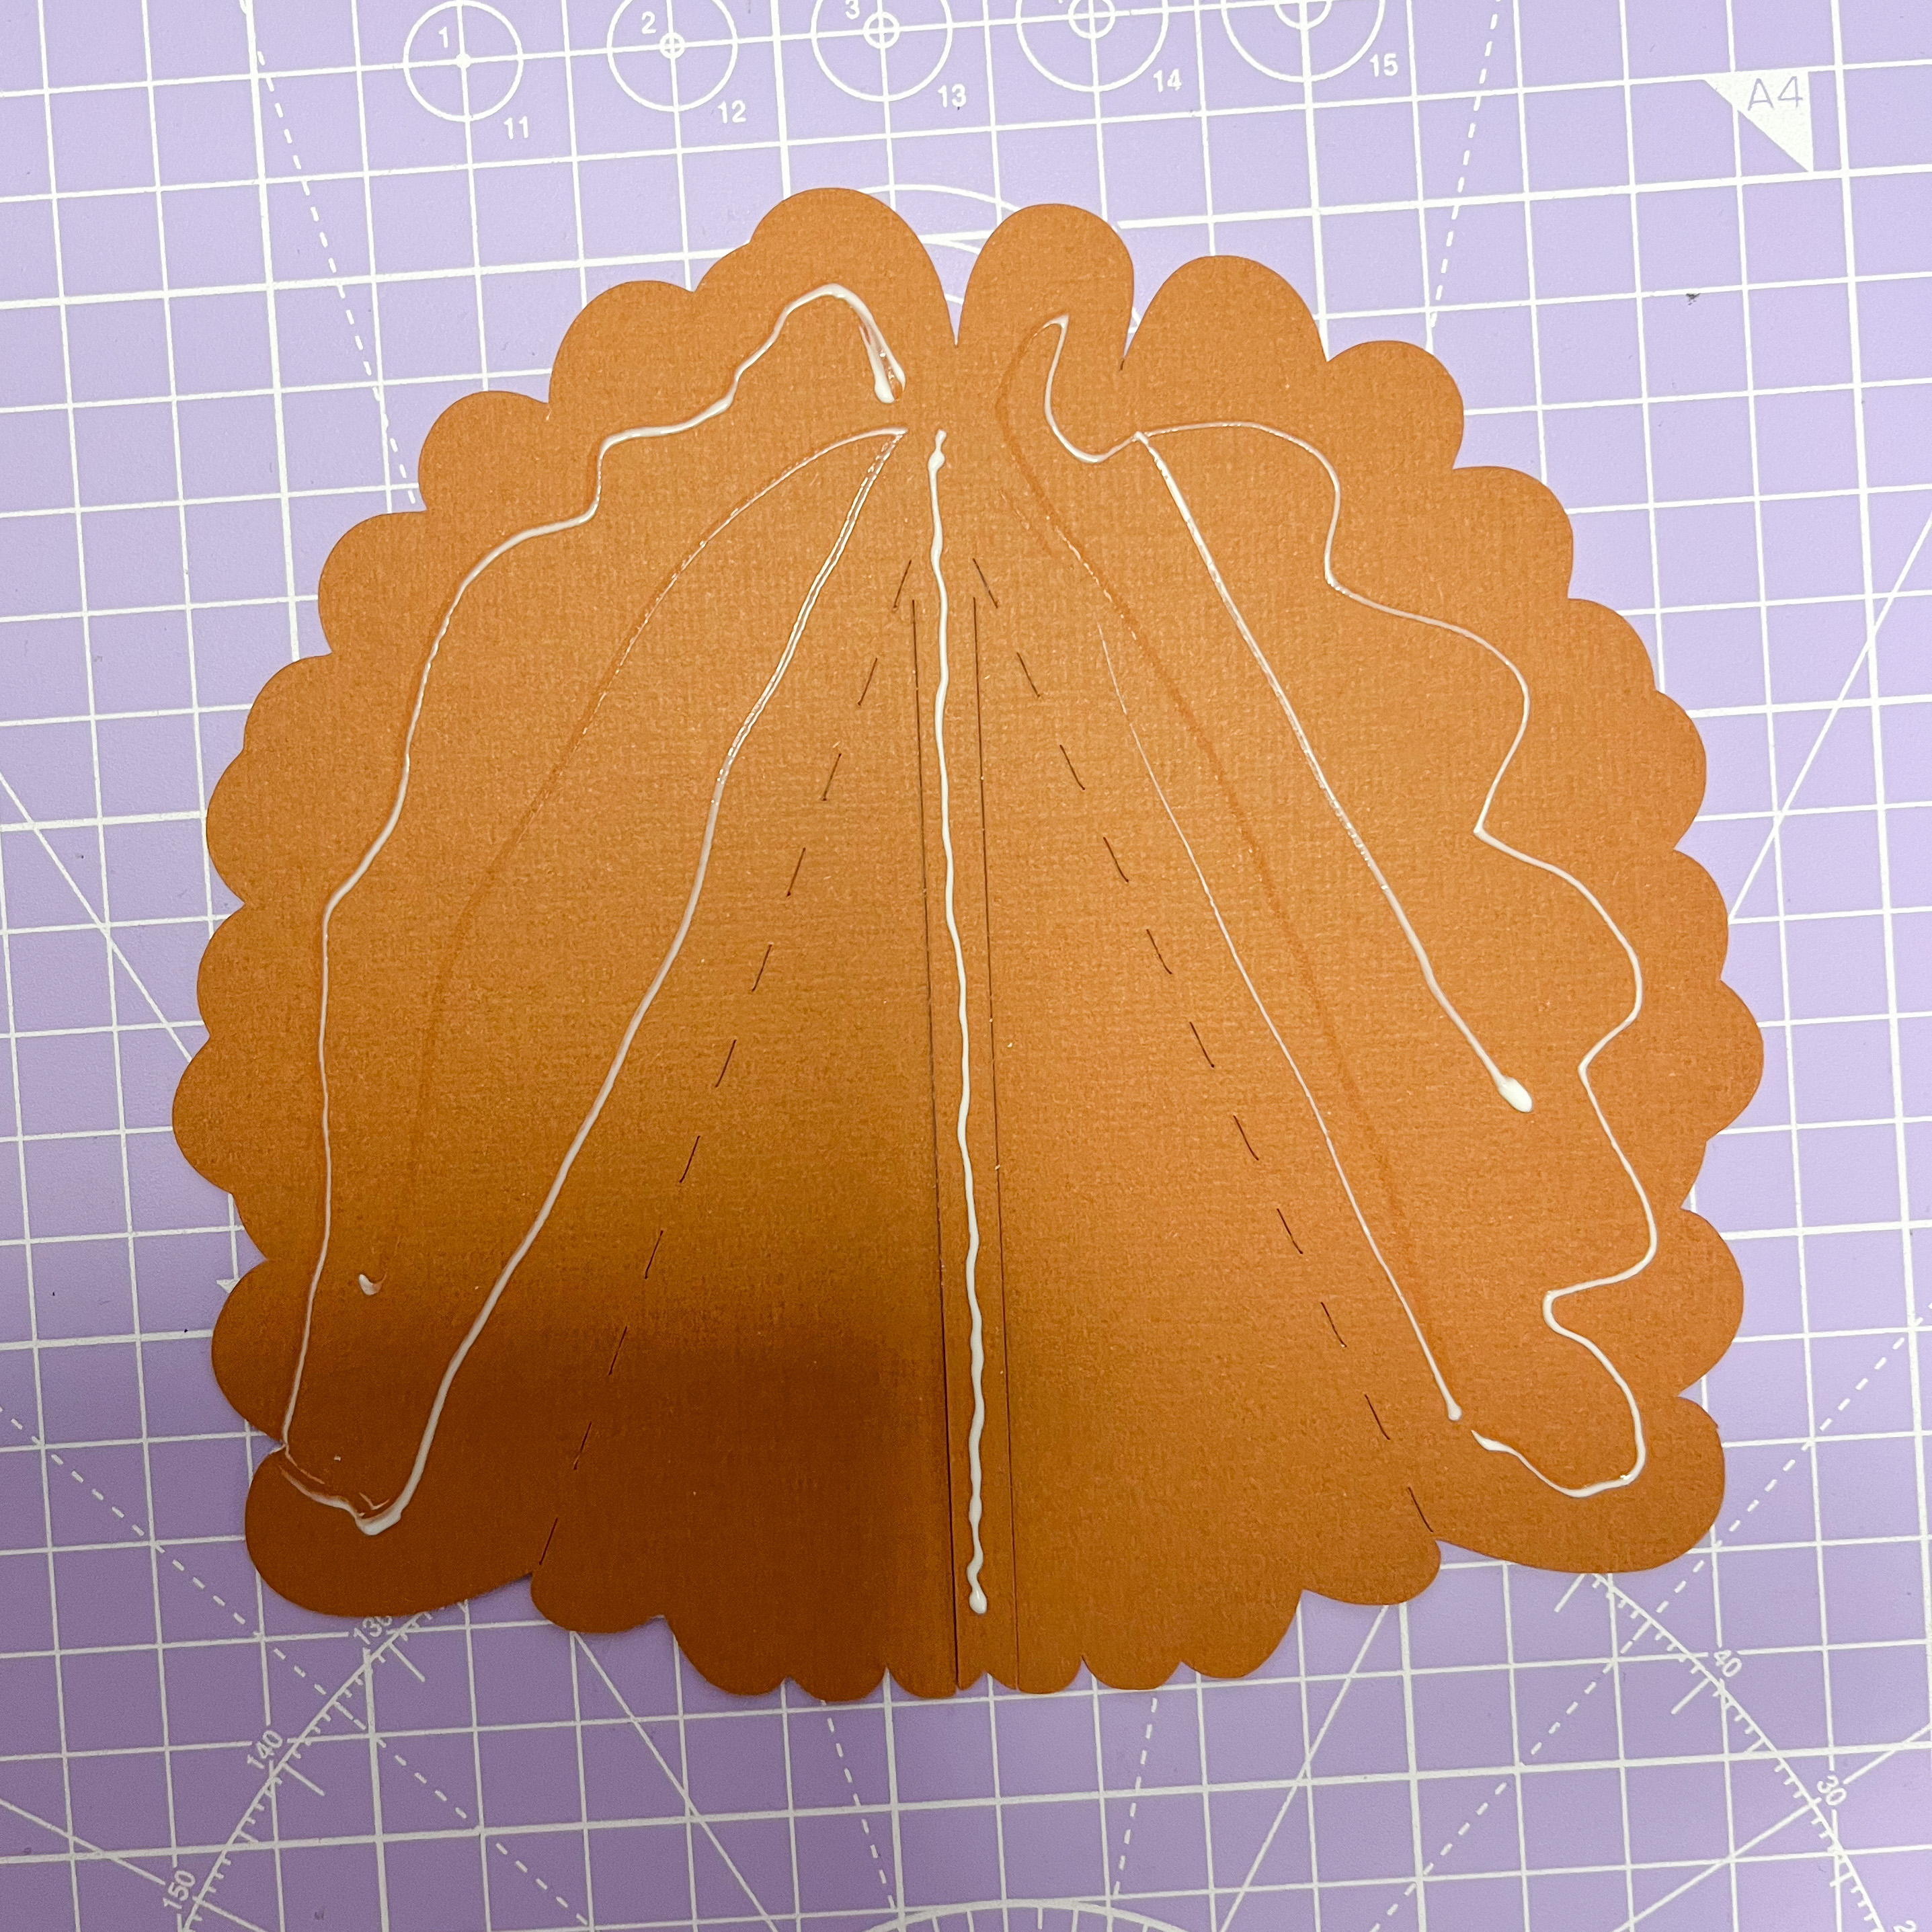
Apply glue over the easel cardstock piece, EXCEPT for the inner triangles—leave those areas glue-free.
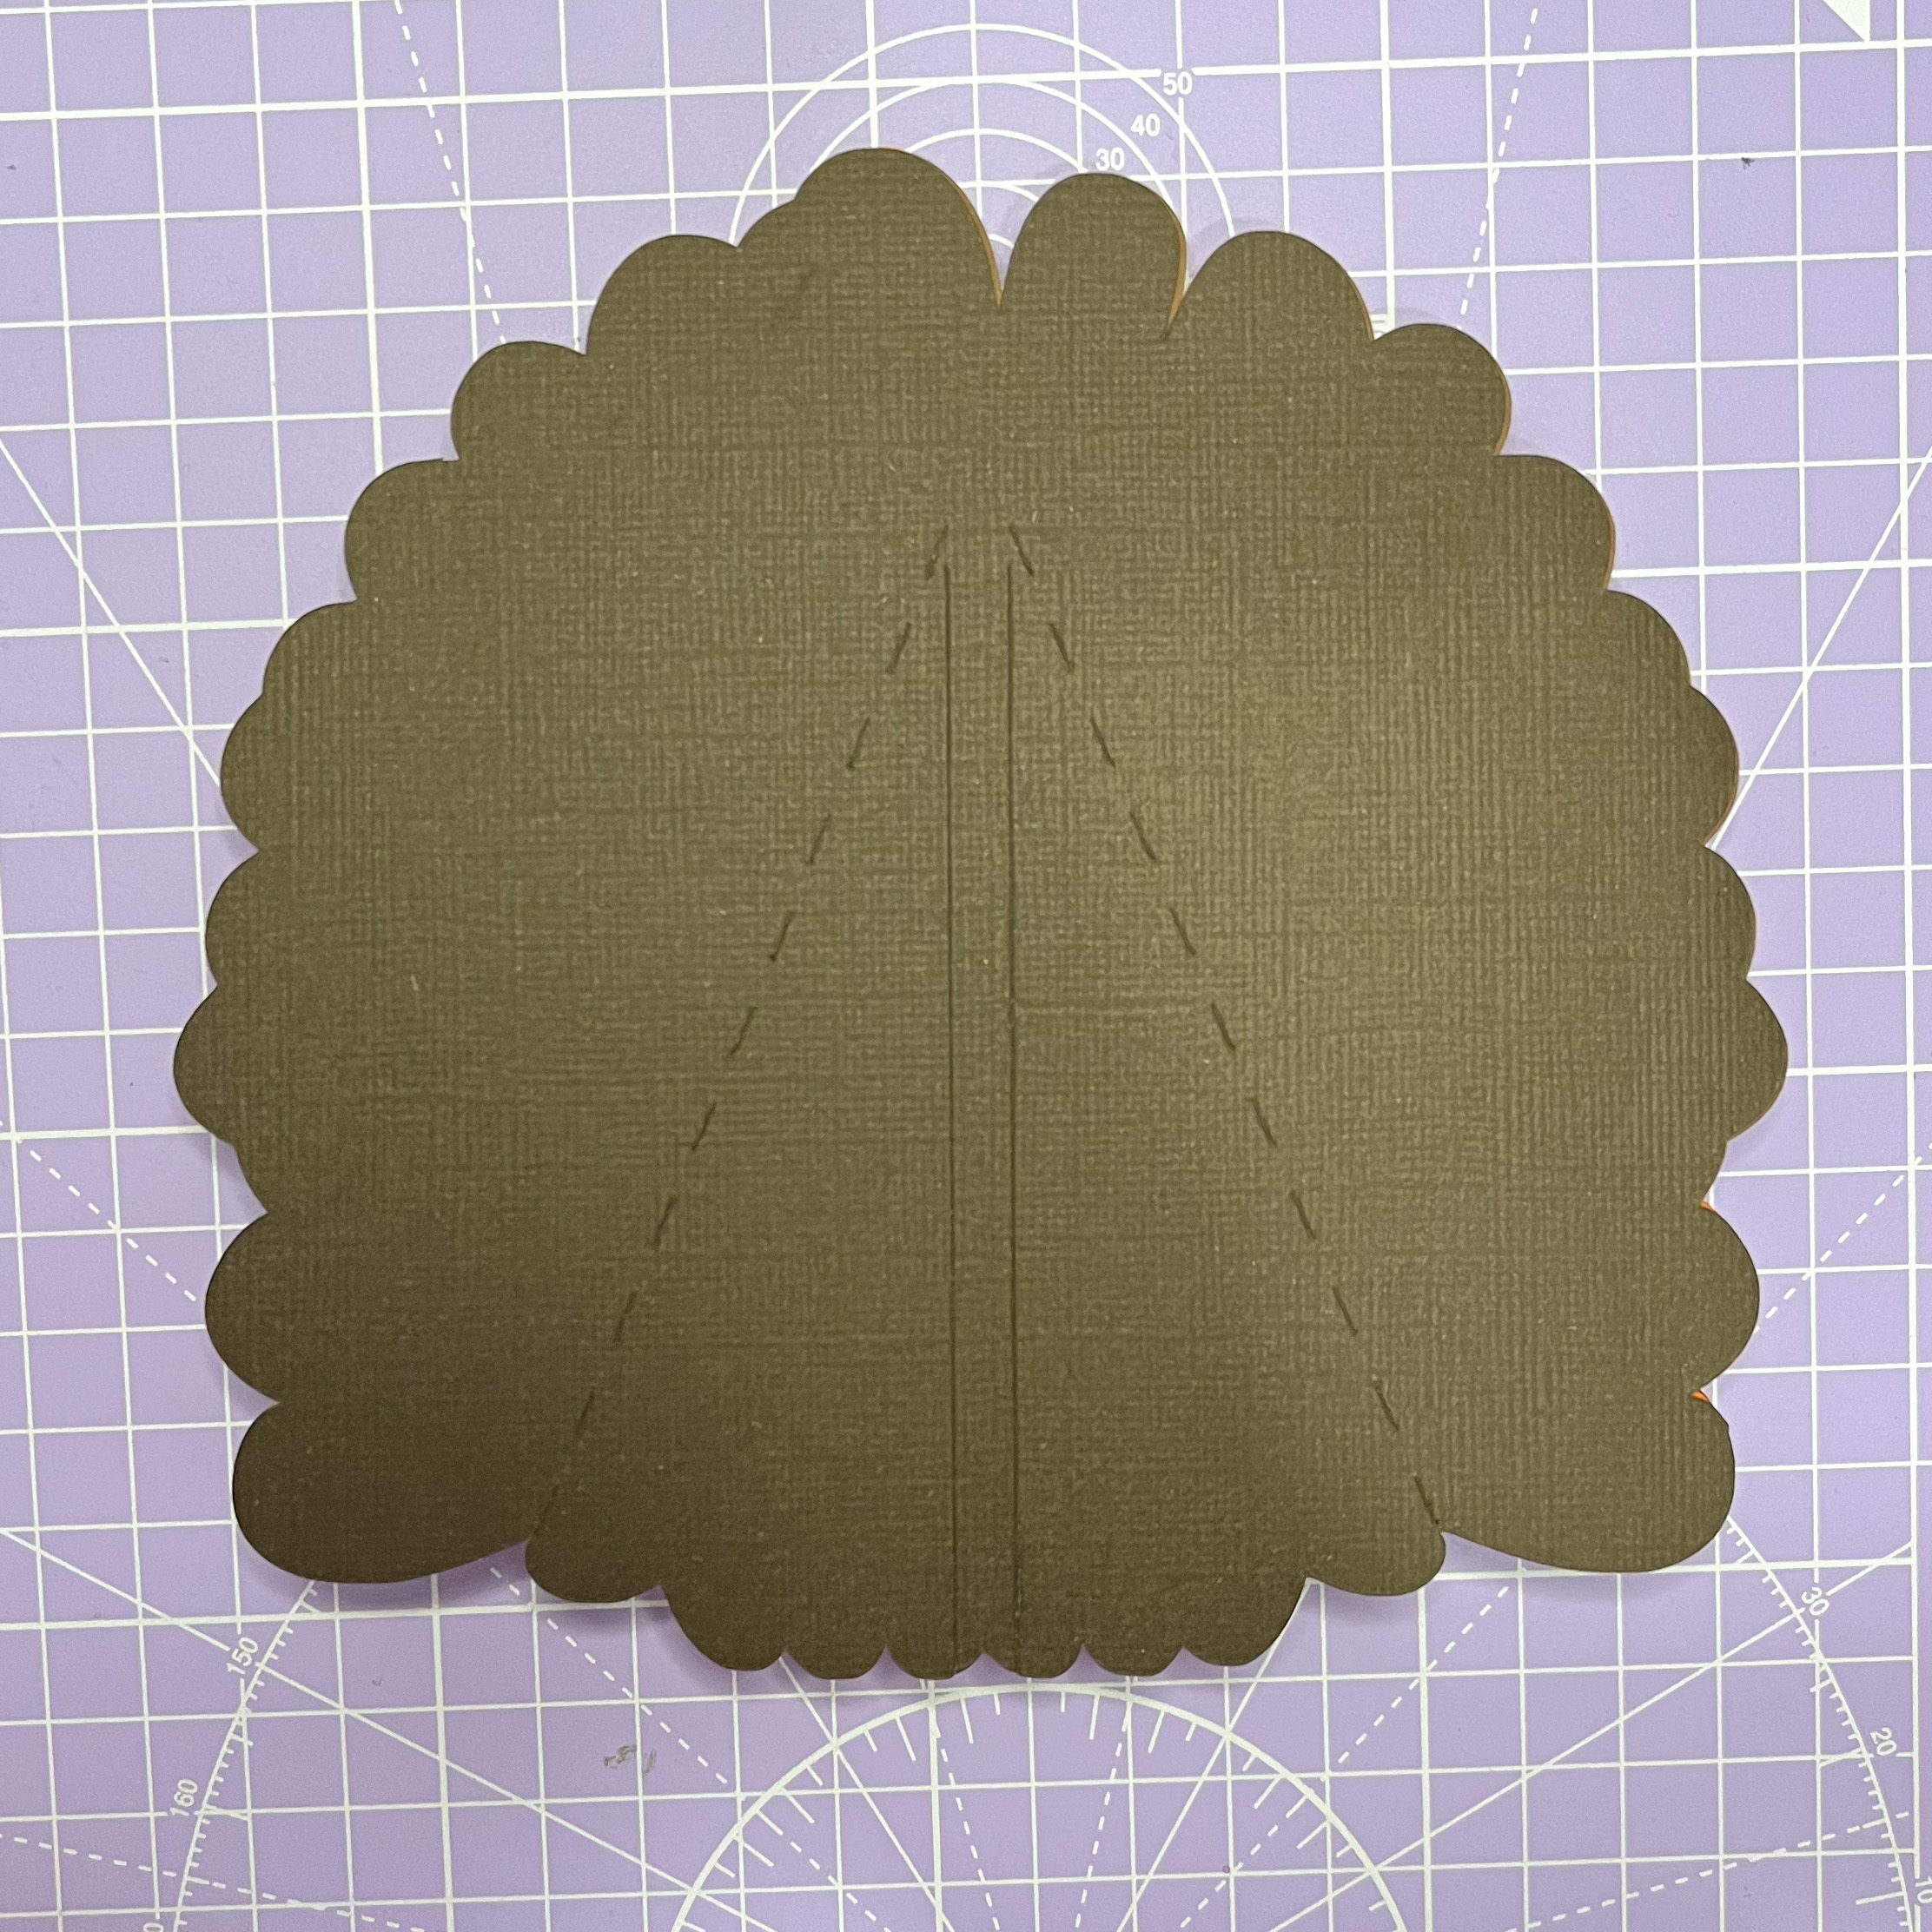
Attach the easel cardstock piece securely to the back of the turkey design.
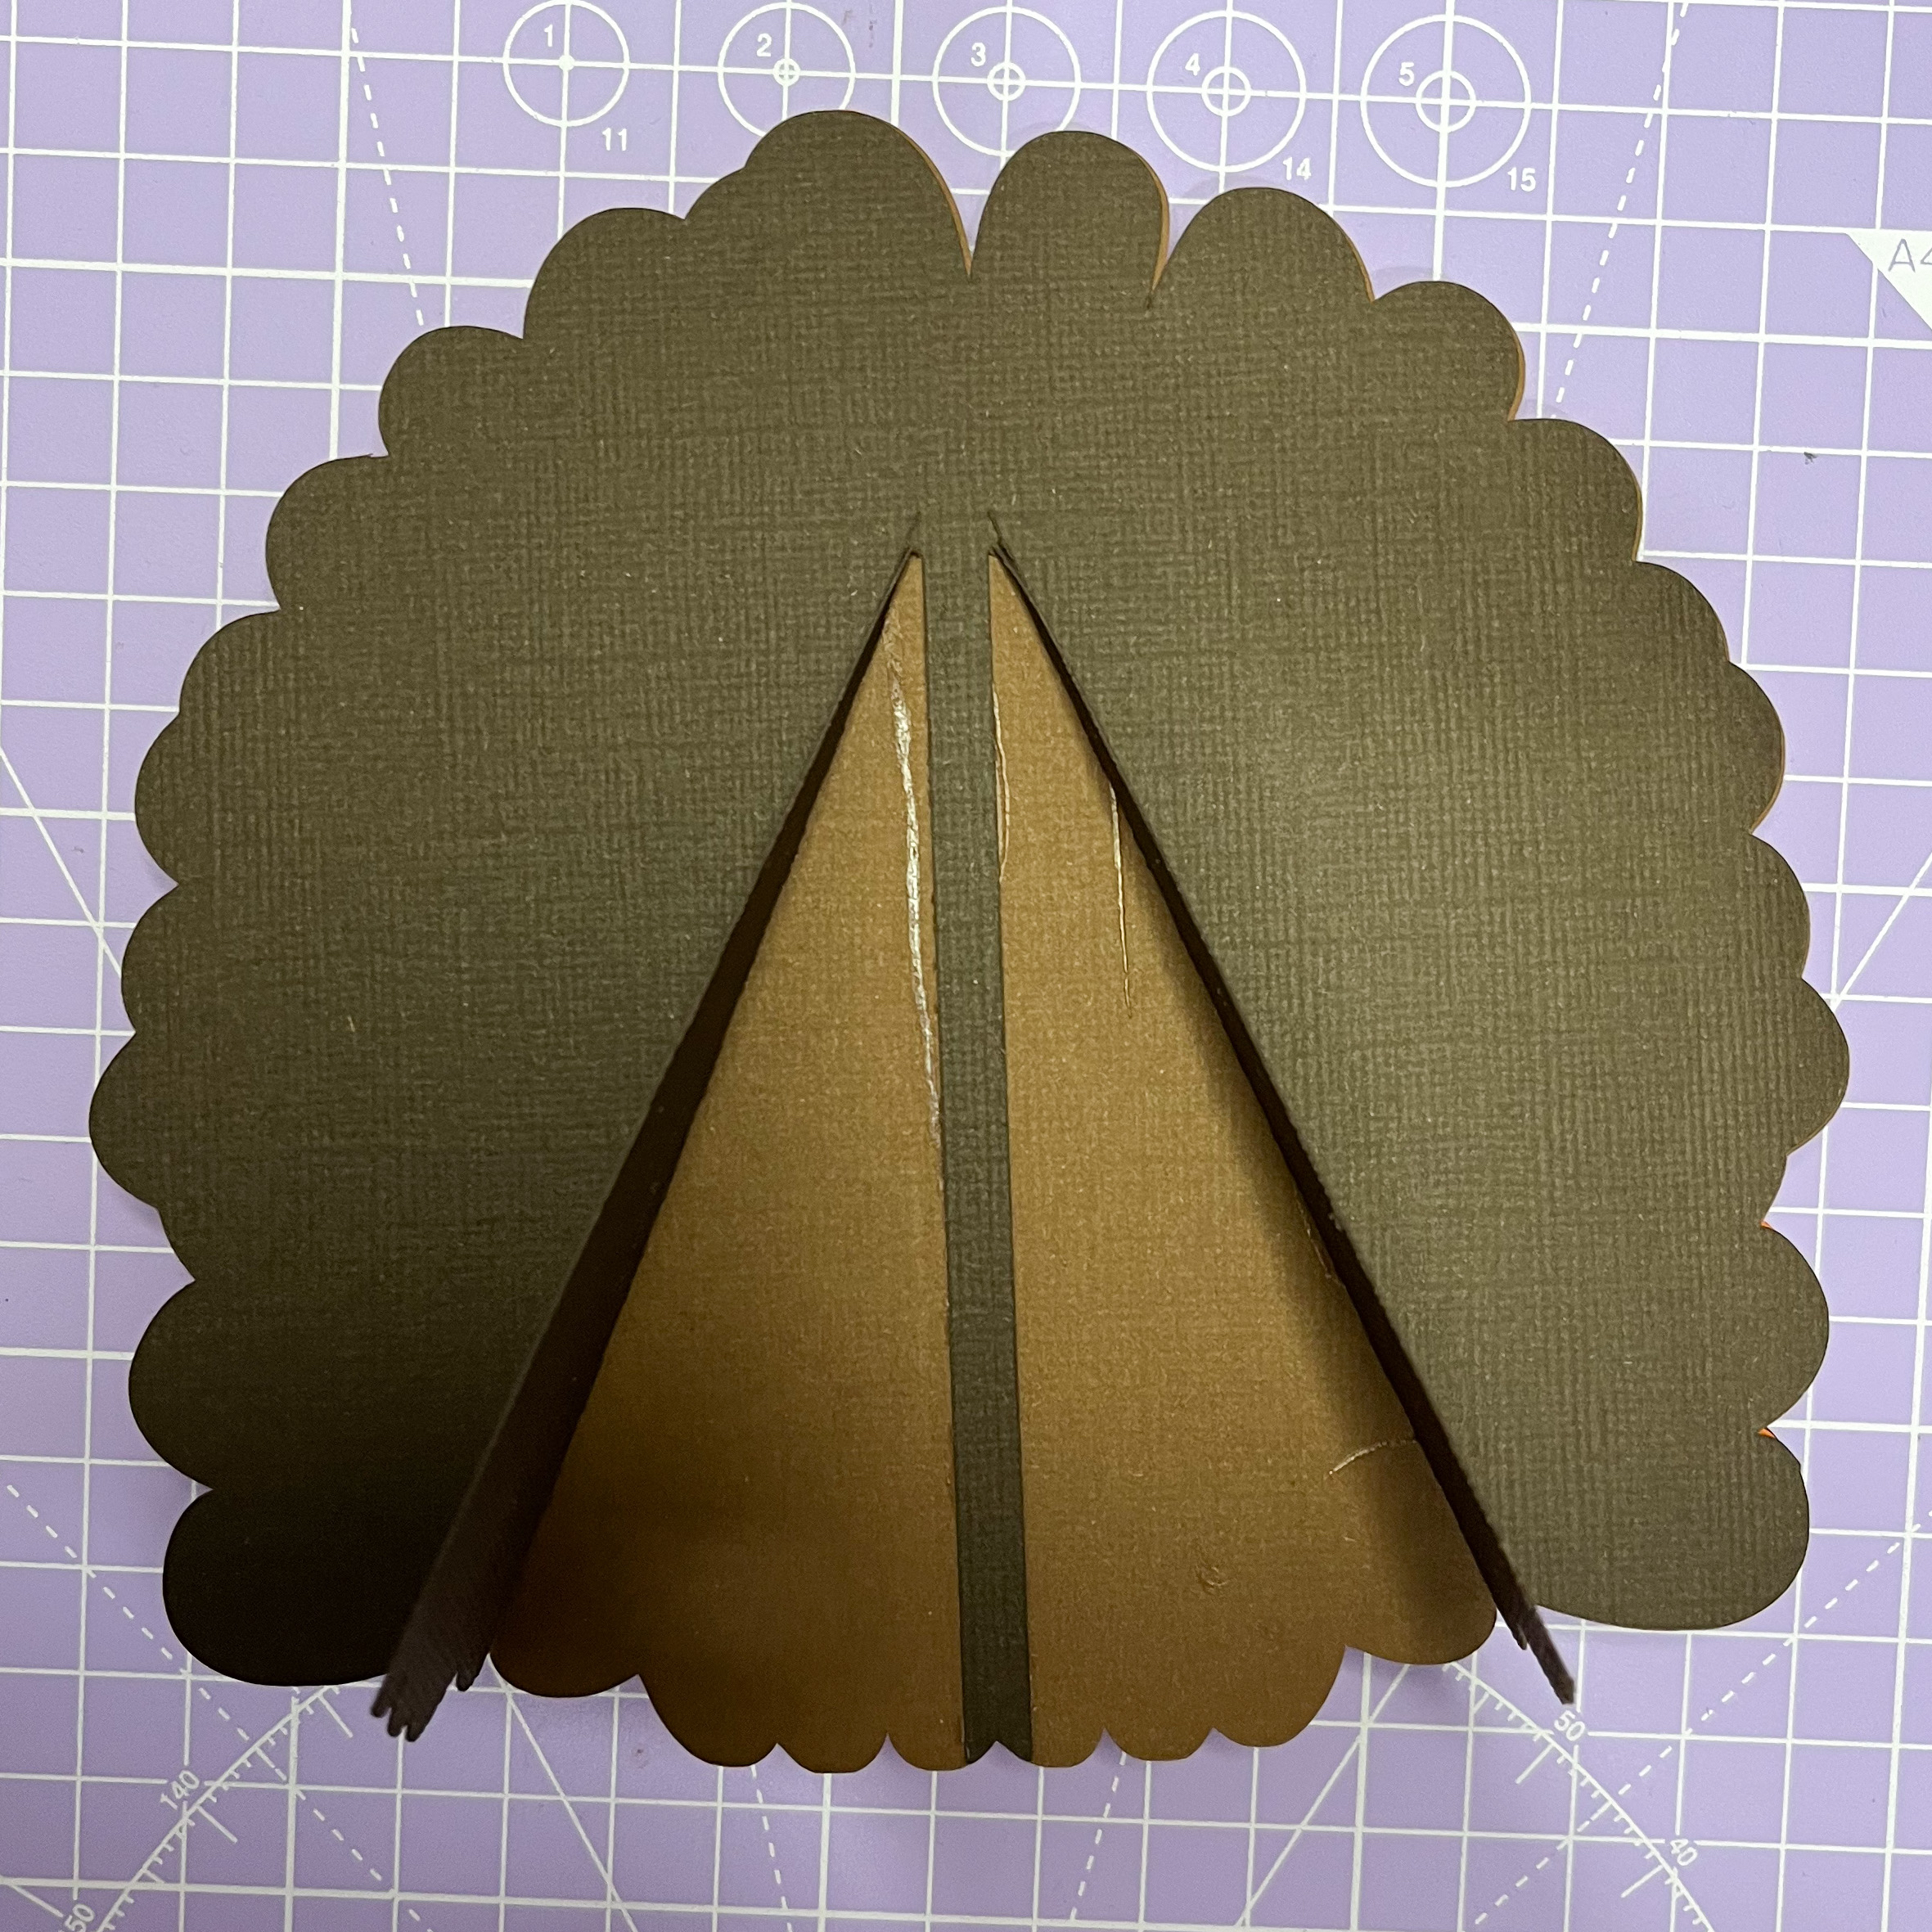
Once the glue is dry, fold out the inner triangles to complete the stand.
Your project is now complete!
