
Make a Birthday Cake Topper Design
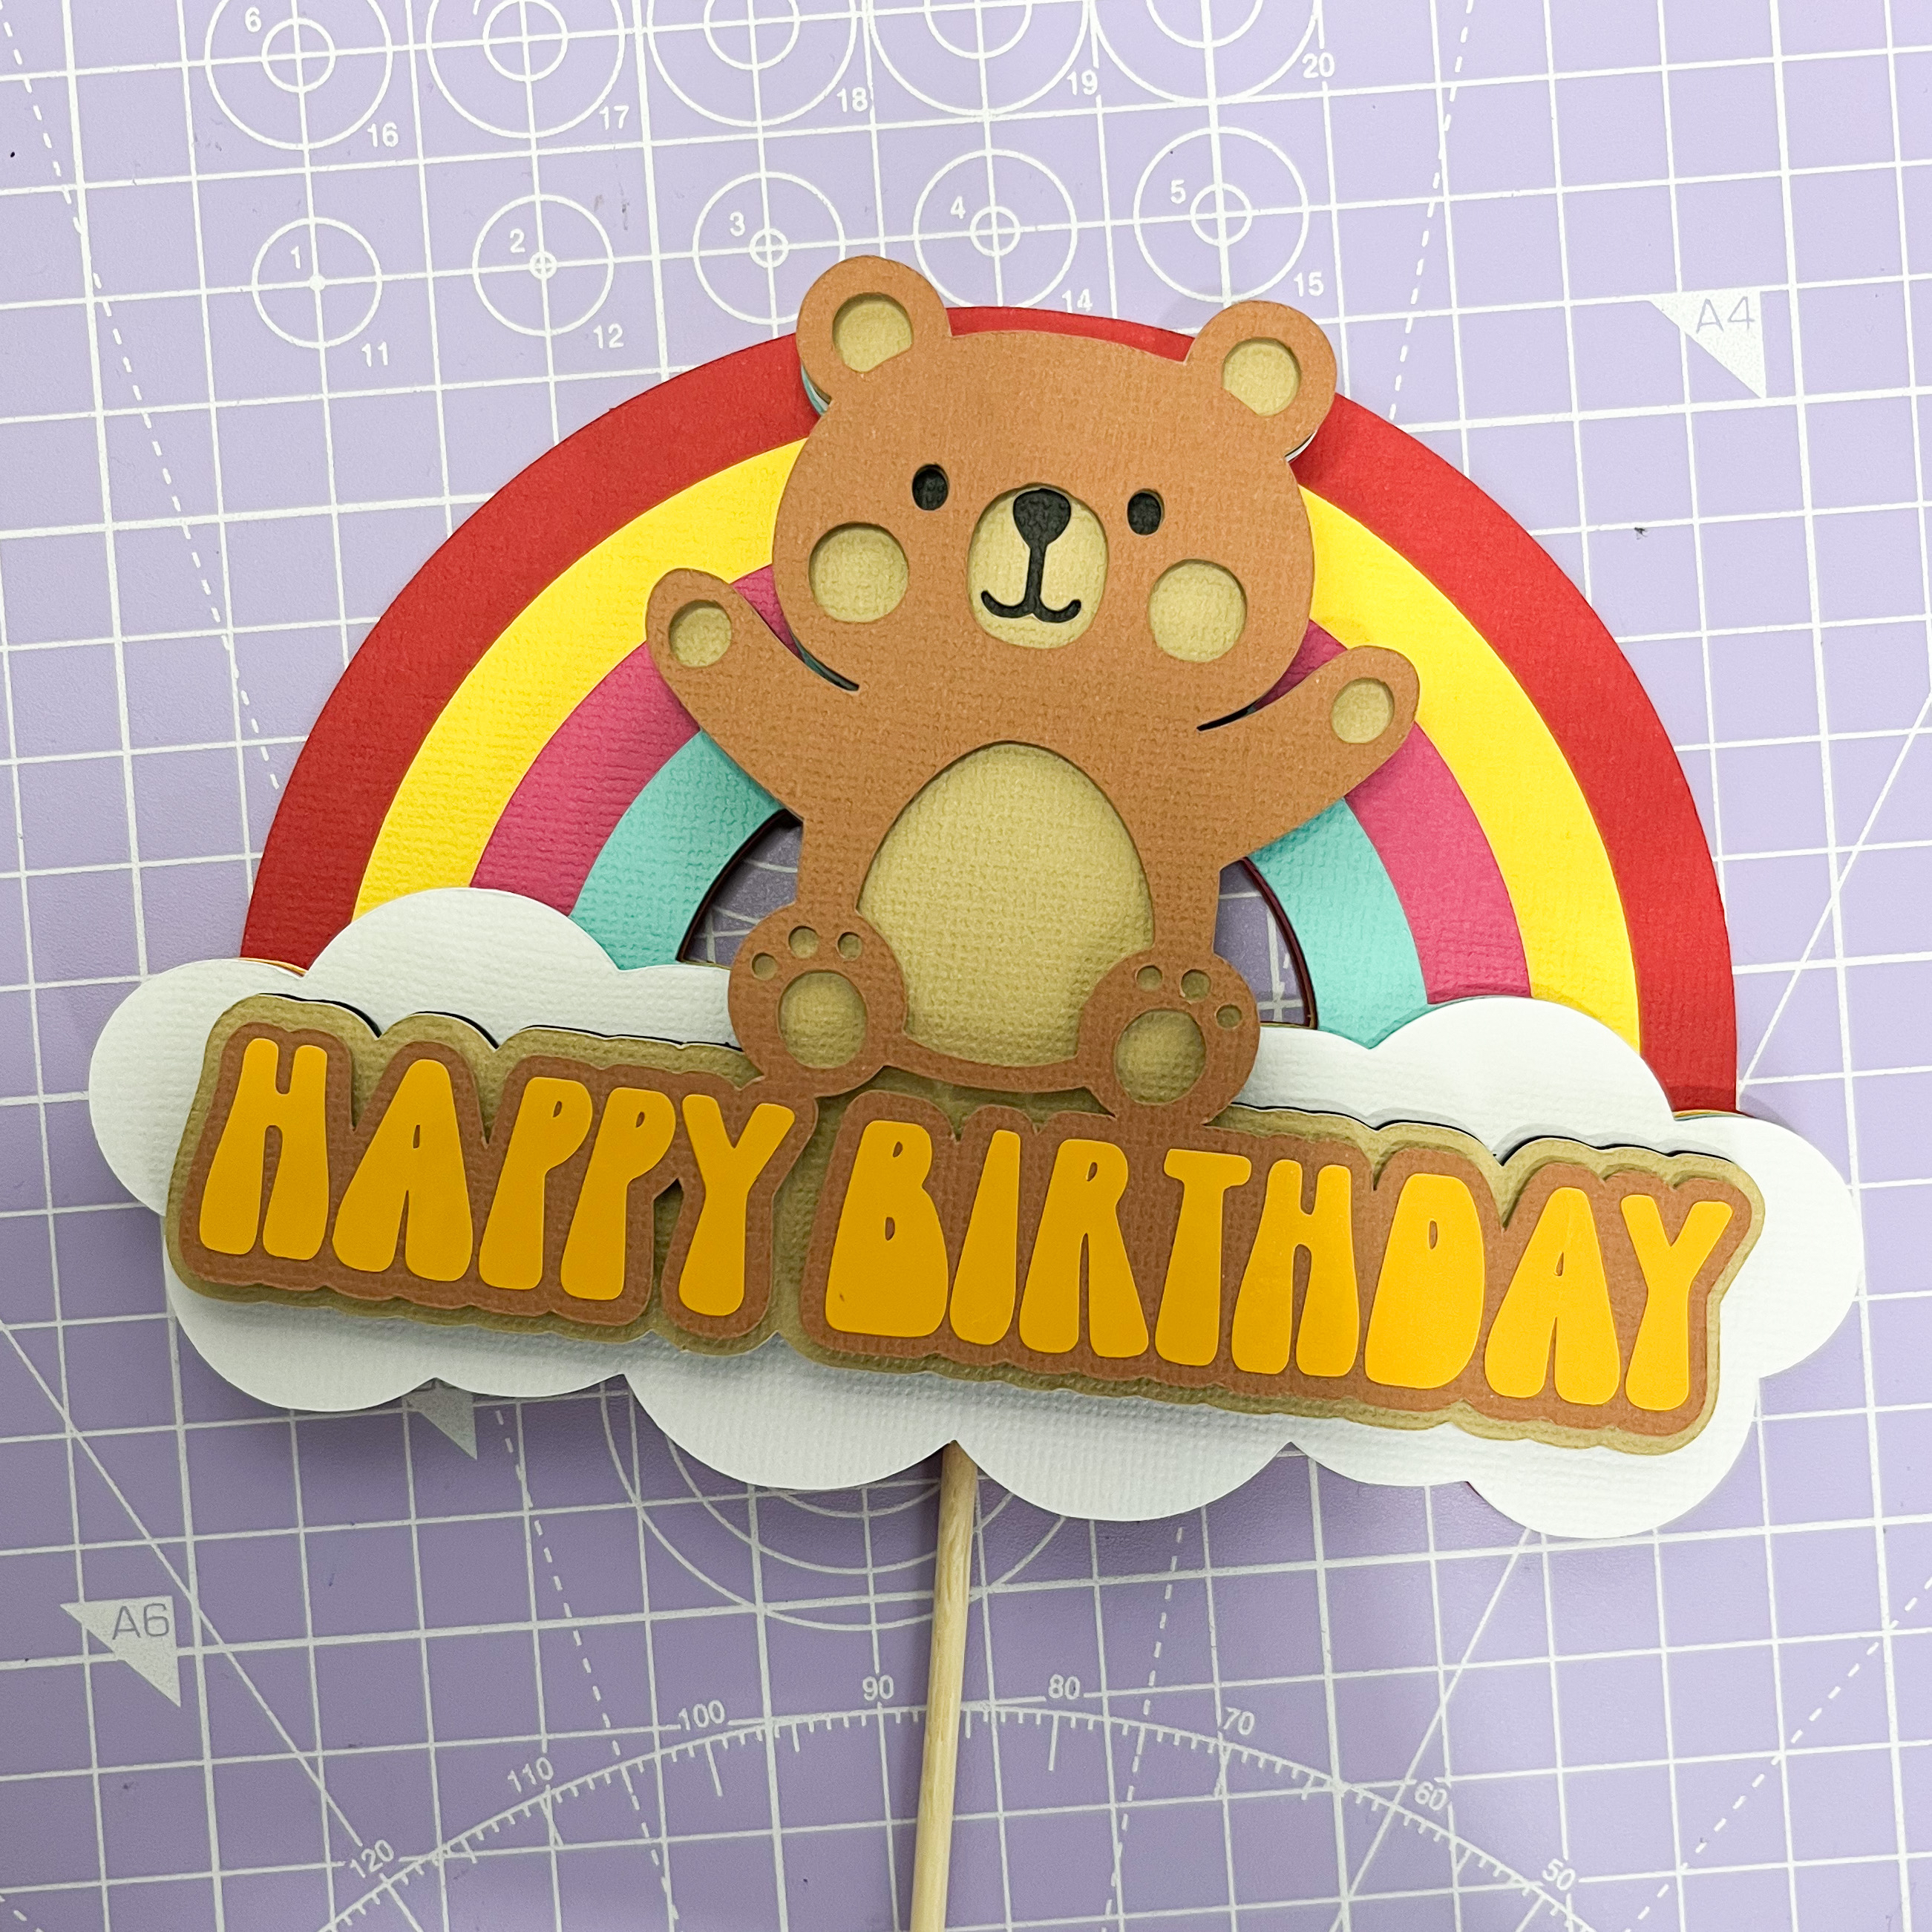
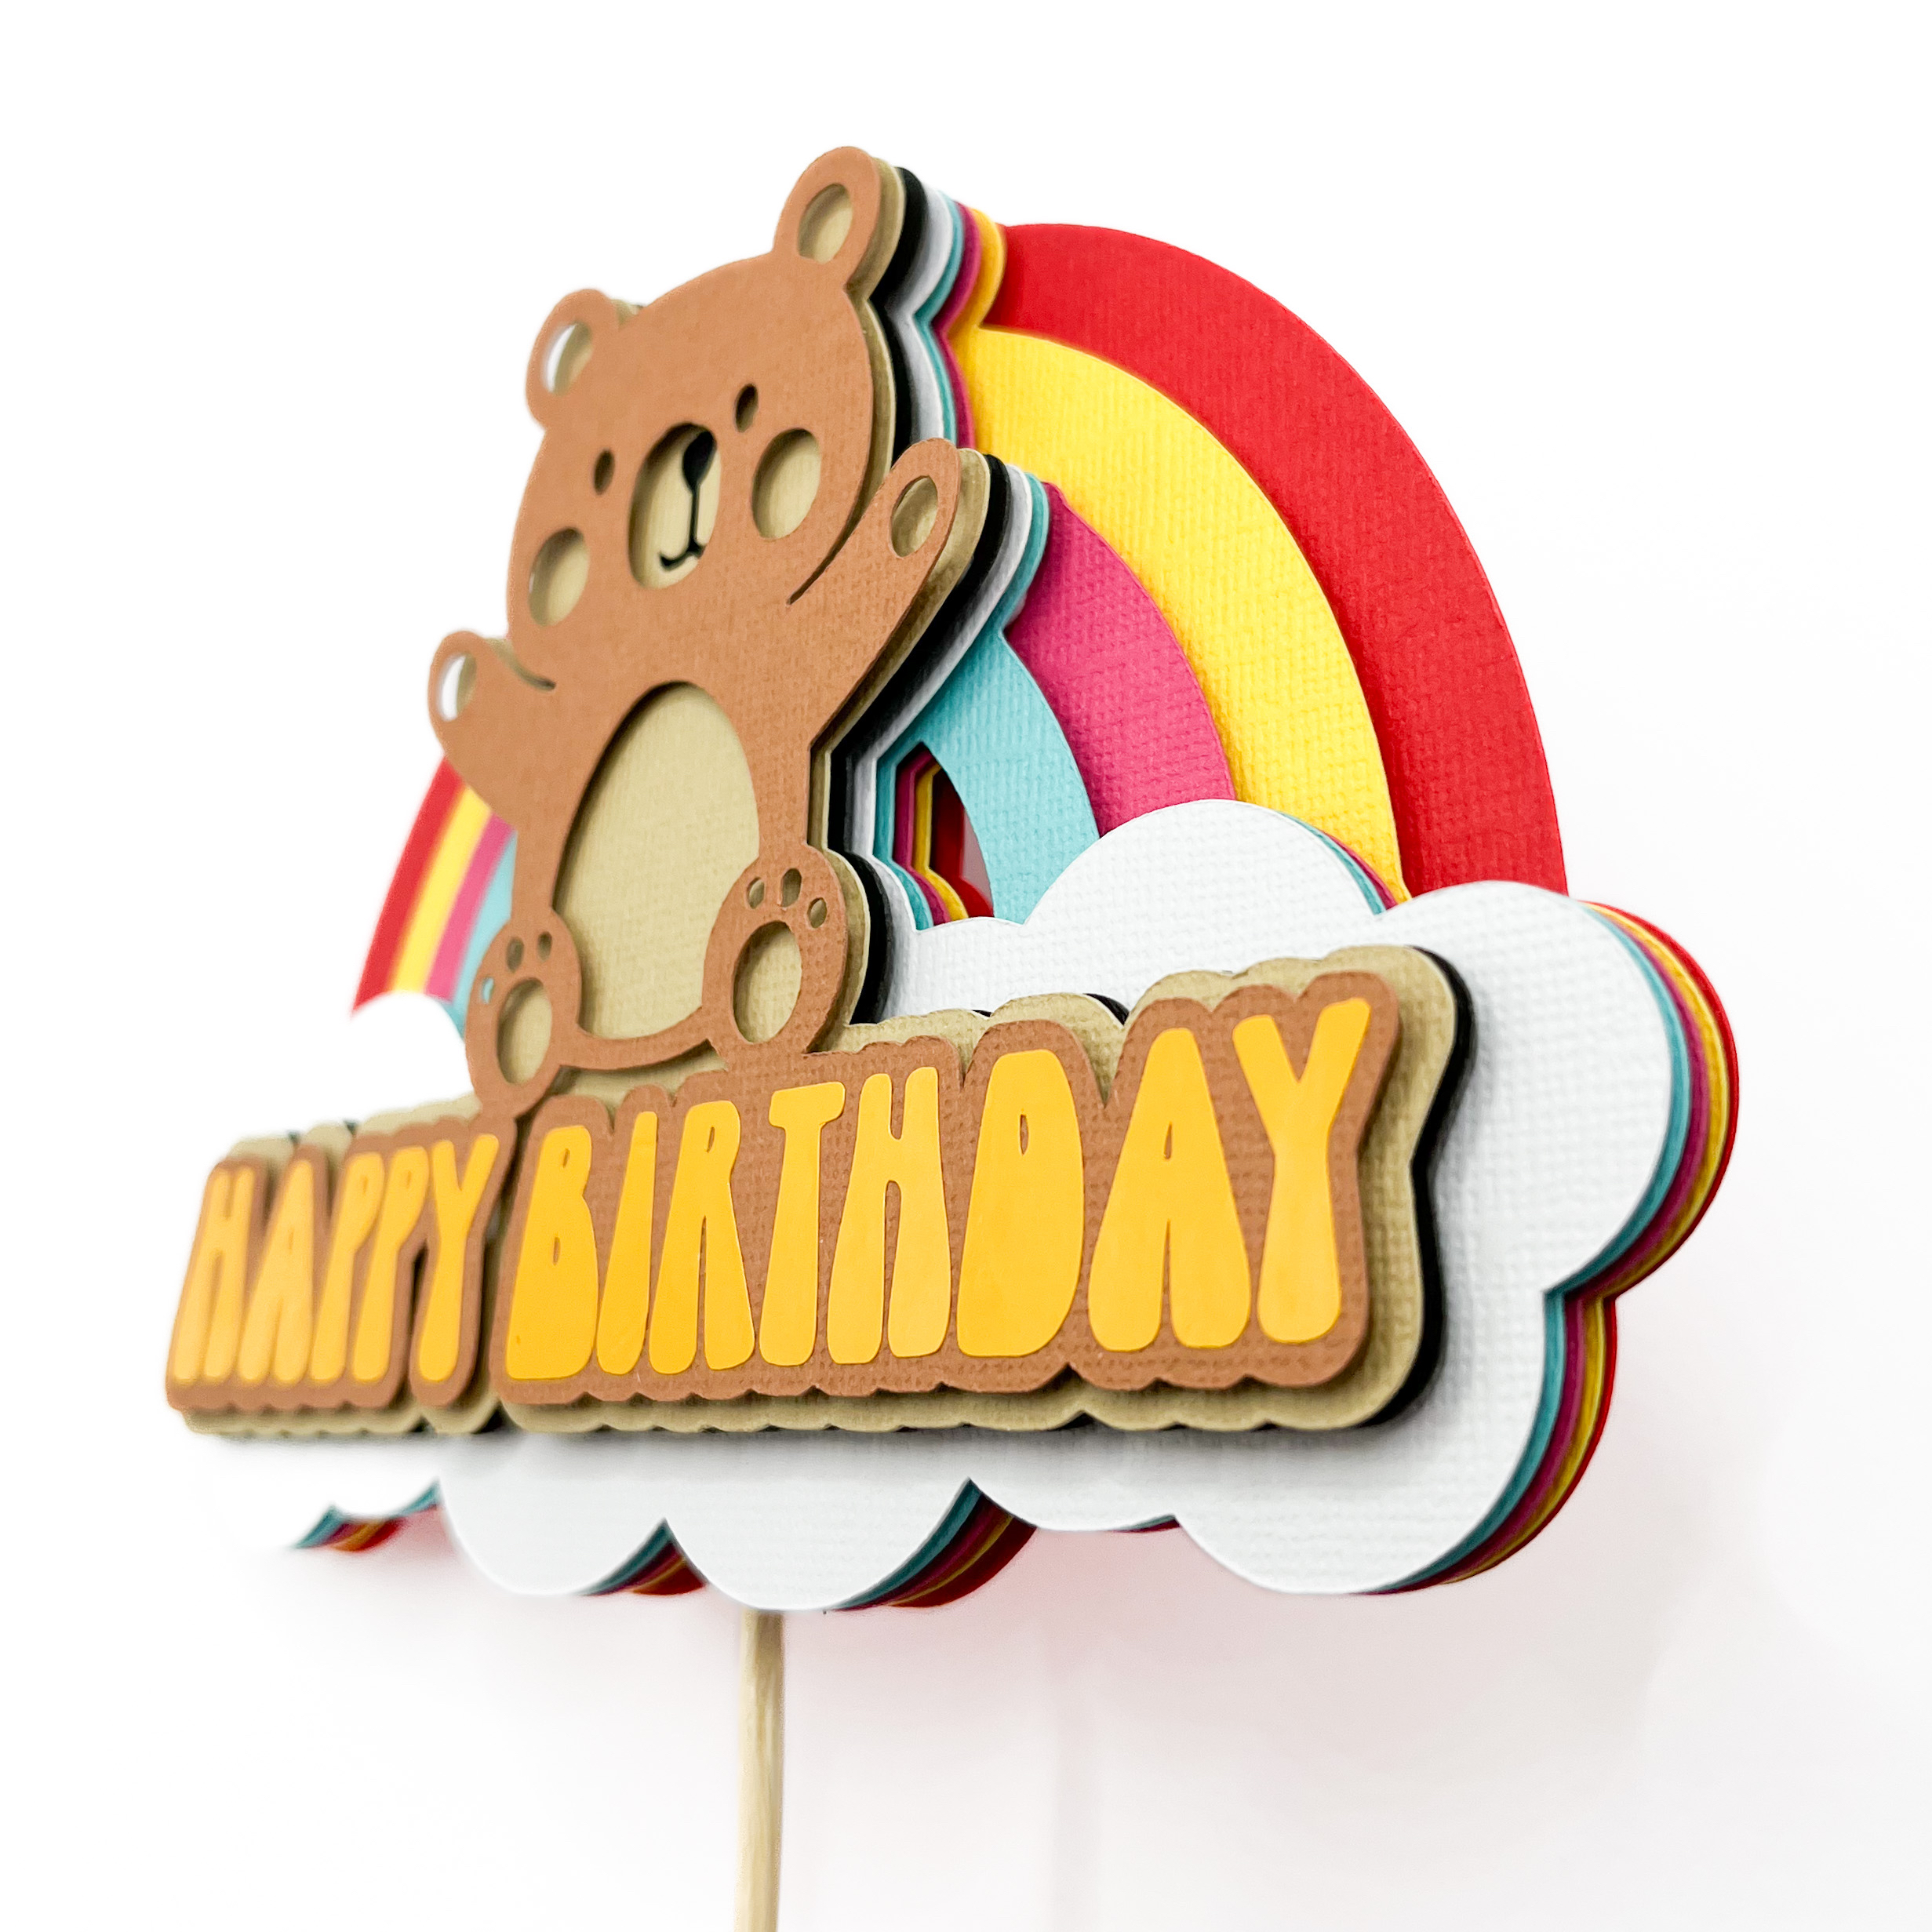
Create a fun and festive birthday cake topper featuring a cute bear, rainbow, and cloud using your Cricut, Silhouette, Scan n Cut, or other electronic cutting machine! This cheerful topper will add a personal touch and a pop of color to any birthday celebration.
Download the files for free below!
Please note that some of the links in this tutorial may be affiliate links, meaning I earn a small commission if you make a purchase through them—at no extra cost to you. This helps support my work and allows me to keep creating helpful content for you!
Download the file.
To download the file, click the link below, or use the alternative link to find the project in Cricut Access.
Materials you will need
To create your adorable cake topper, you’ll need the following materials:
A Cricut machine (or another compatible cutting machine) for precise cuts.
Card stock in red, yellow, pink, blue, white, black, light brown and brown colours.
Vinyl in yellow.
A standard grip mat to hold your cardstock while cutting.
Glue gun to attach the skewer.
Sticky foam tape or dots to assemble the layers and secure the pieces together.
With these materials, you'll be able to craft a charming birthday cake topper to make your celebration extra special!
Assembly
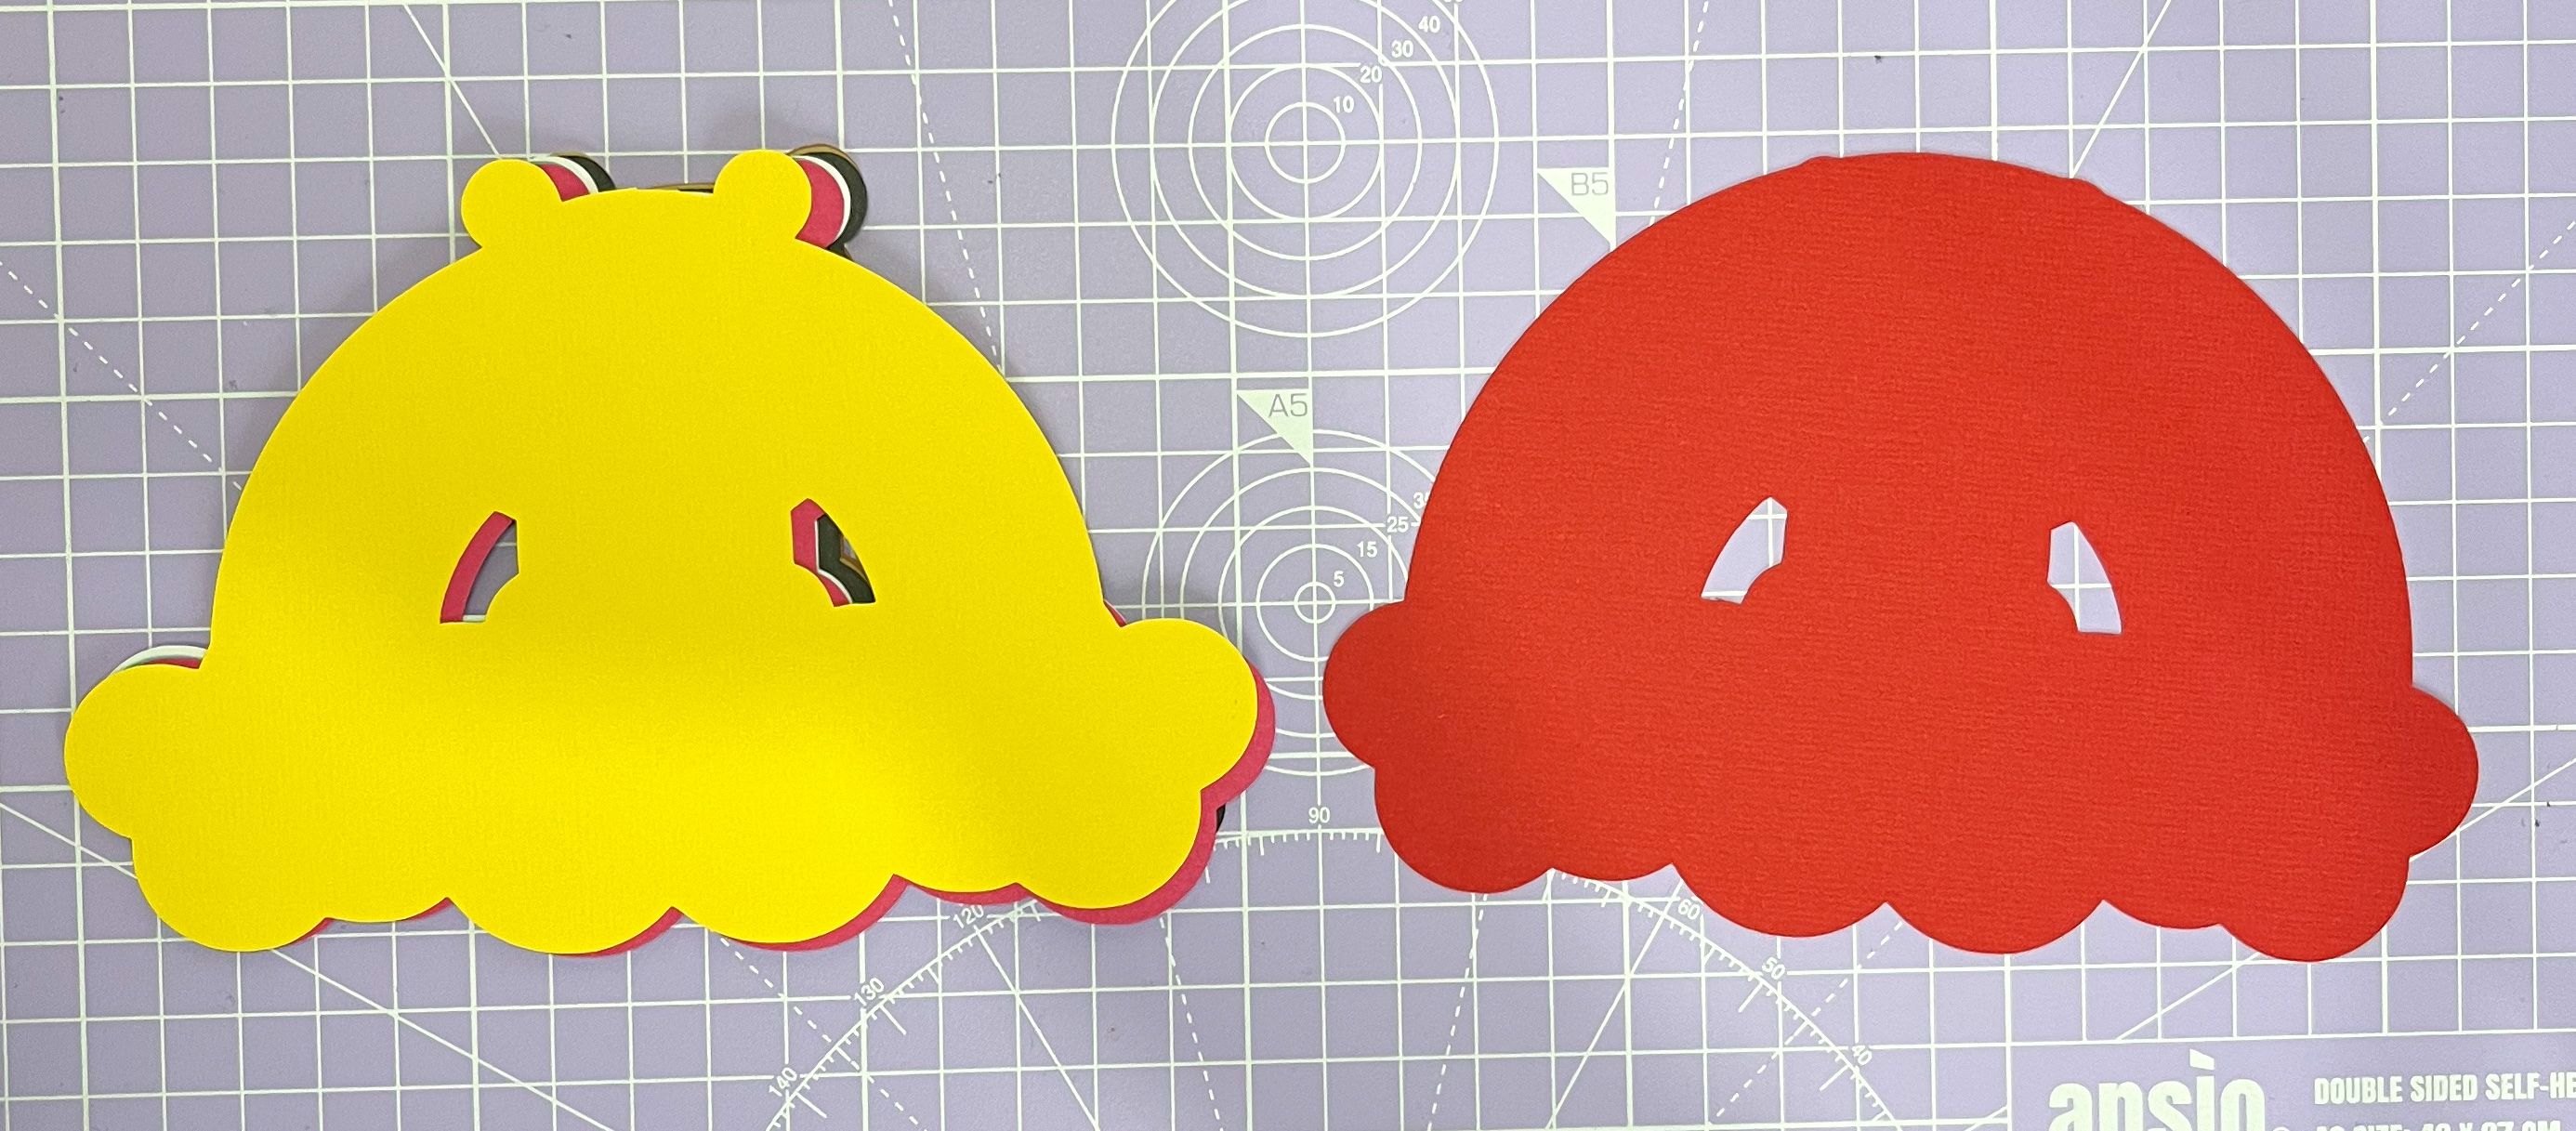
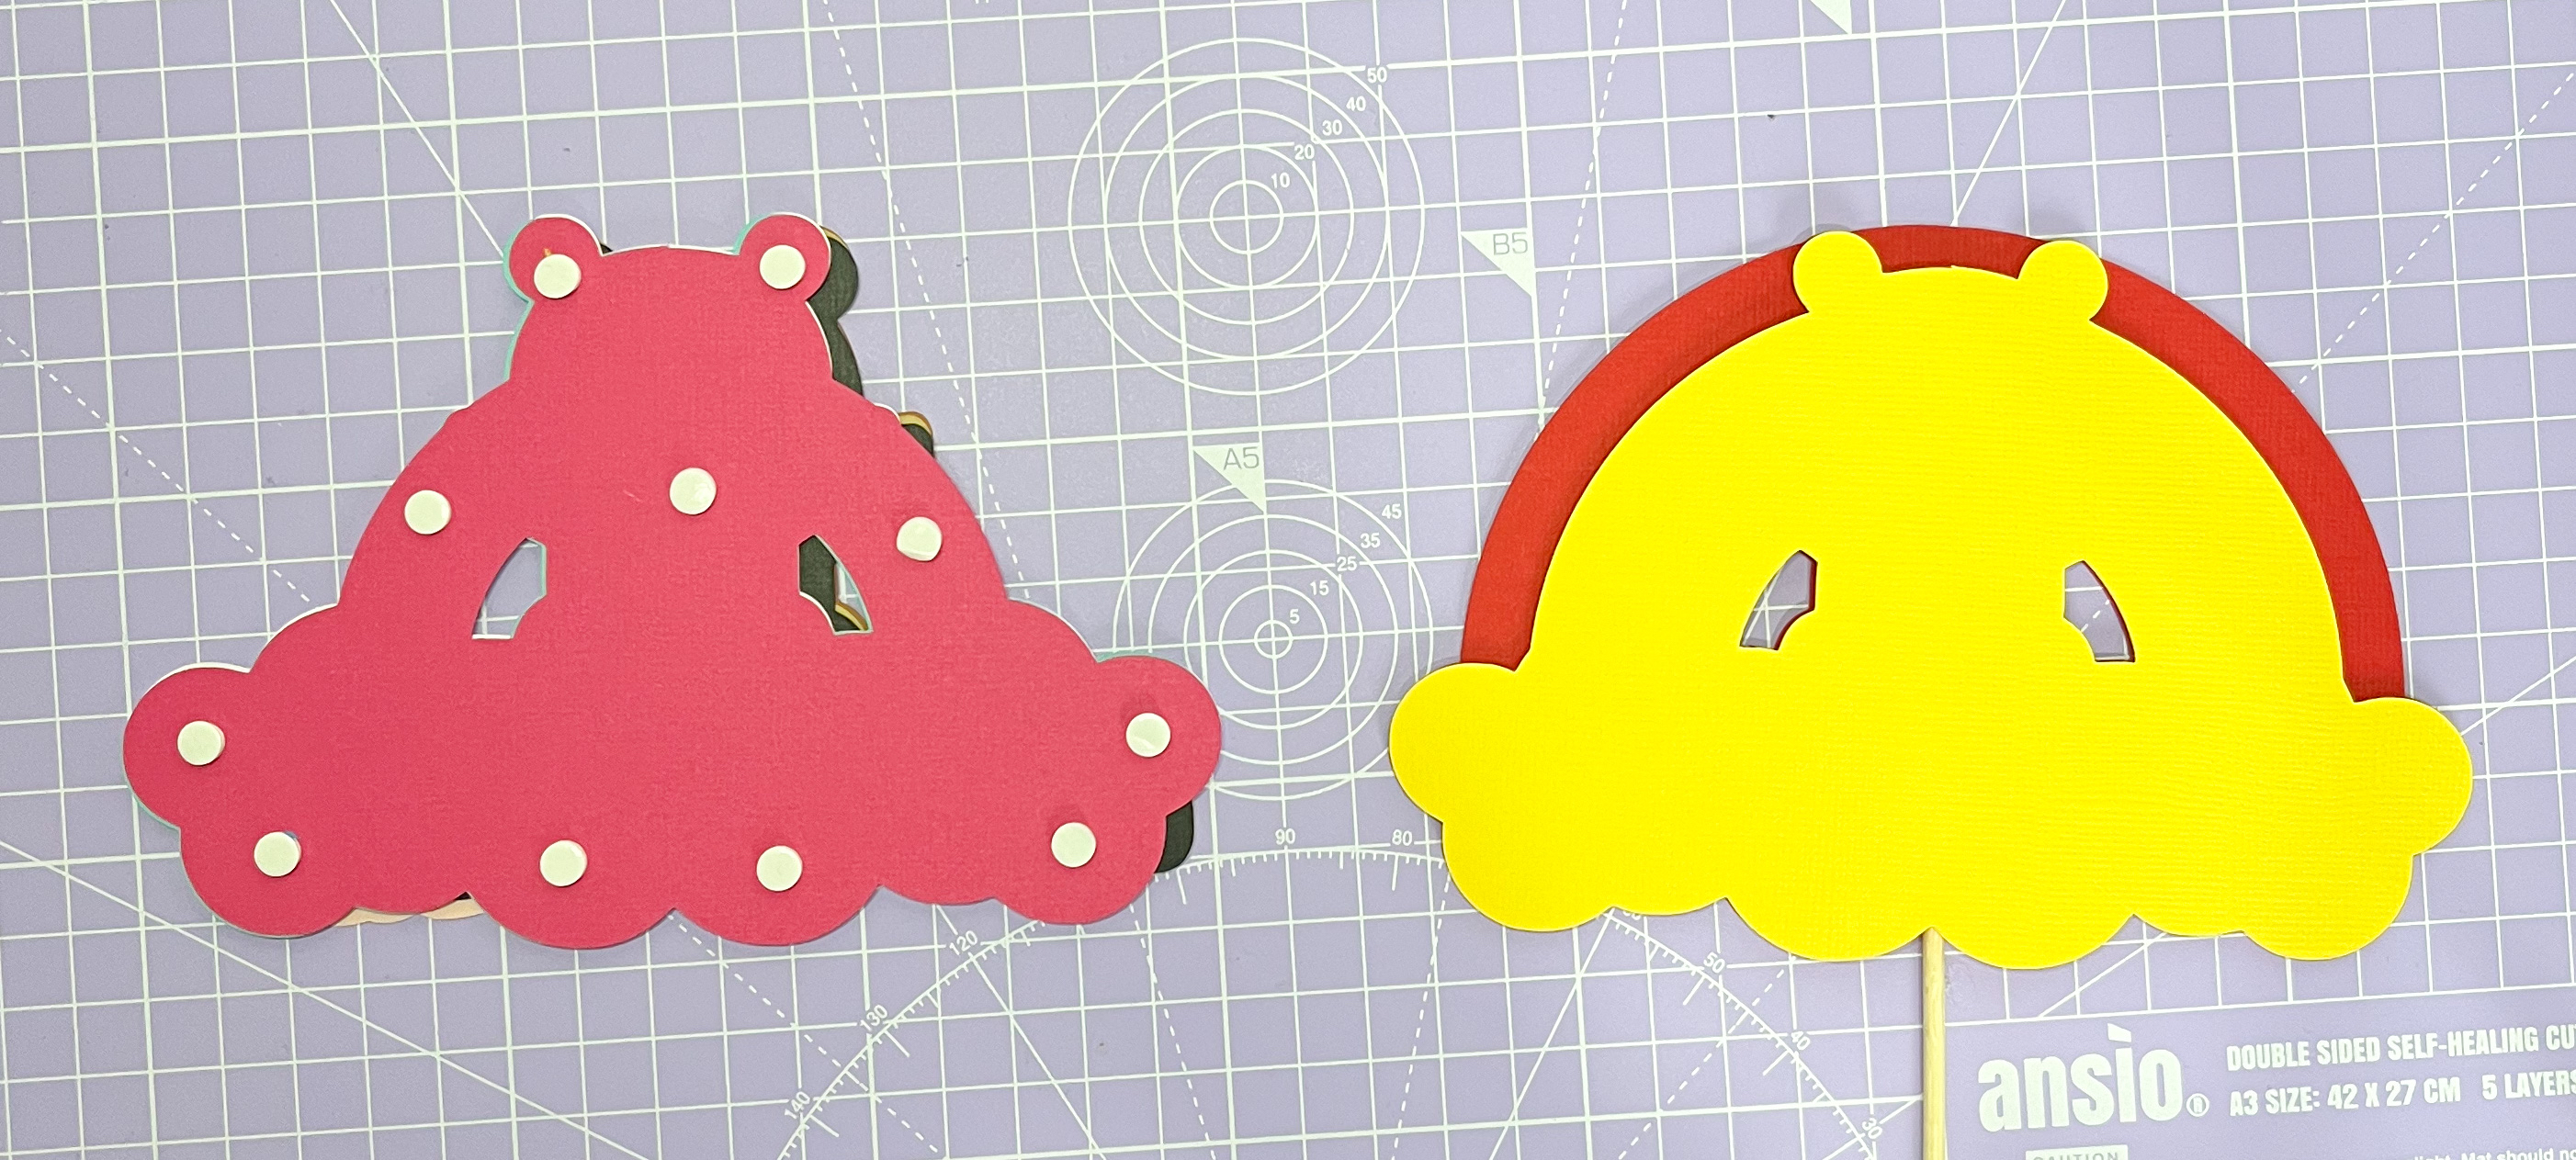
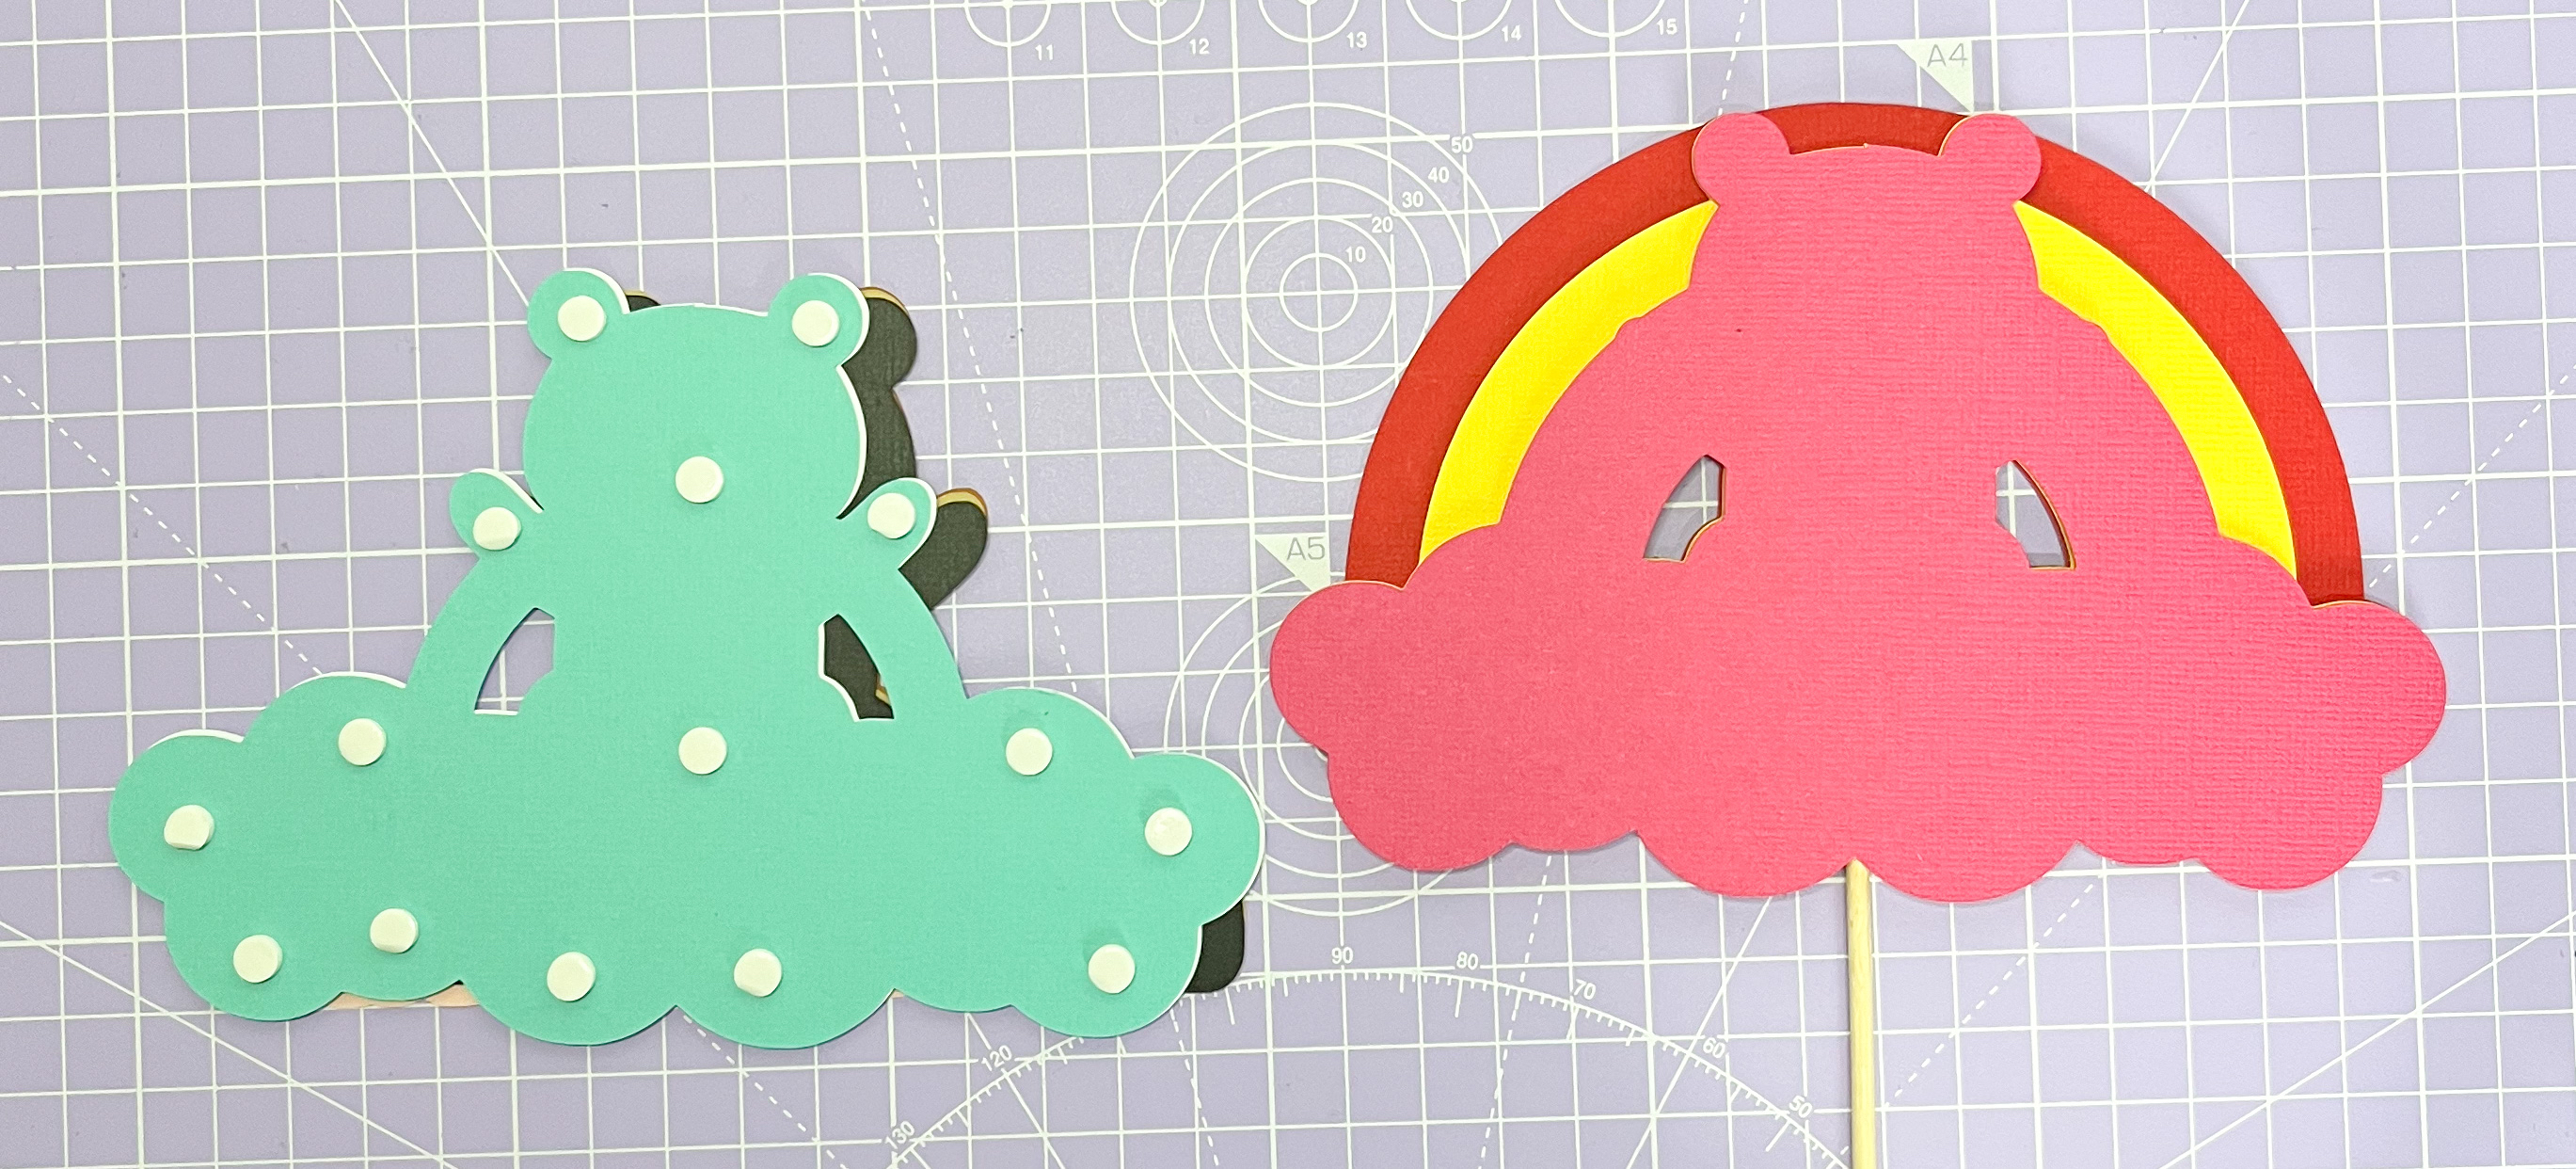
After cutting out all your card stock pieces, arrange them in order, then flip the entire stack so that the back red card stock piece is facing up.
Flip the red card stock piece over as shown in the photo photos below.
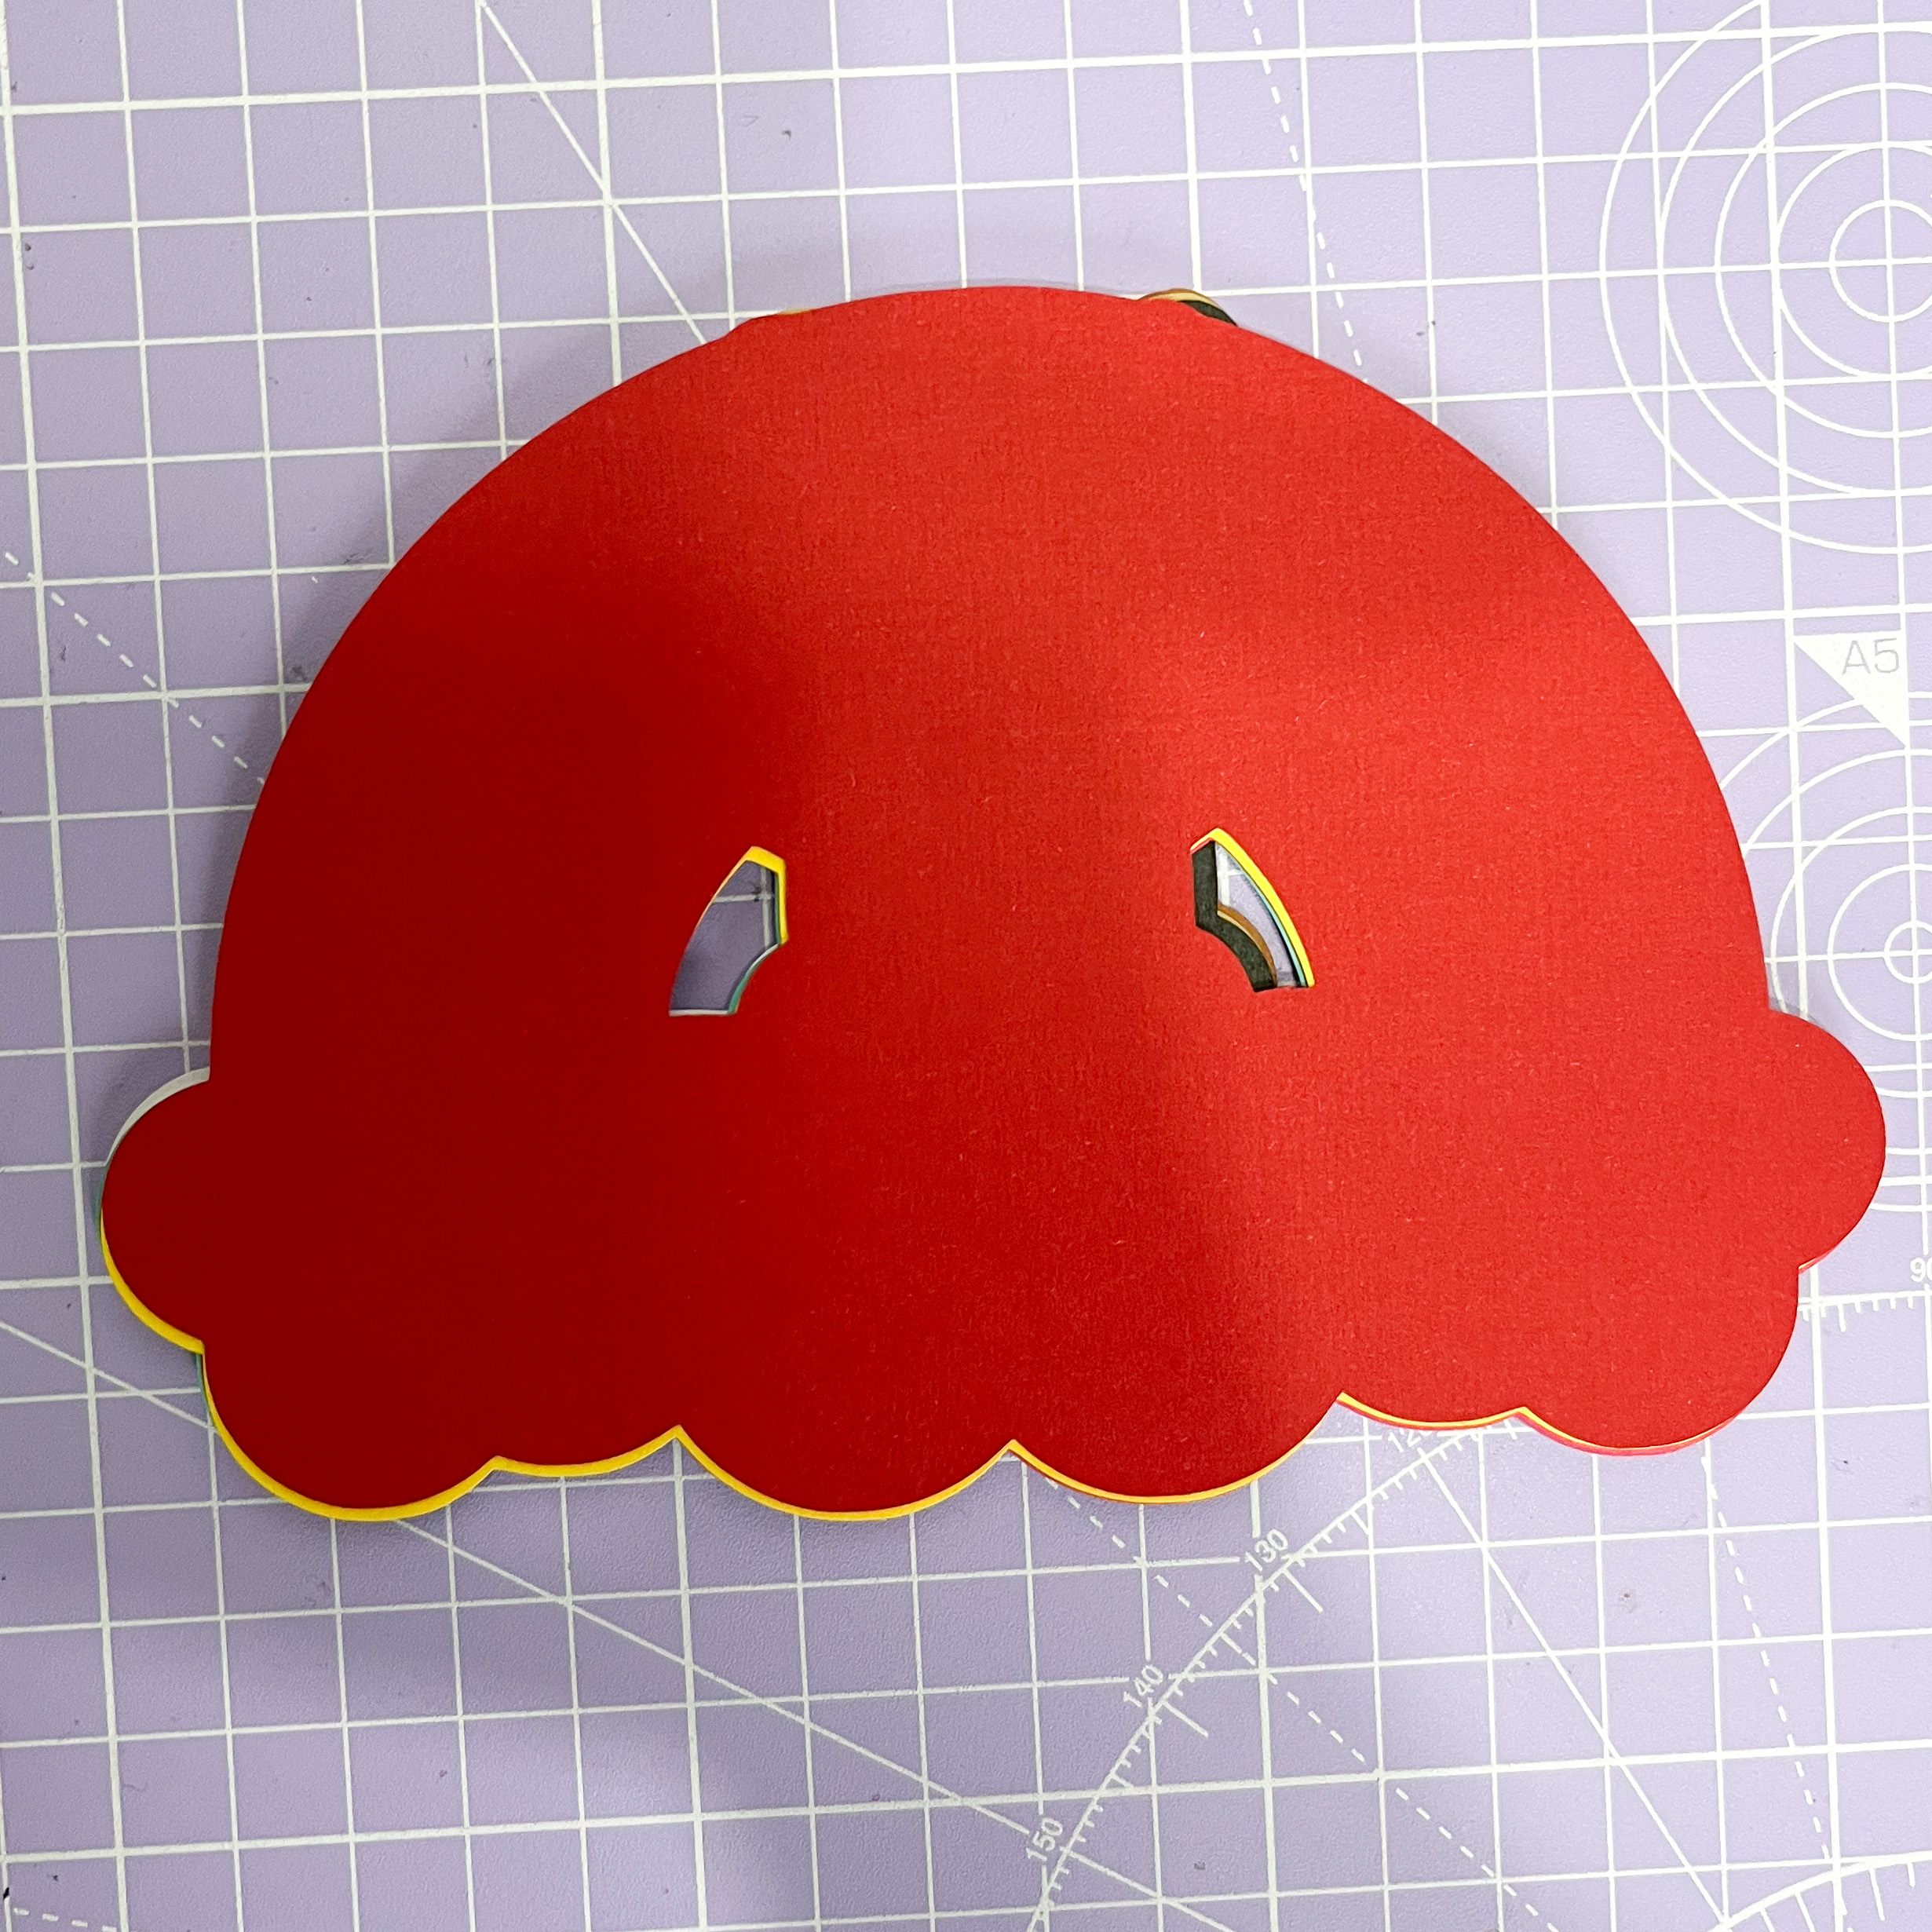
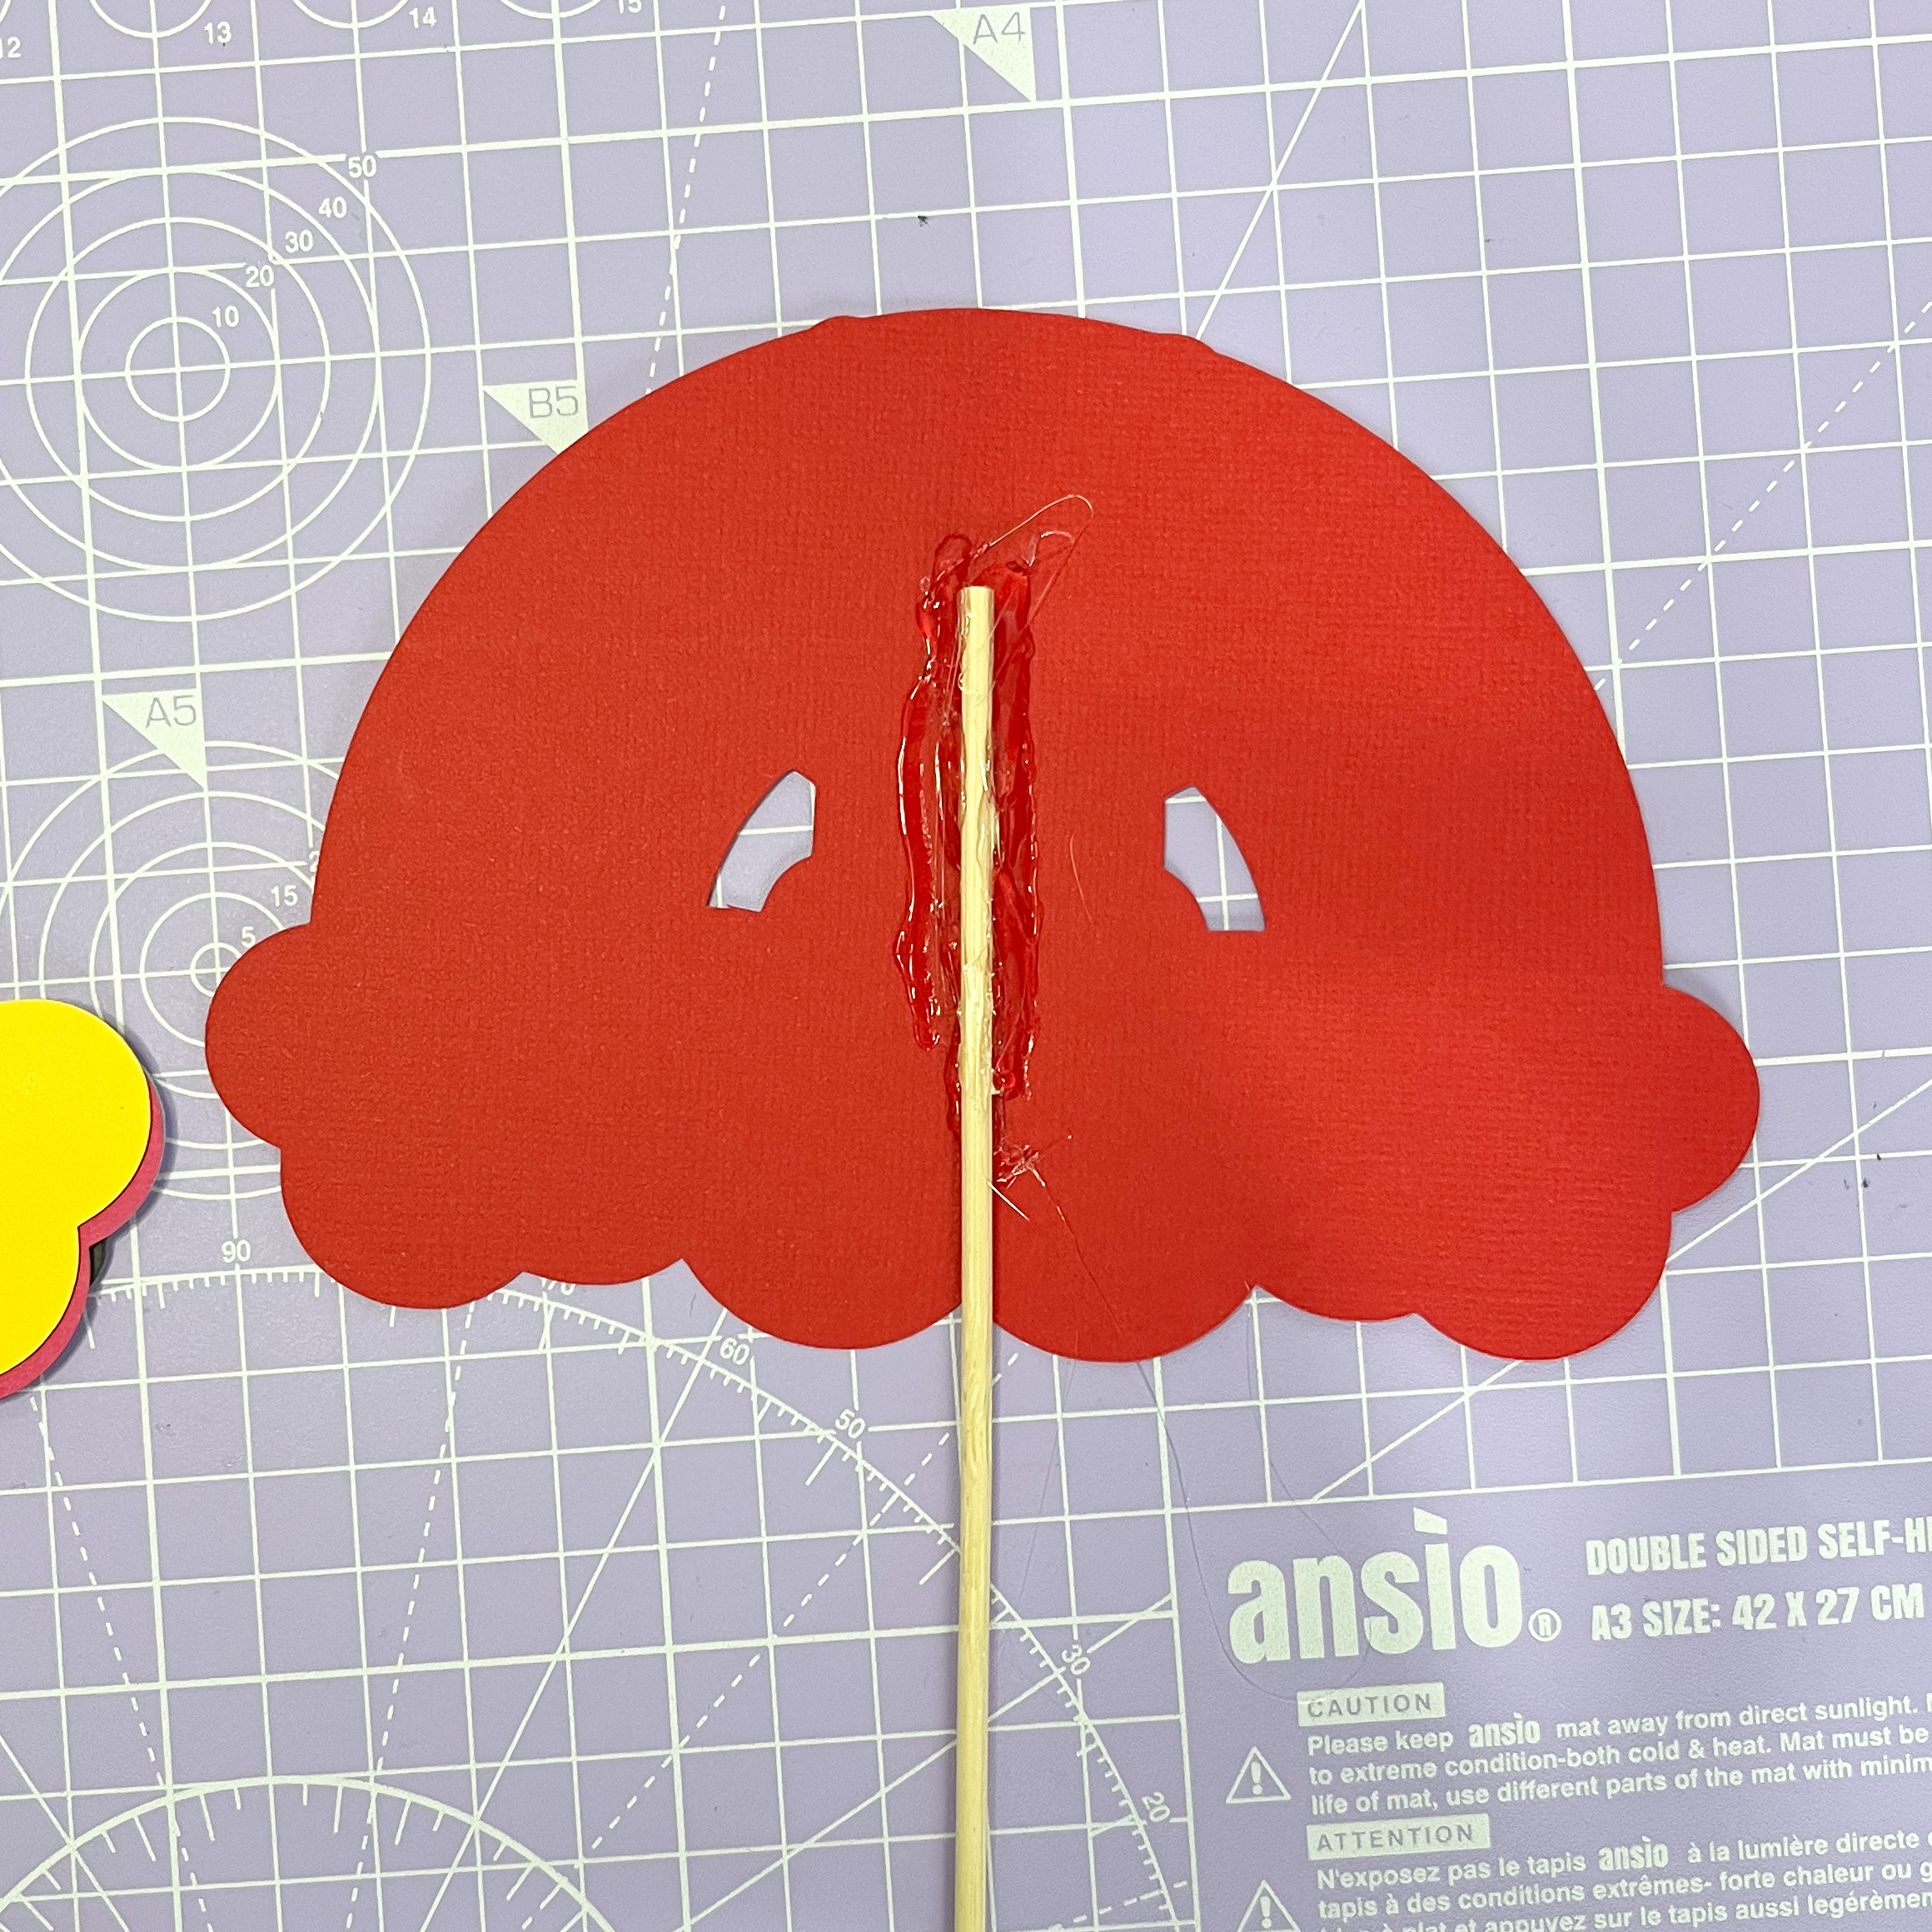
3. Using a glue gun, attach the skewer to the center of the red cardstock. Don’t worry about making it perfect—this part will be hidden in the final design, so it won’t be visible.
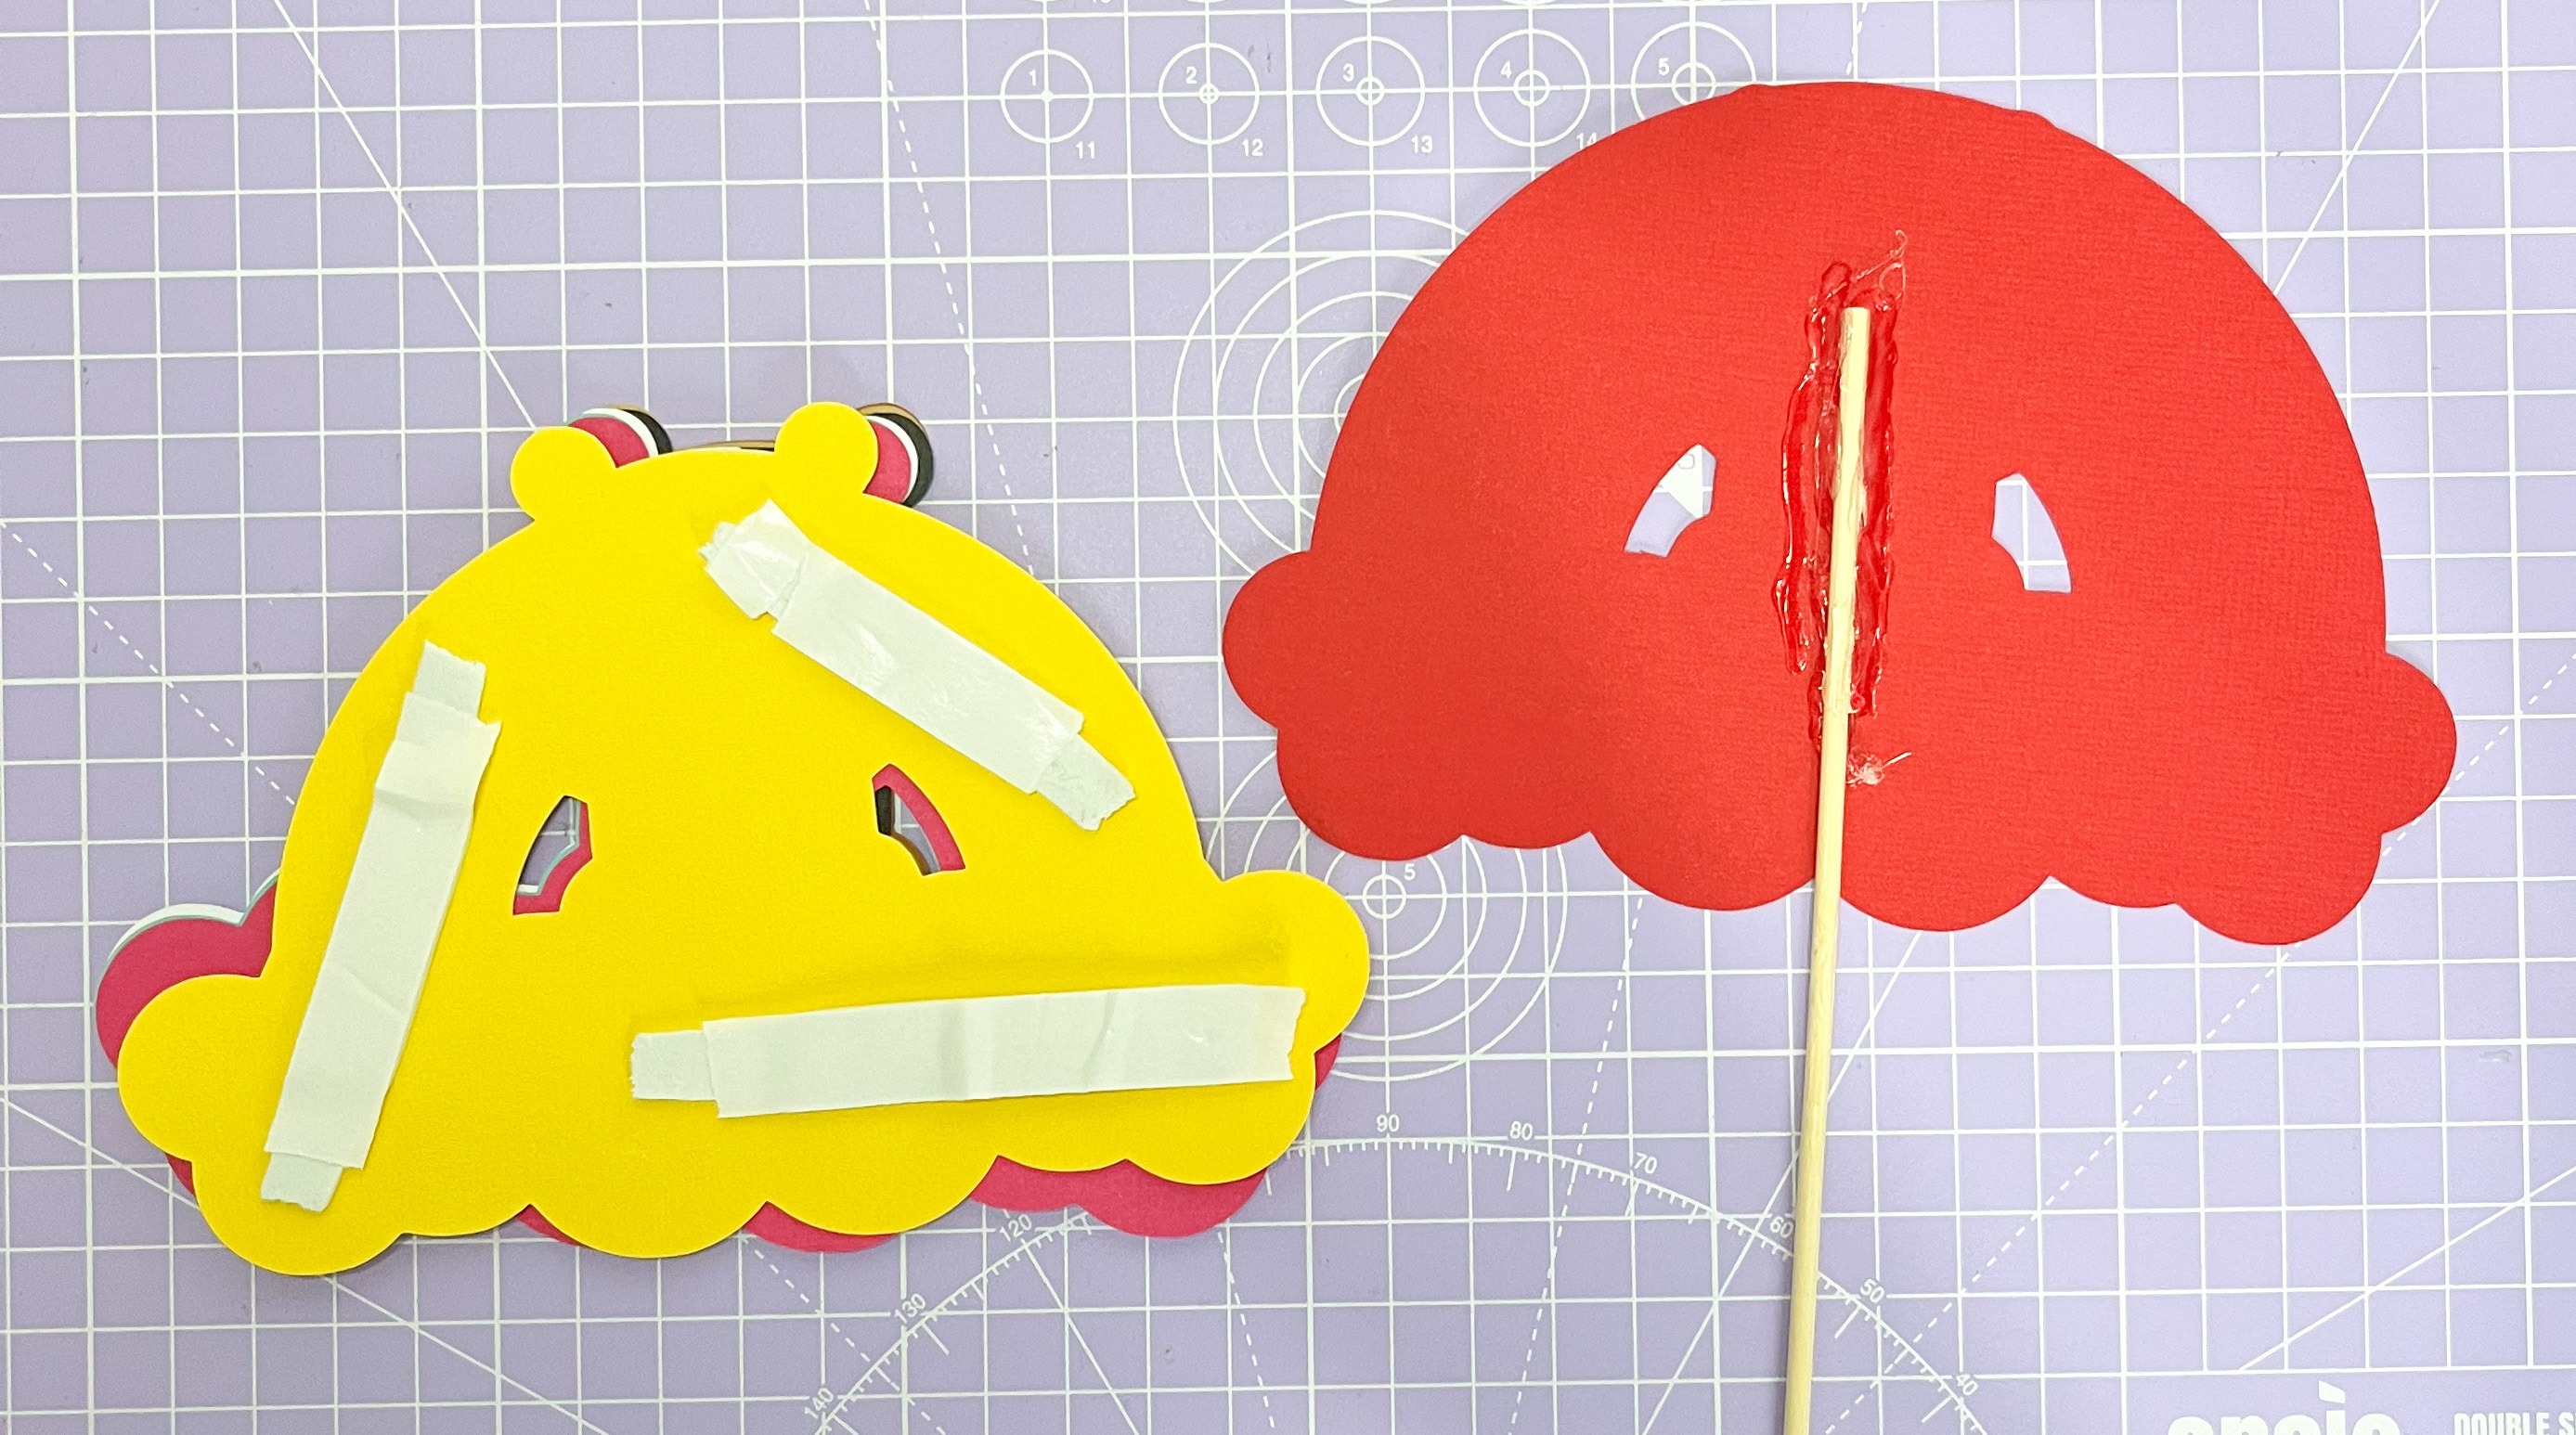
4. Apply thick sticky foam tape to the yellow cardstock piece as shown in the photo. If your tape is too thin and doesn't match or exceed the thickness of the skewer, consider using a double layer of tape. This will ensure the design lays flat and isn't raised by the skewer.
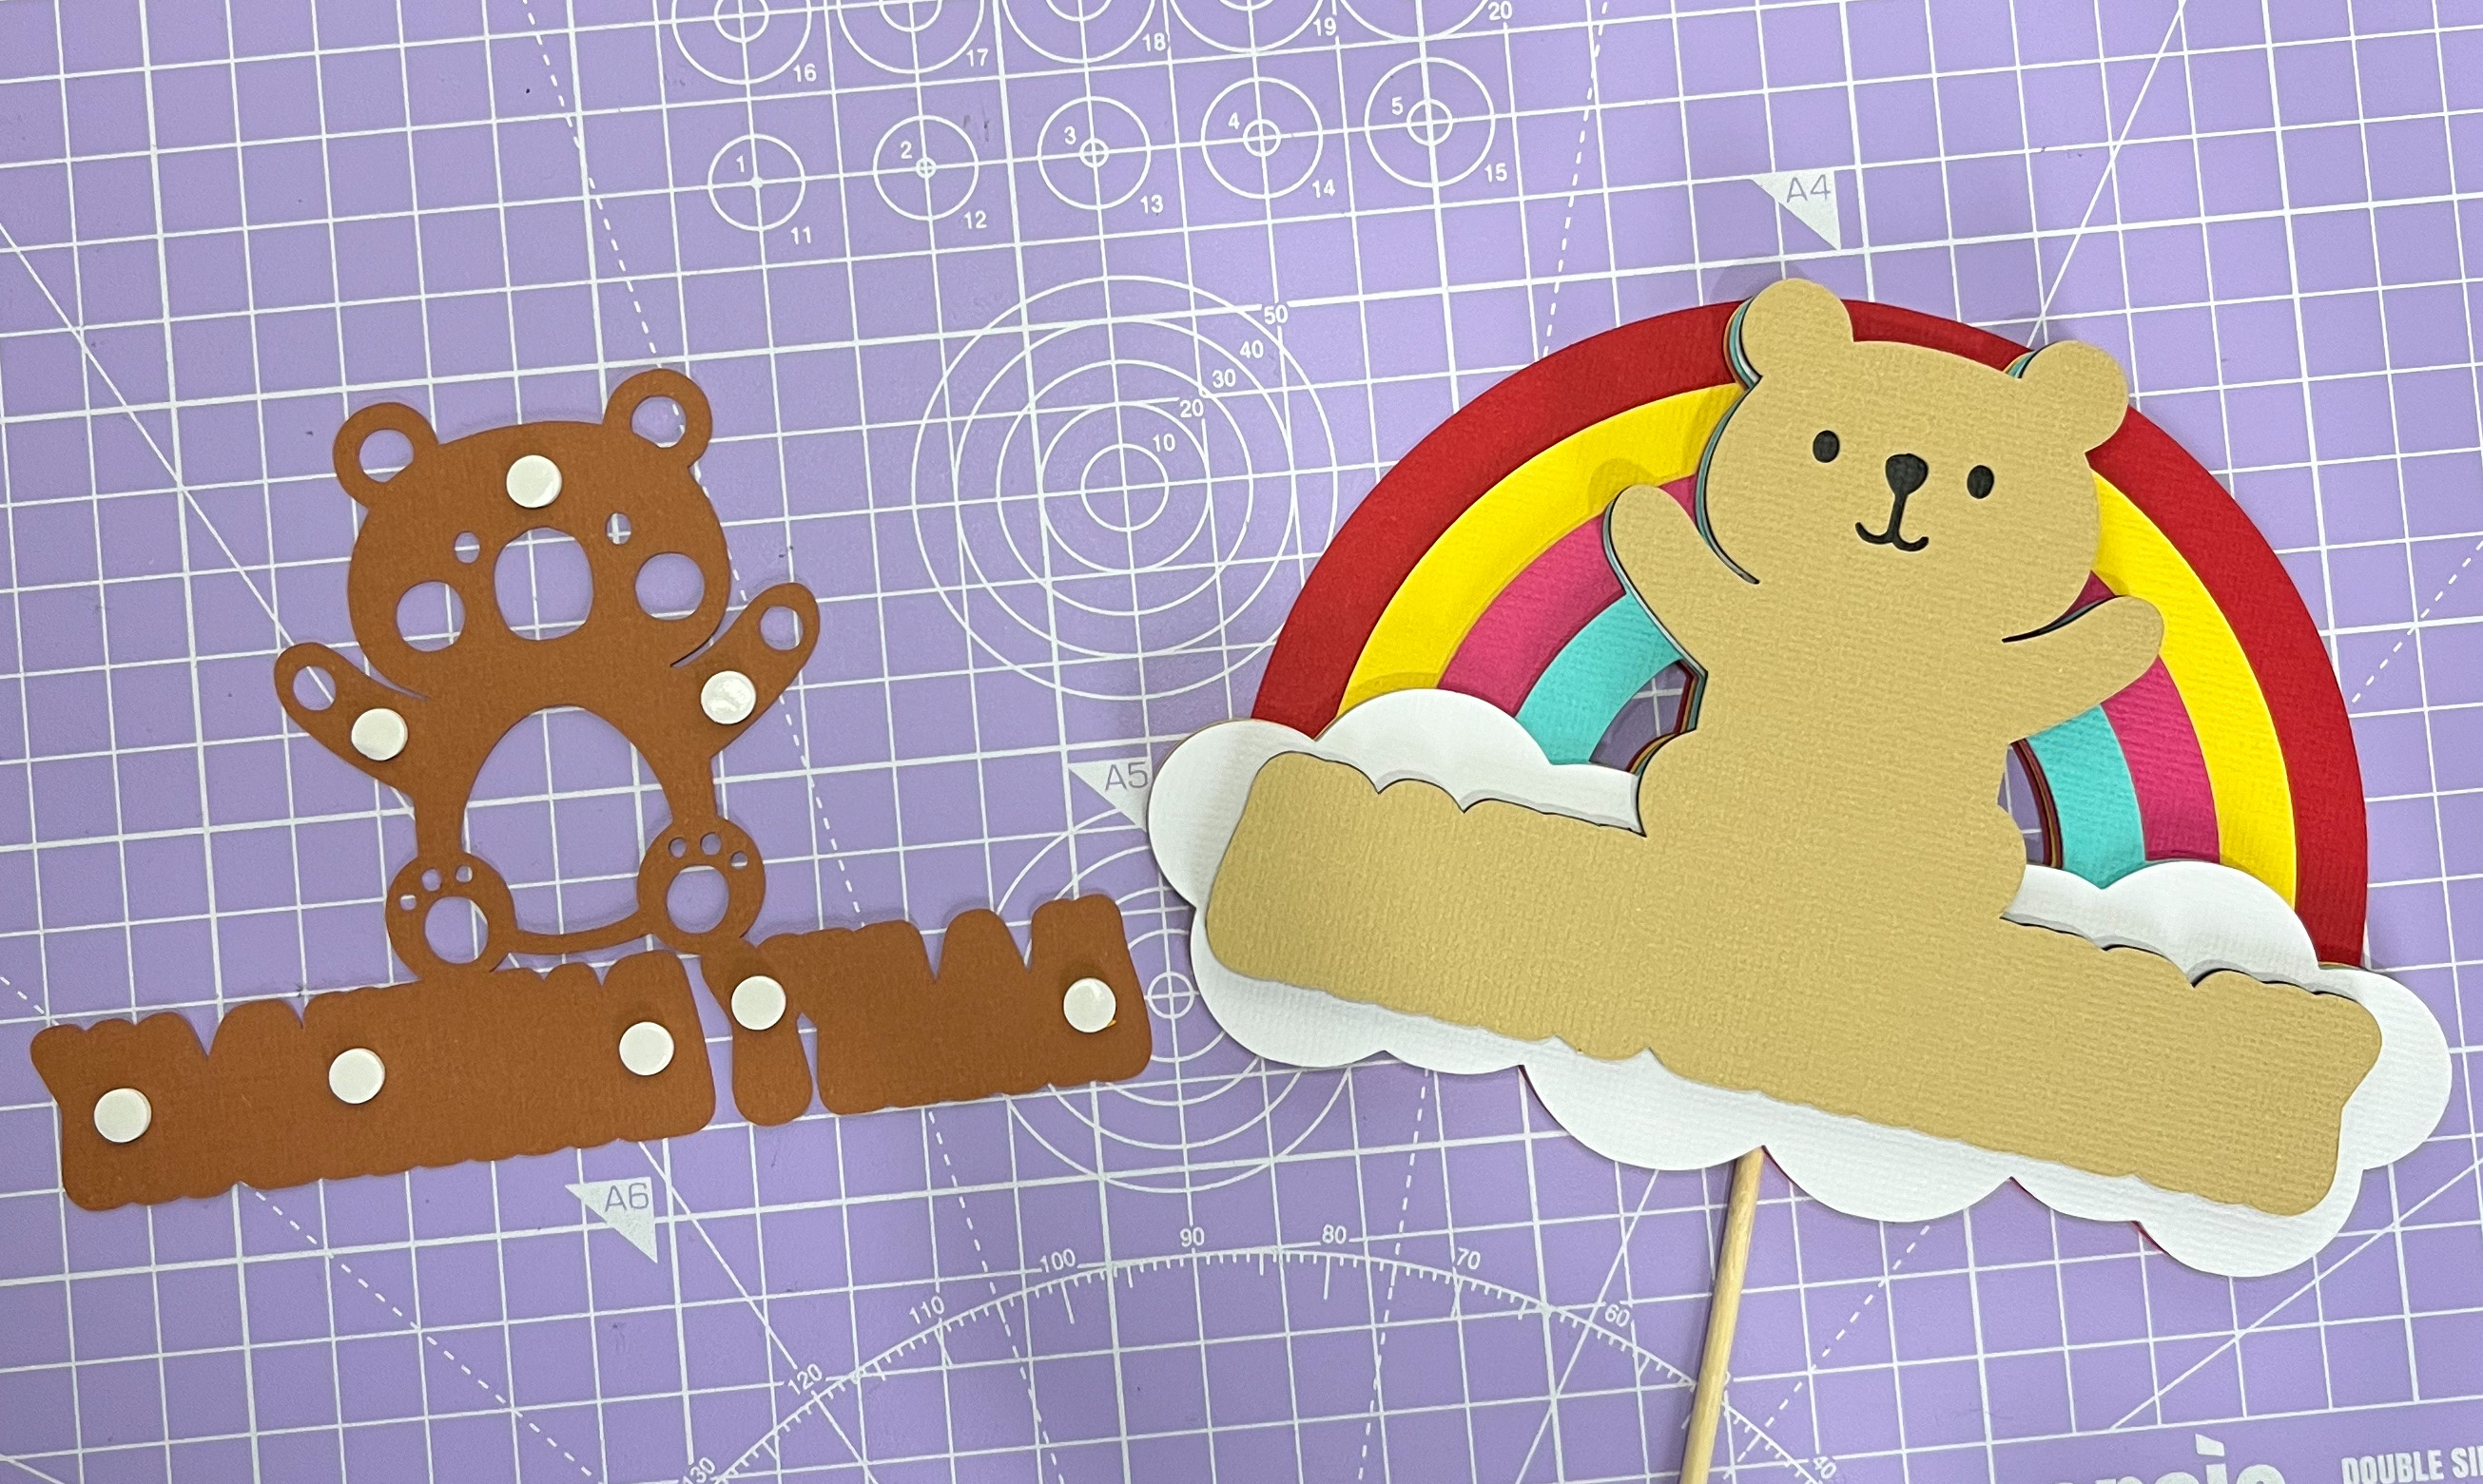
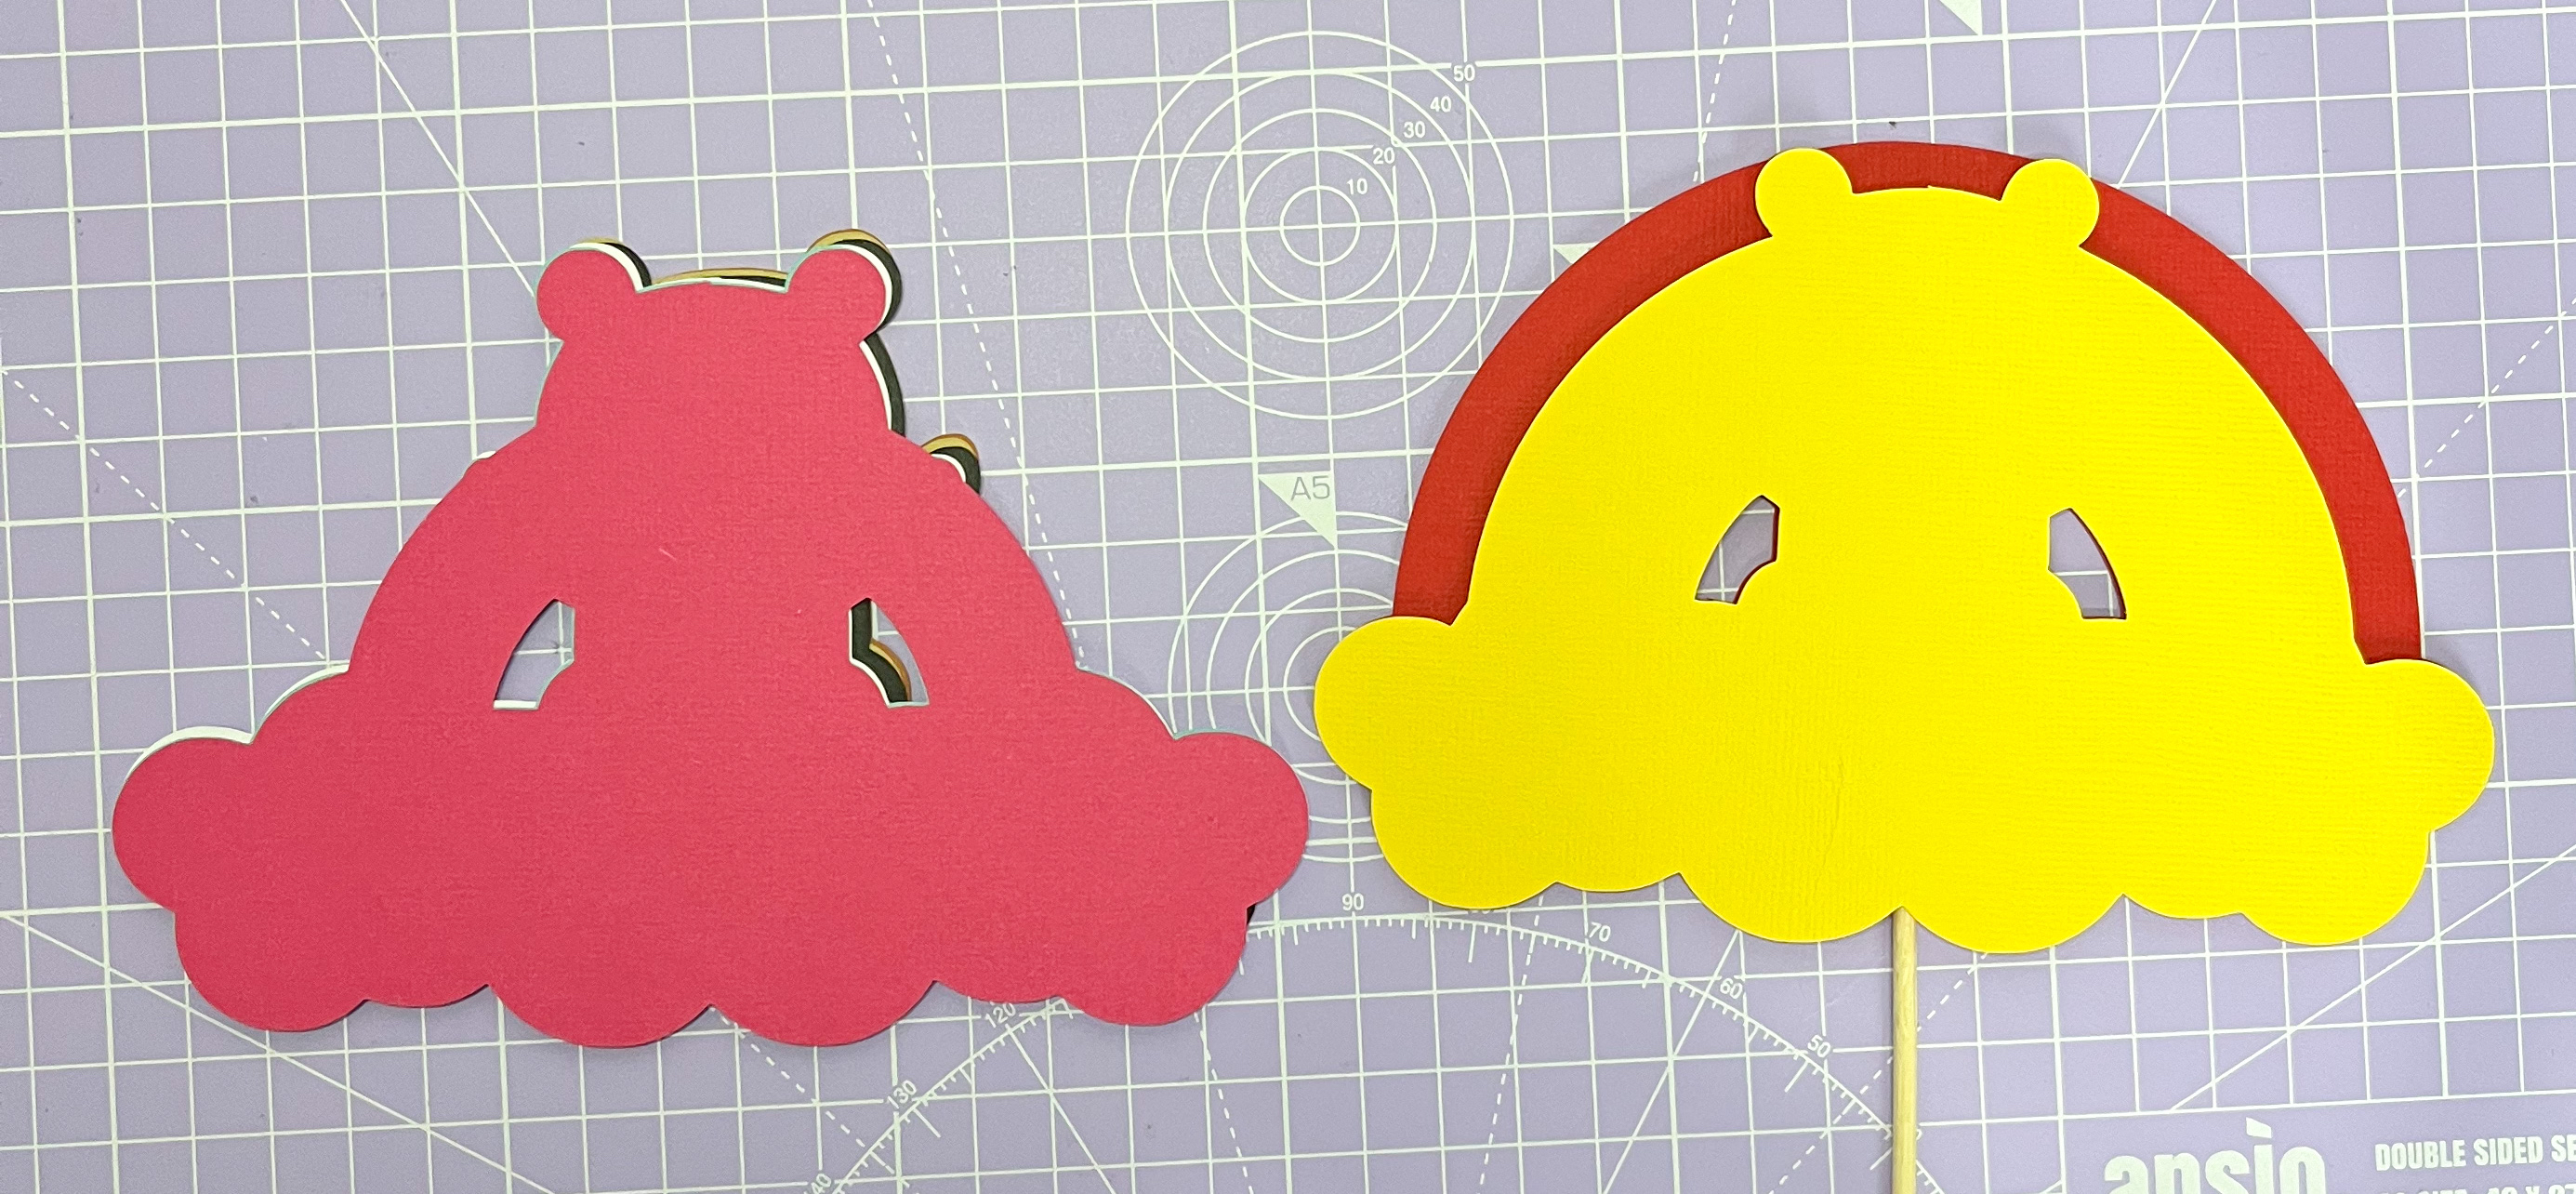
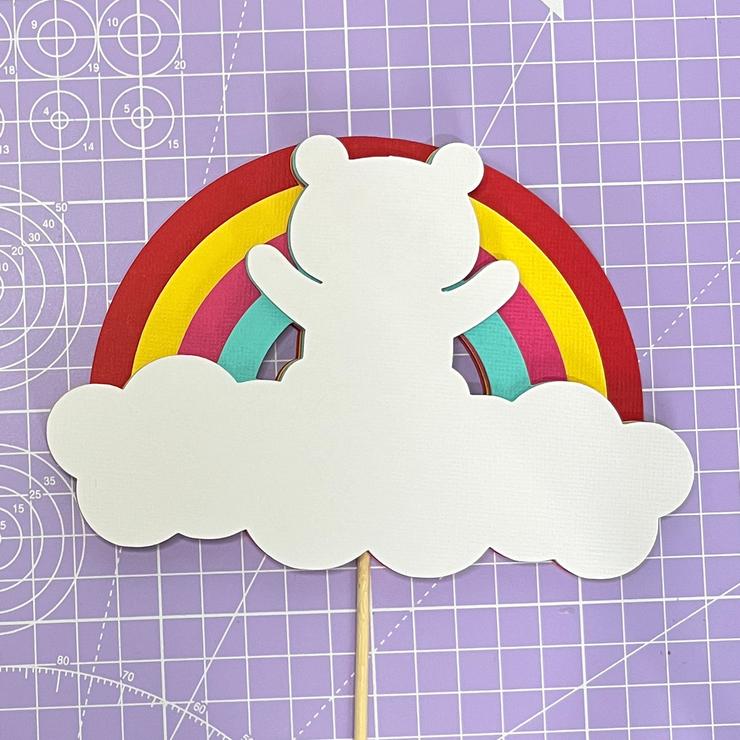
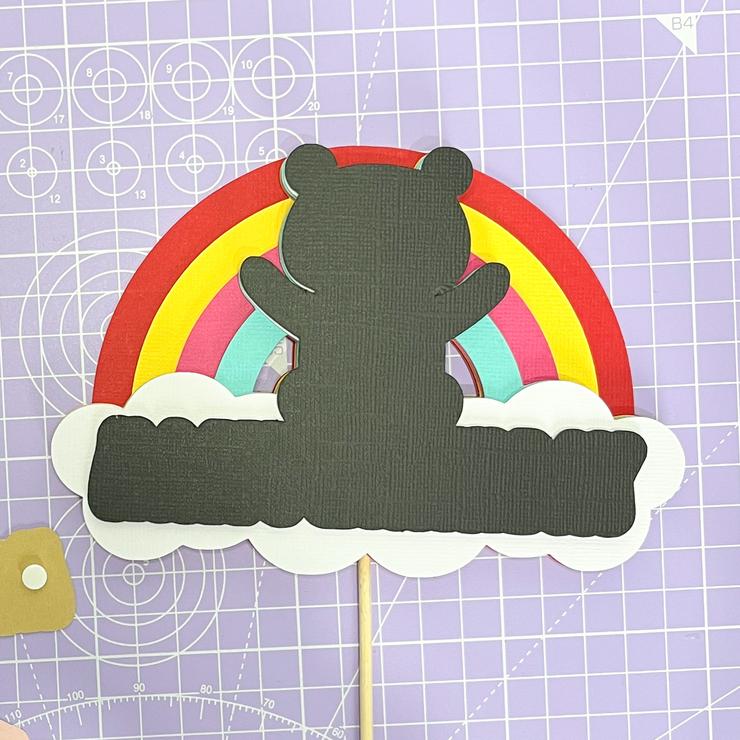
5. Using foam dots or tape, layer the card stock pieces in the following order: yellow, pink, blue, white, black, and light brown. Ensure each layer is securely attached to create a dimensional effect in your design.
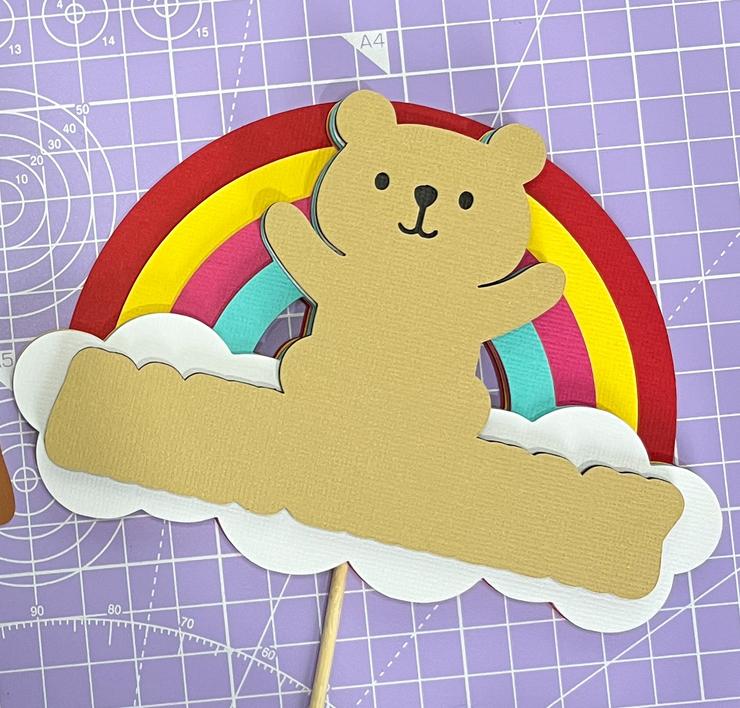
Applying the vinyl.
Weed your vinyl to reveal the happy birthday words.
Place the transfer tape over the wording, pressing it down gently. To make the tape less sticky and easier to remove, press it onto a cotton hand towel beforehand. This will prevent it from pulling up any delicate pieces when you remove it.
Peel the white backing off, then position the writing on the dark brown card stock piece,
Remove the transfer, leaving the vinyl writing on the card stock.
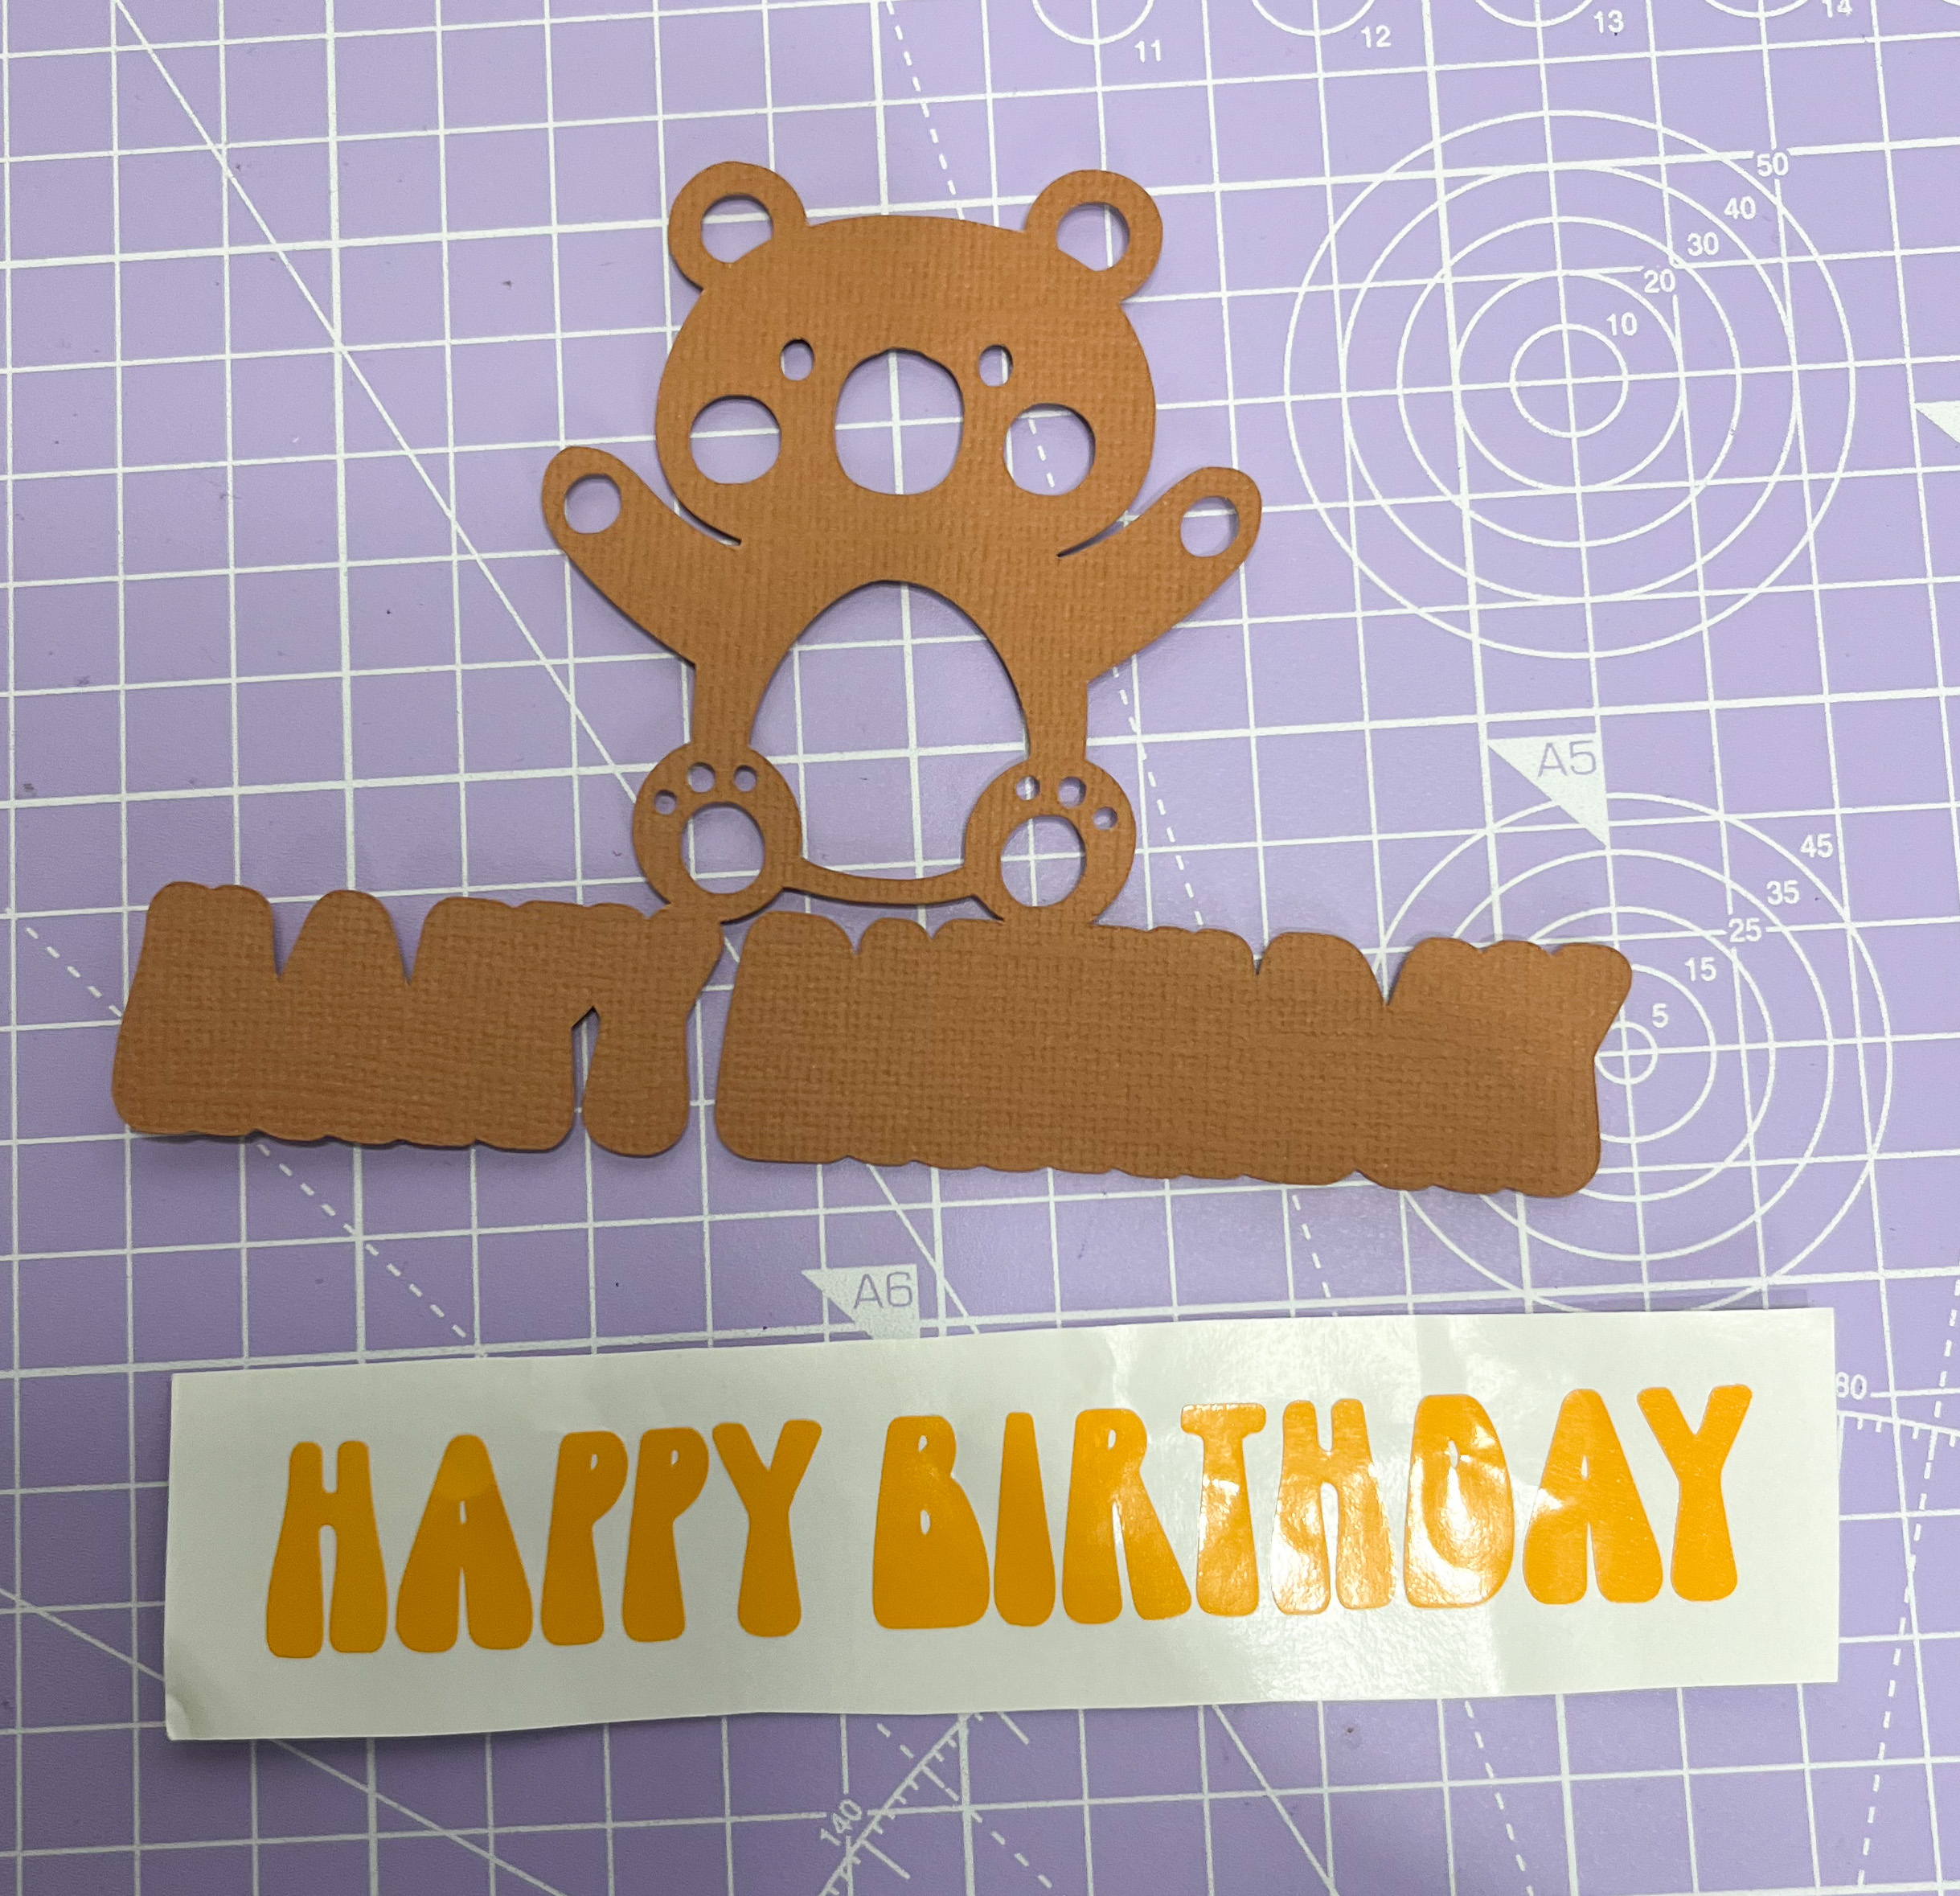
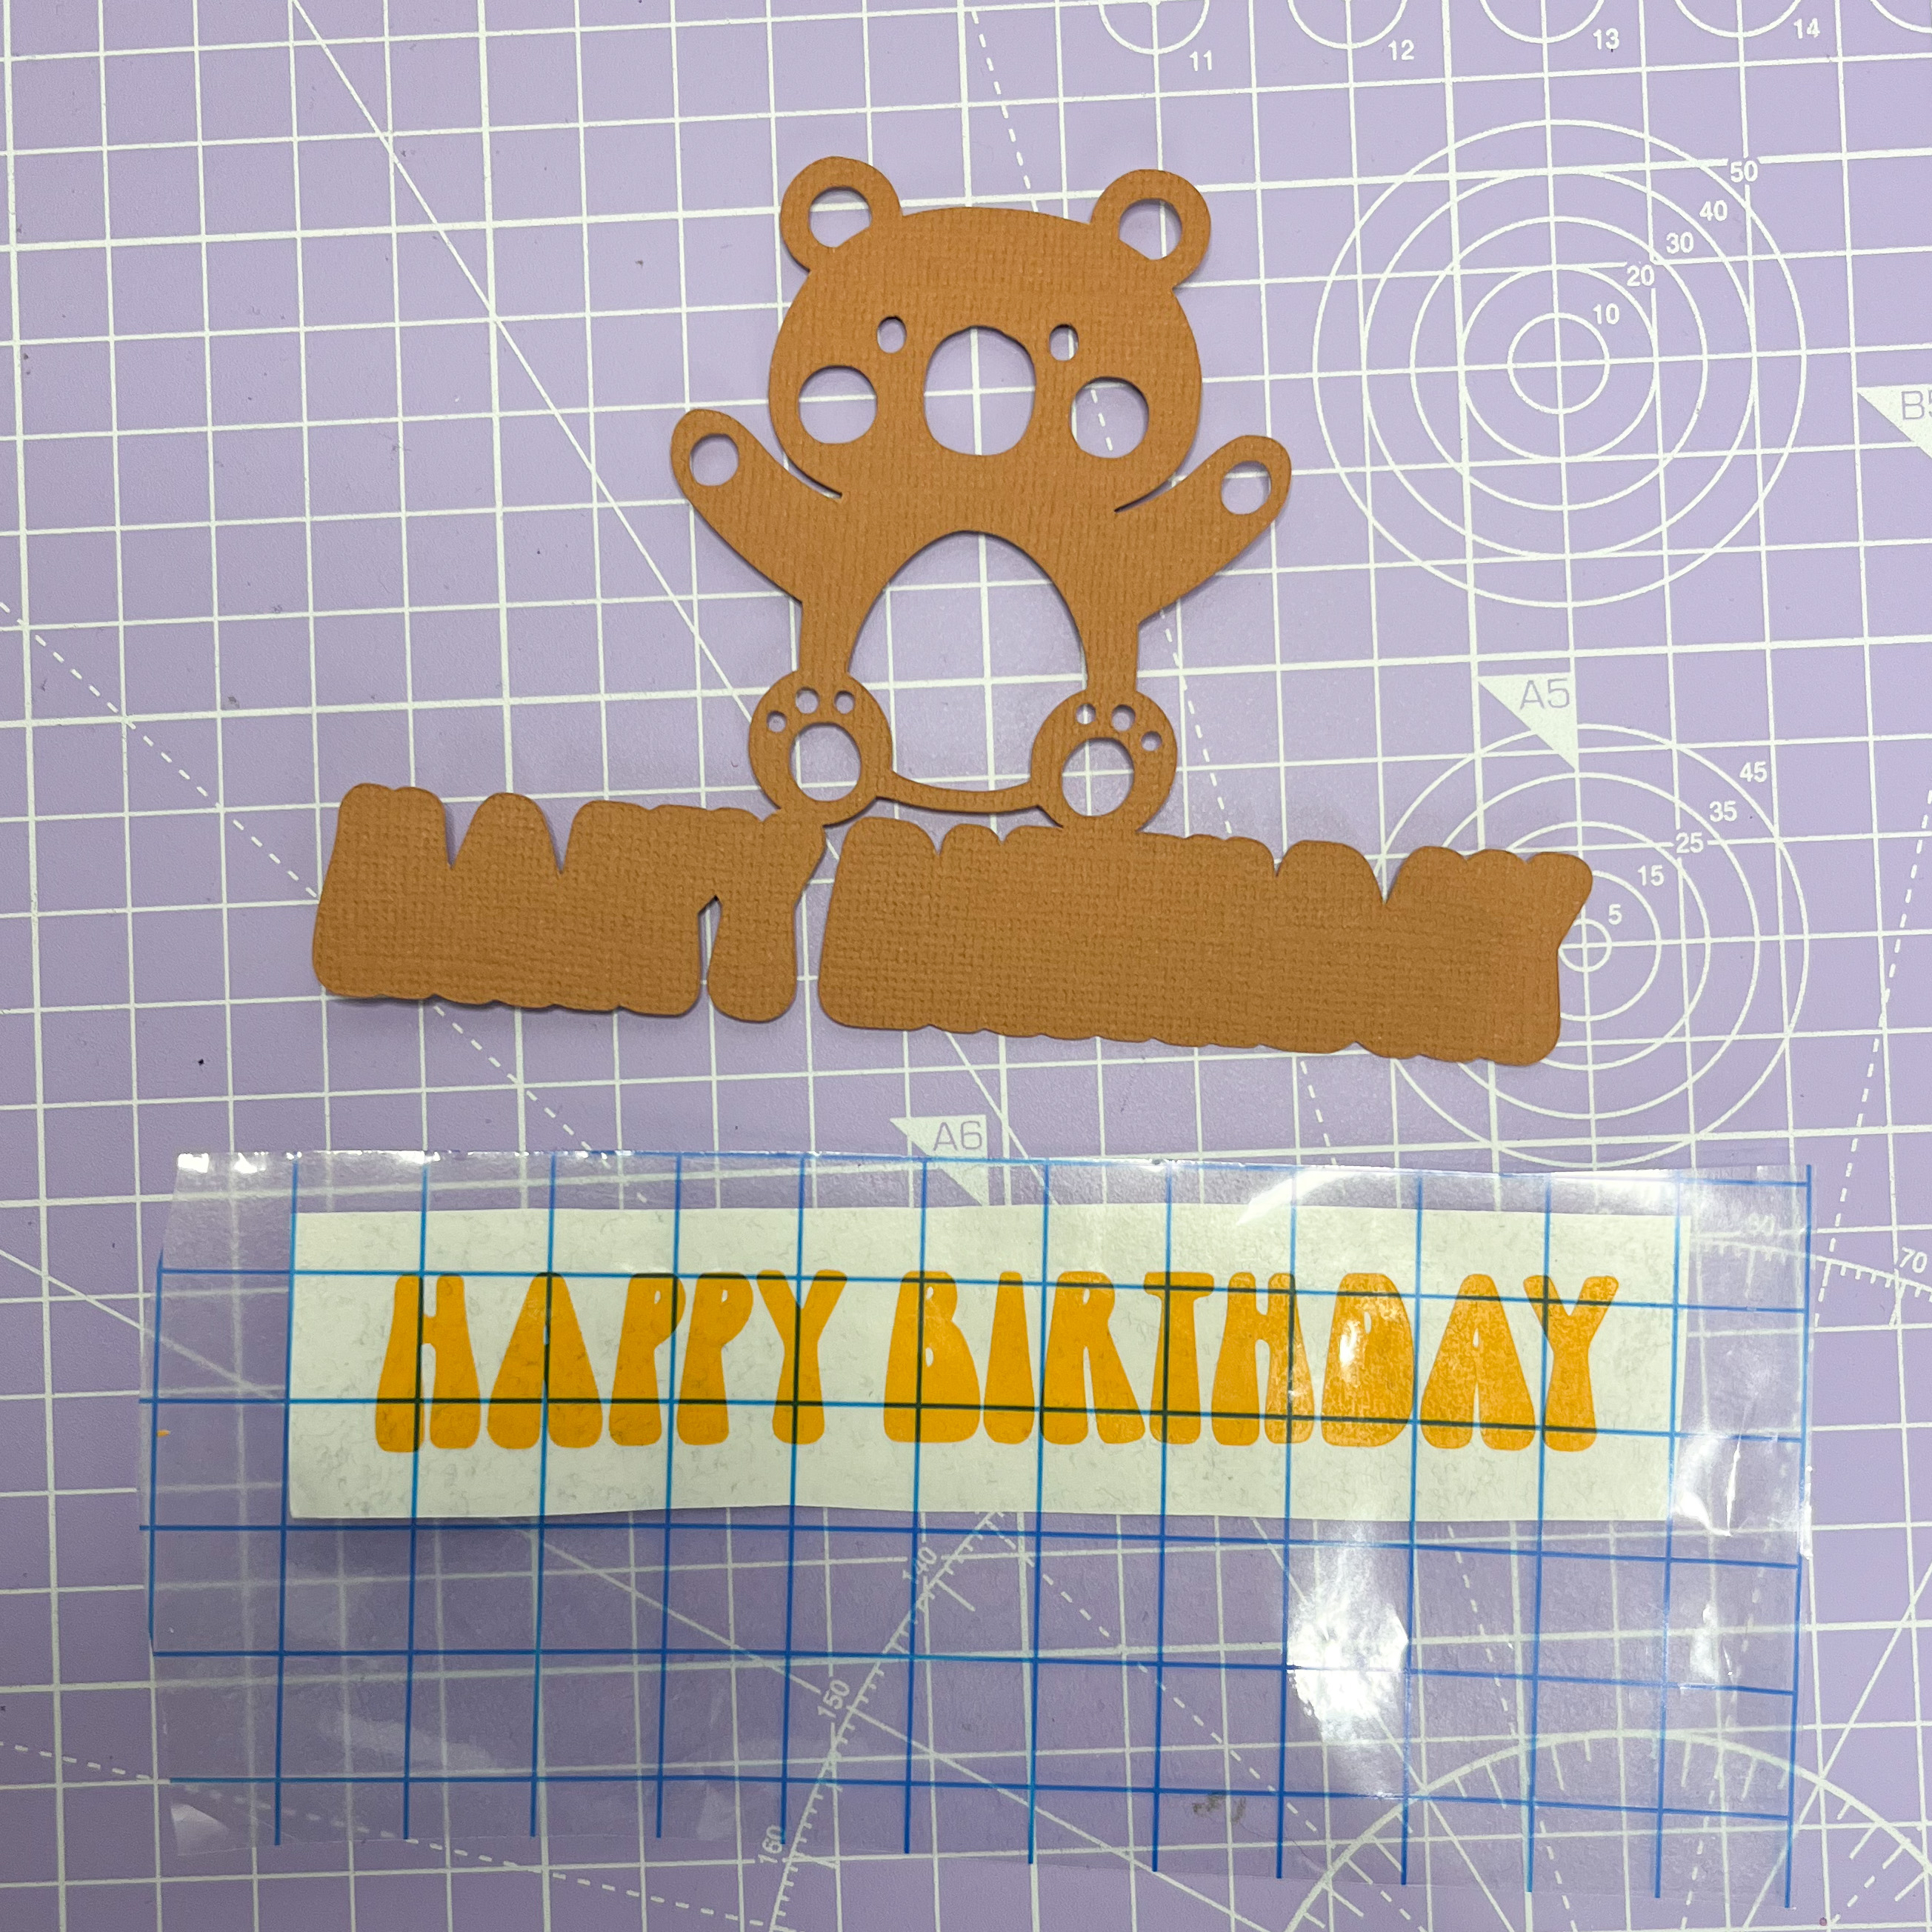
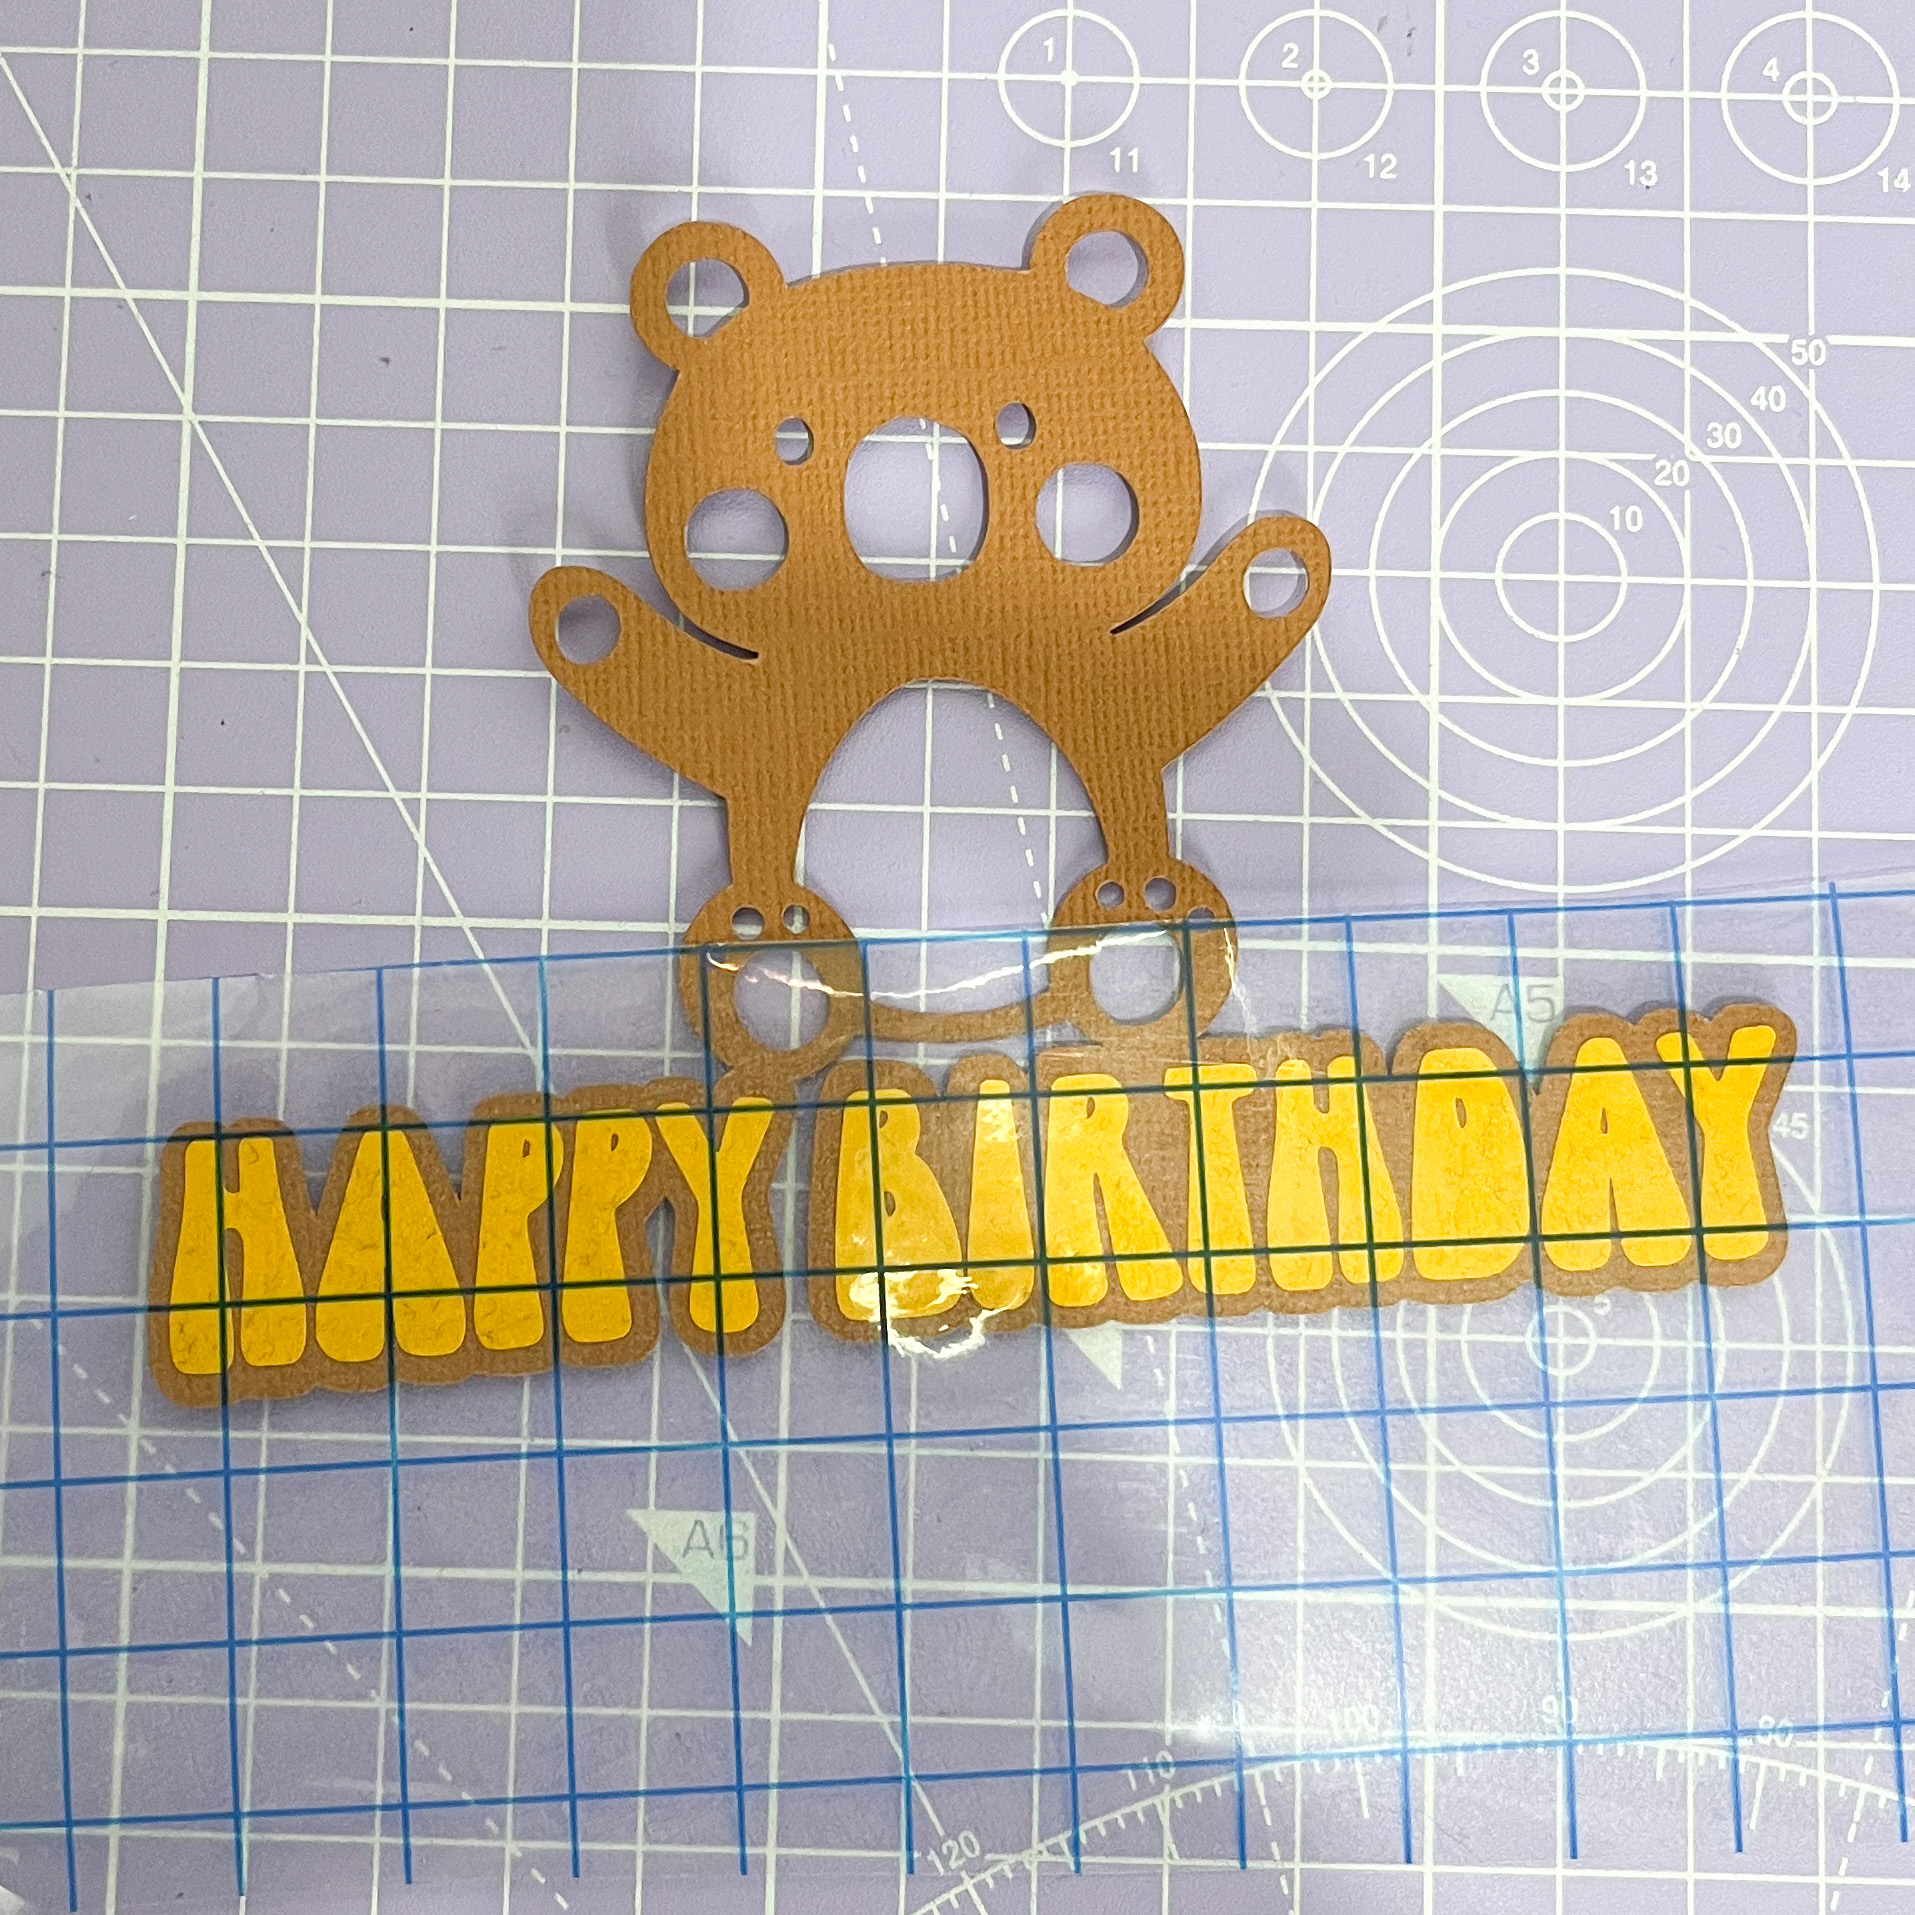
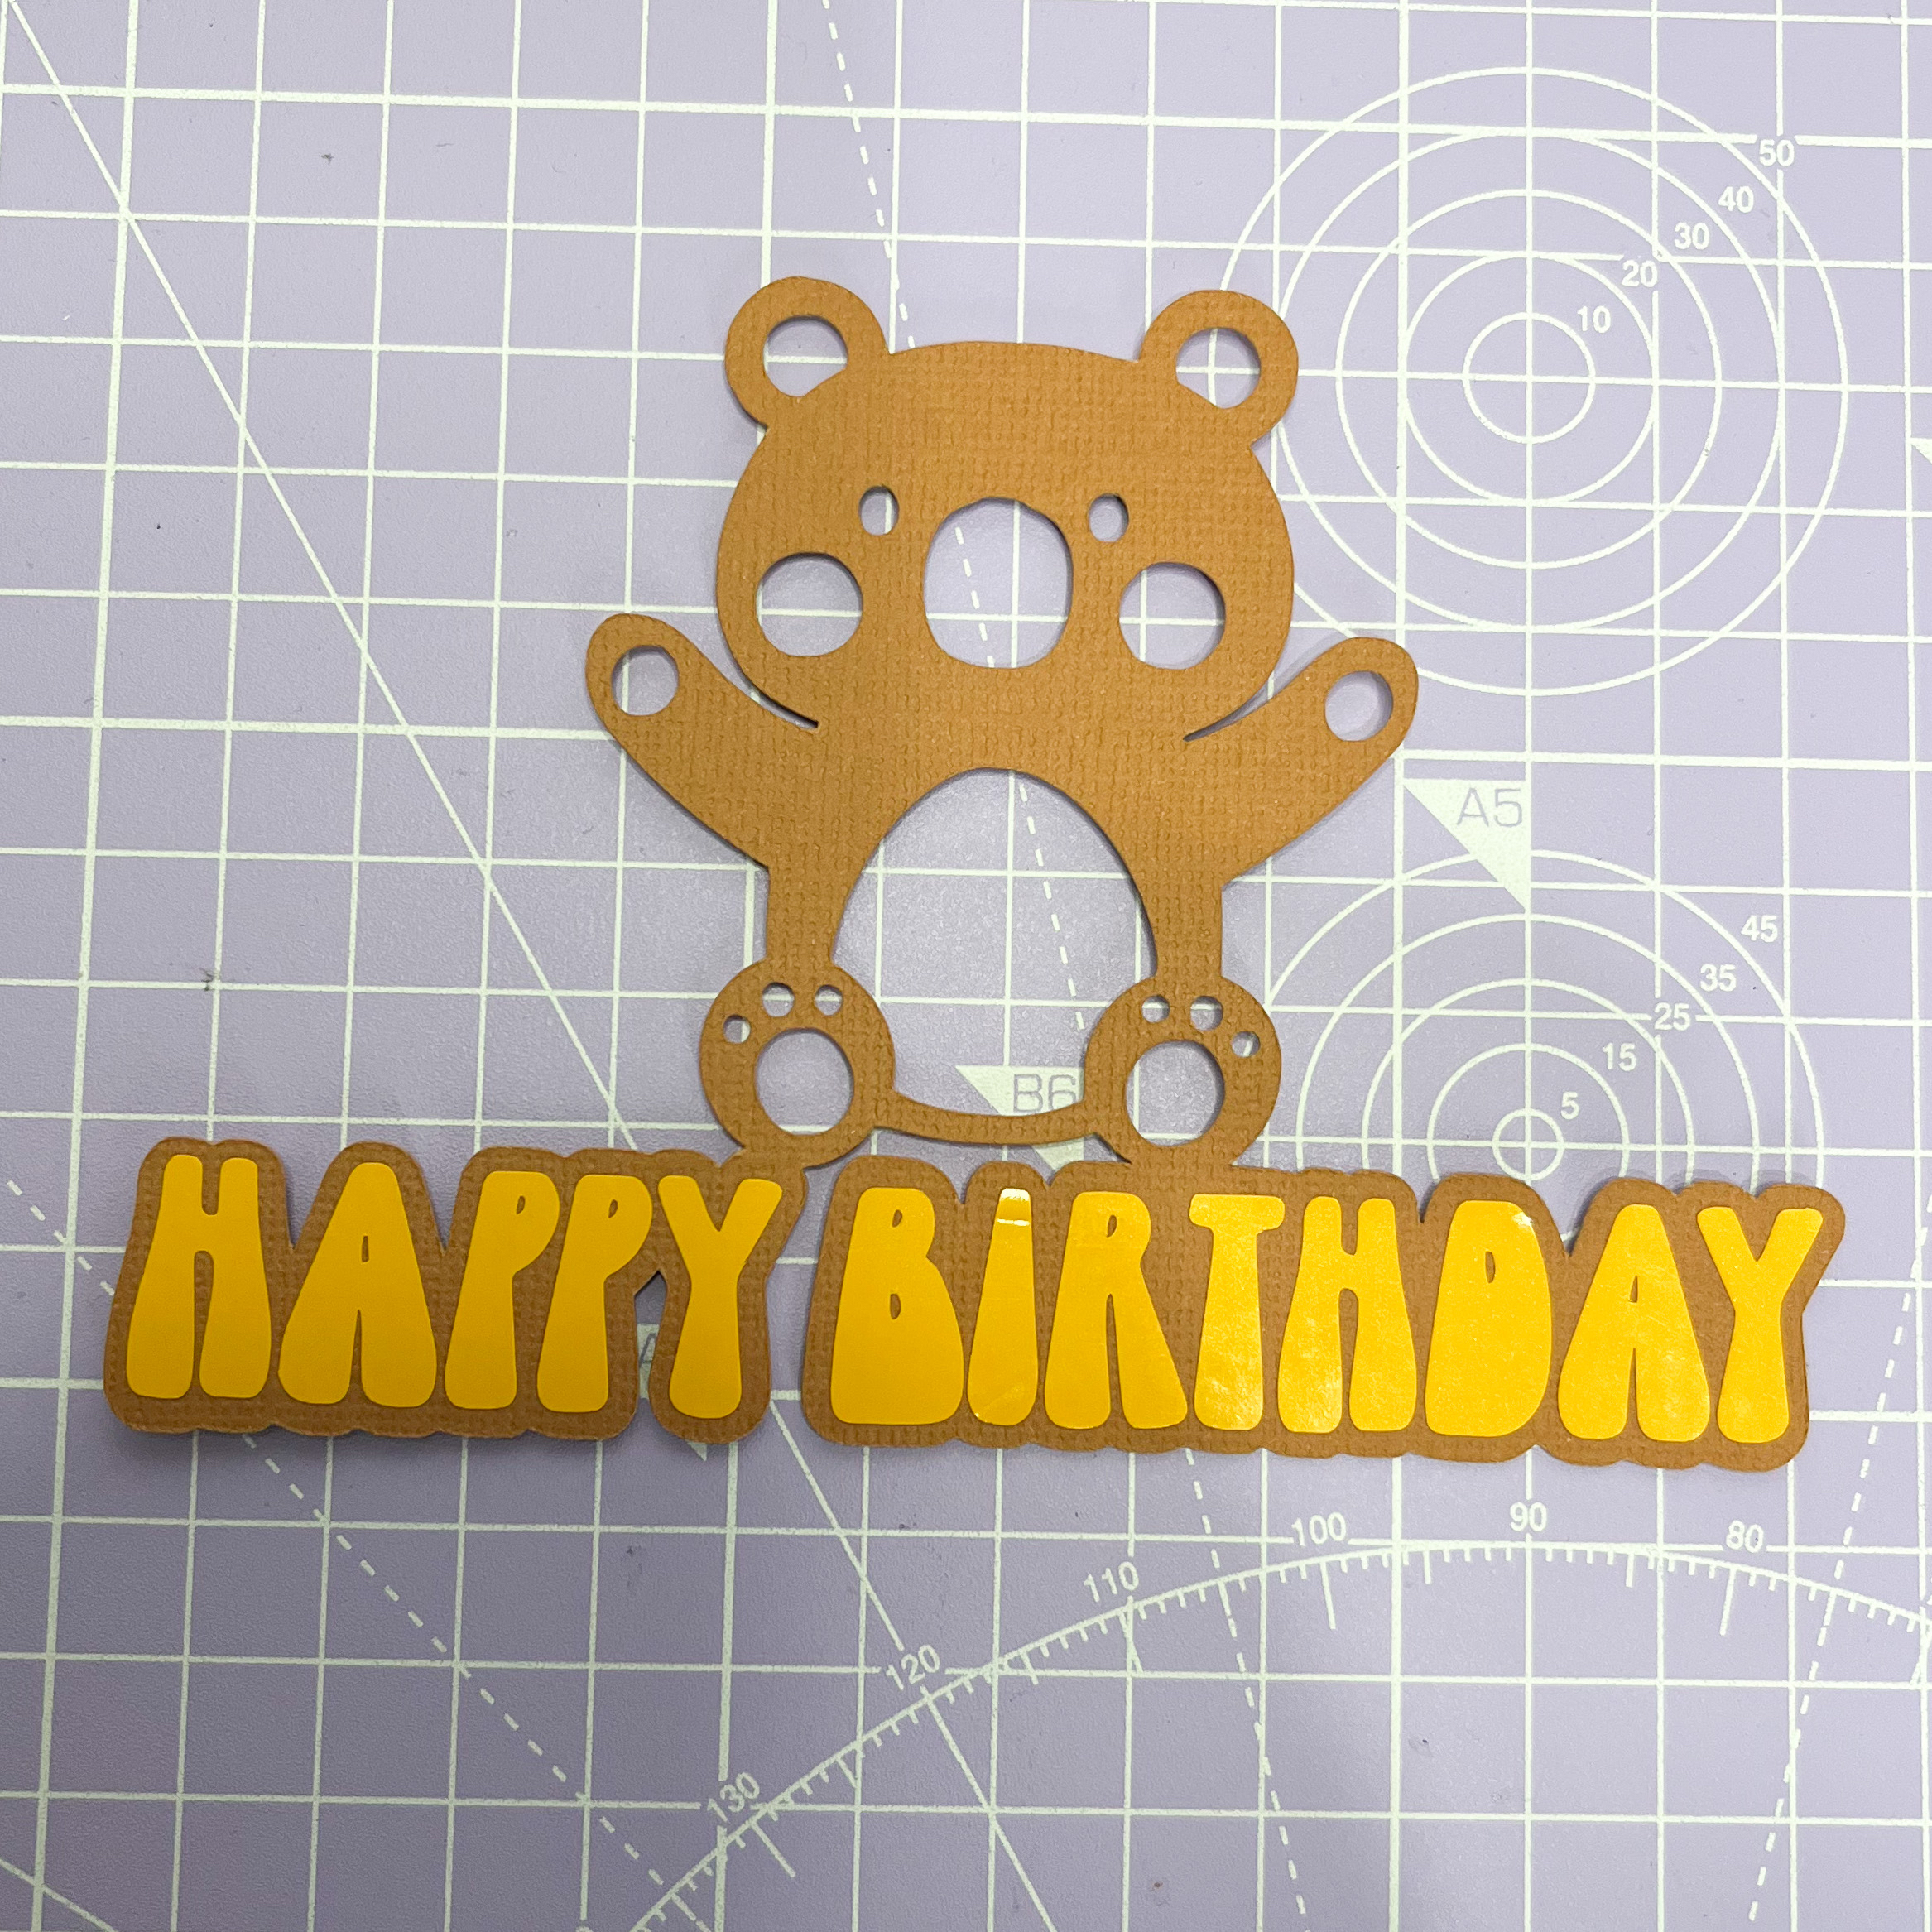
To finish off.
Use sticky foam dots to stick the brown card stock piece onto the cake topper. Your cake topper is now complete!!!
