Make Your Own Christmas Santa Treat Box
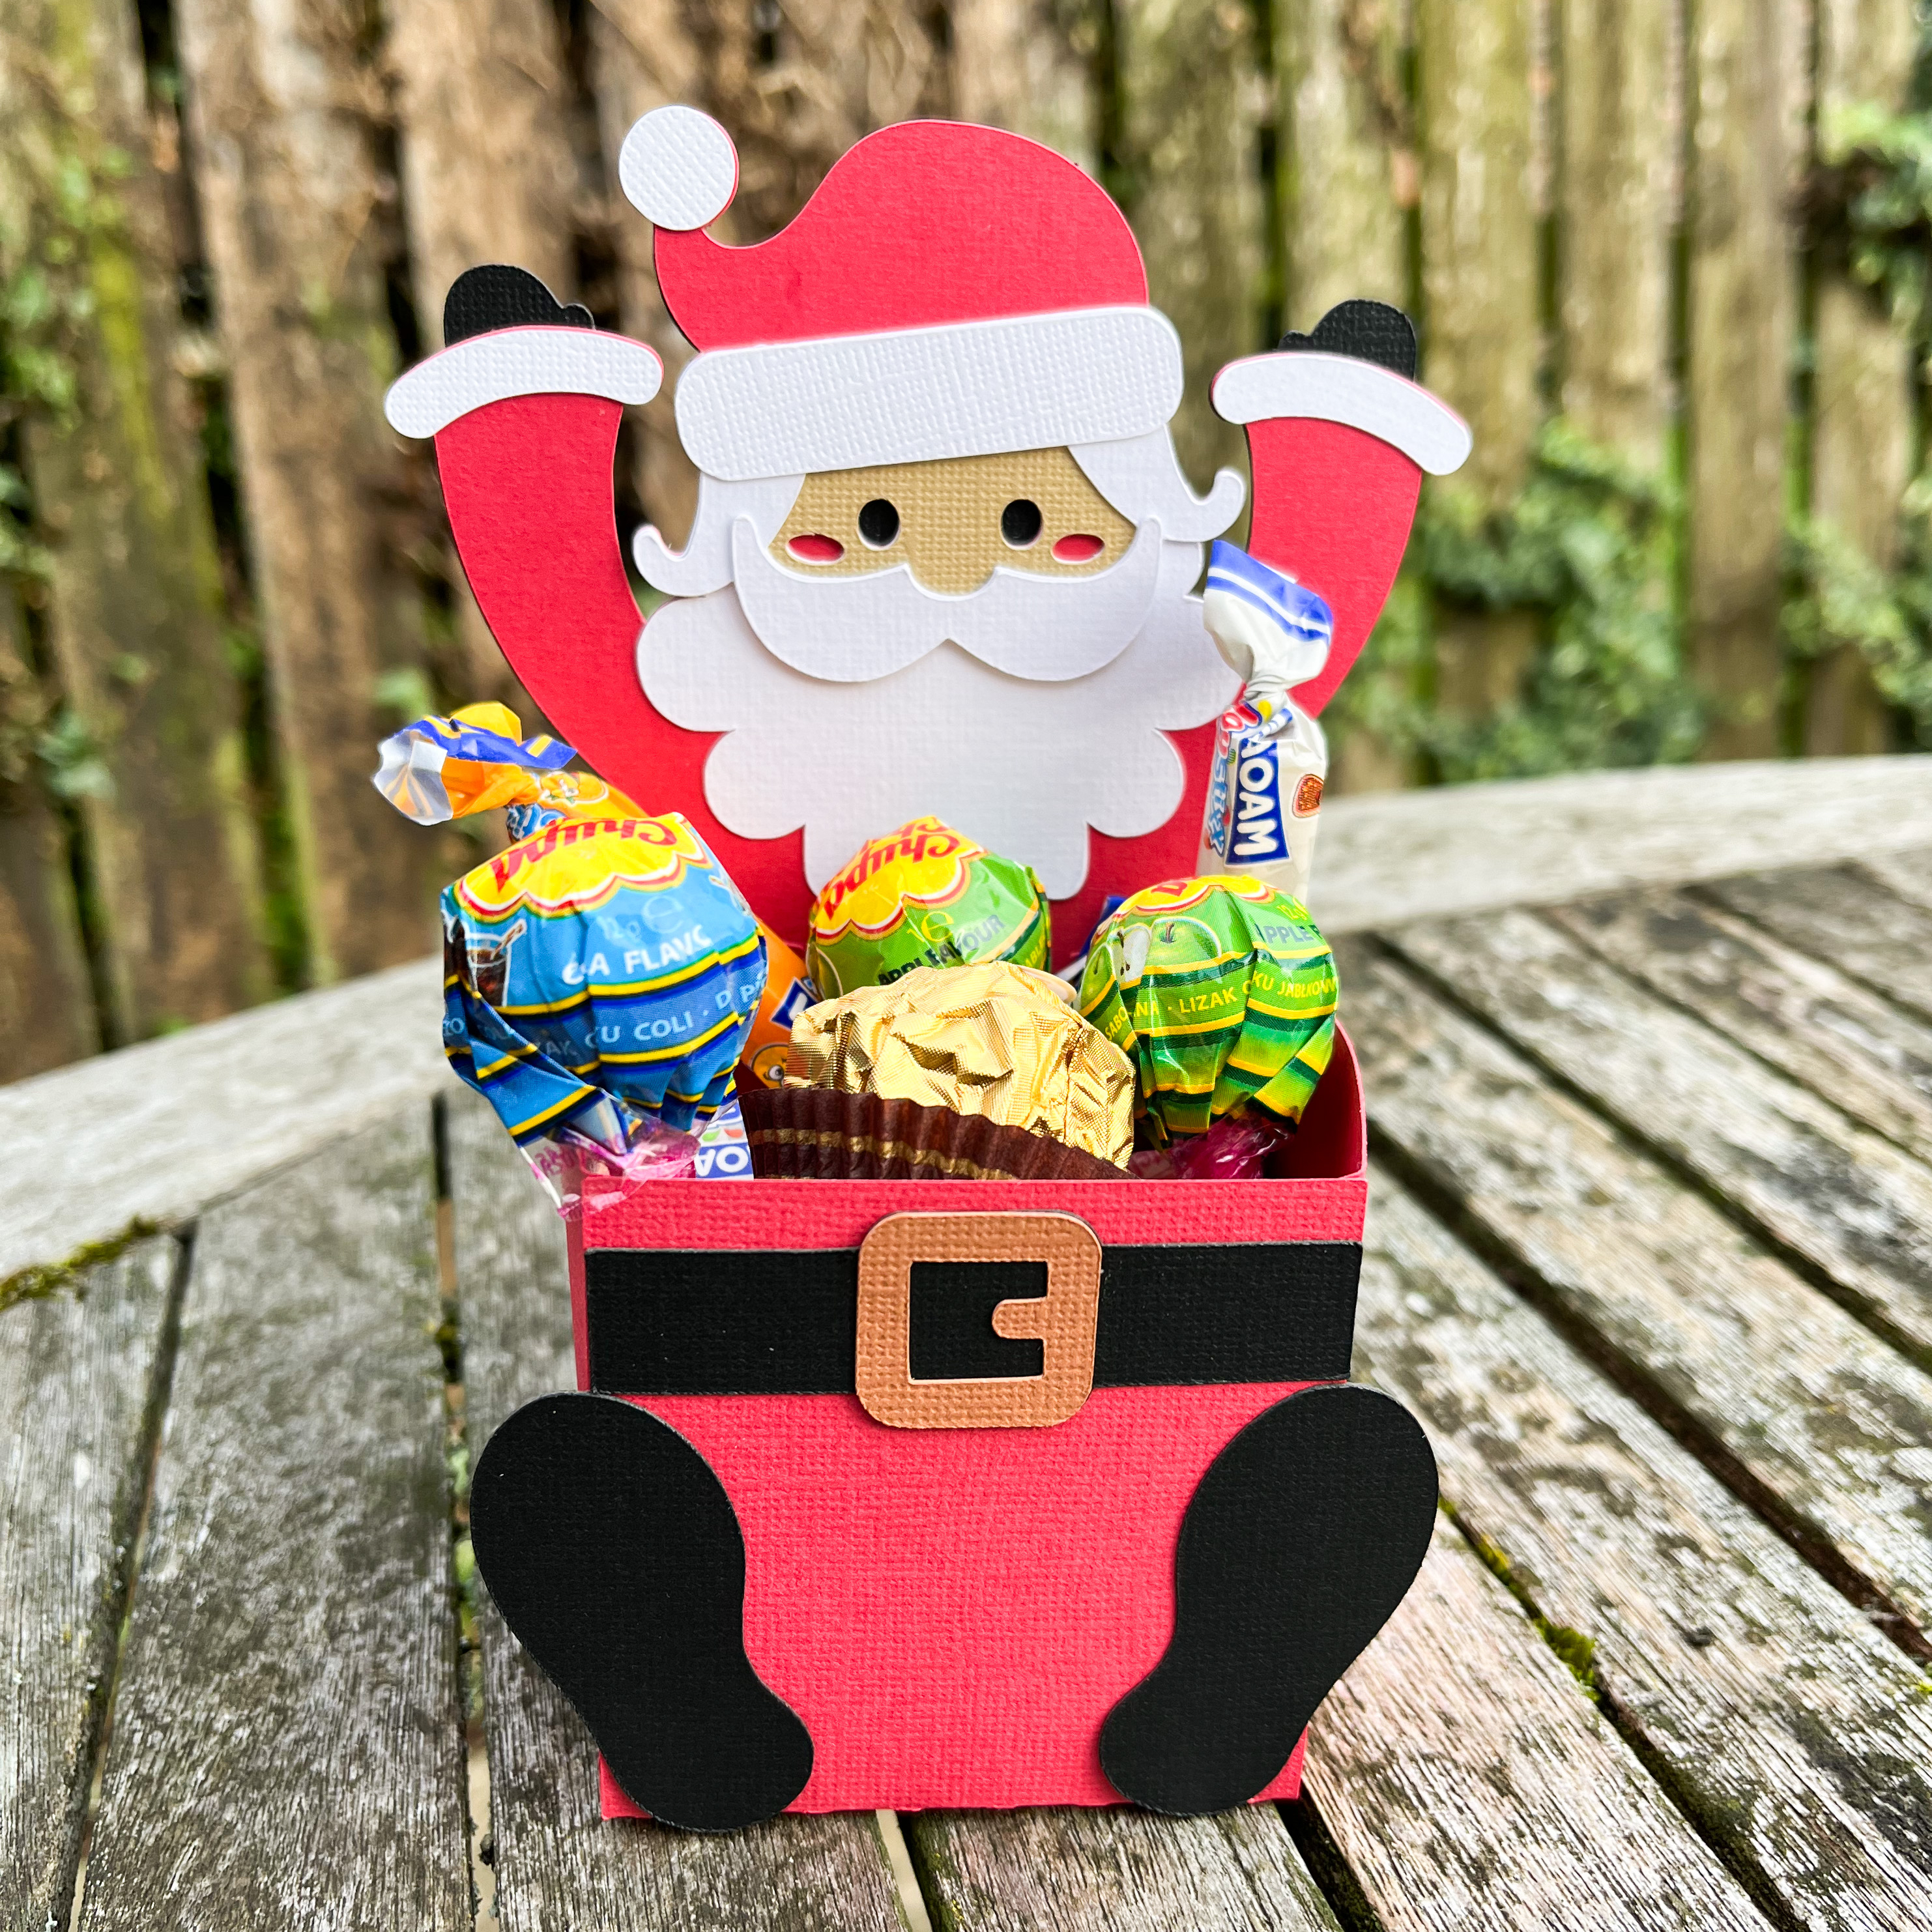
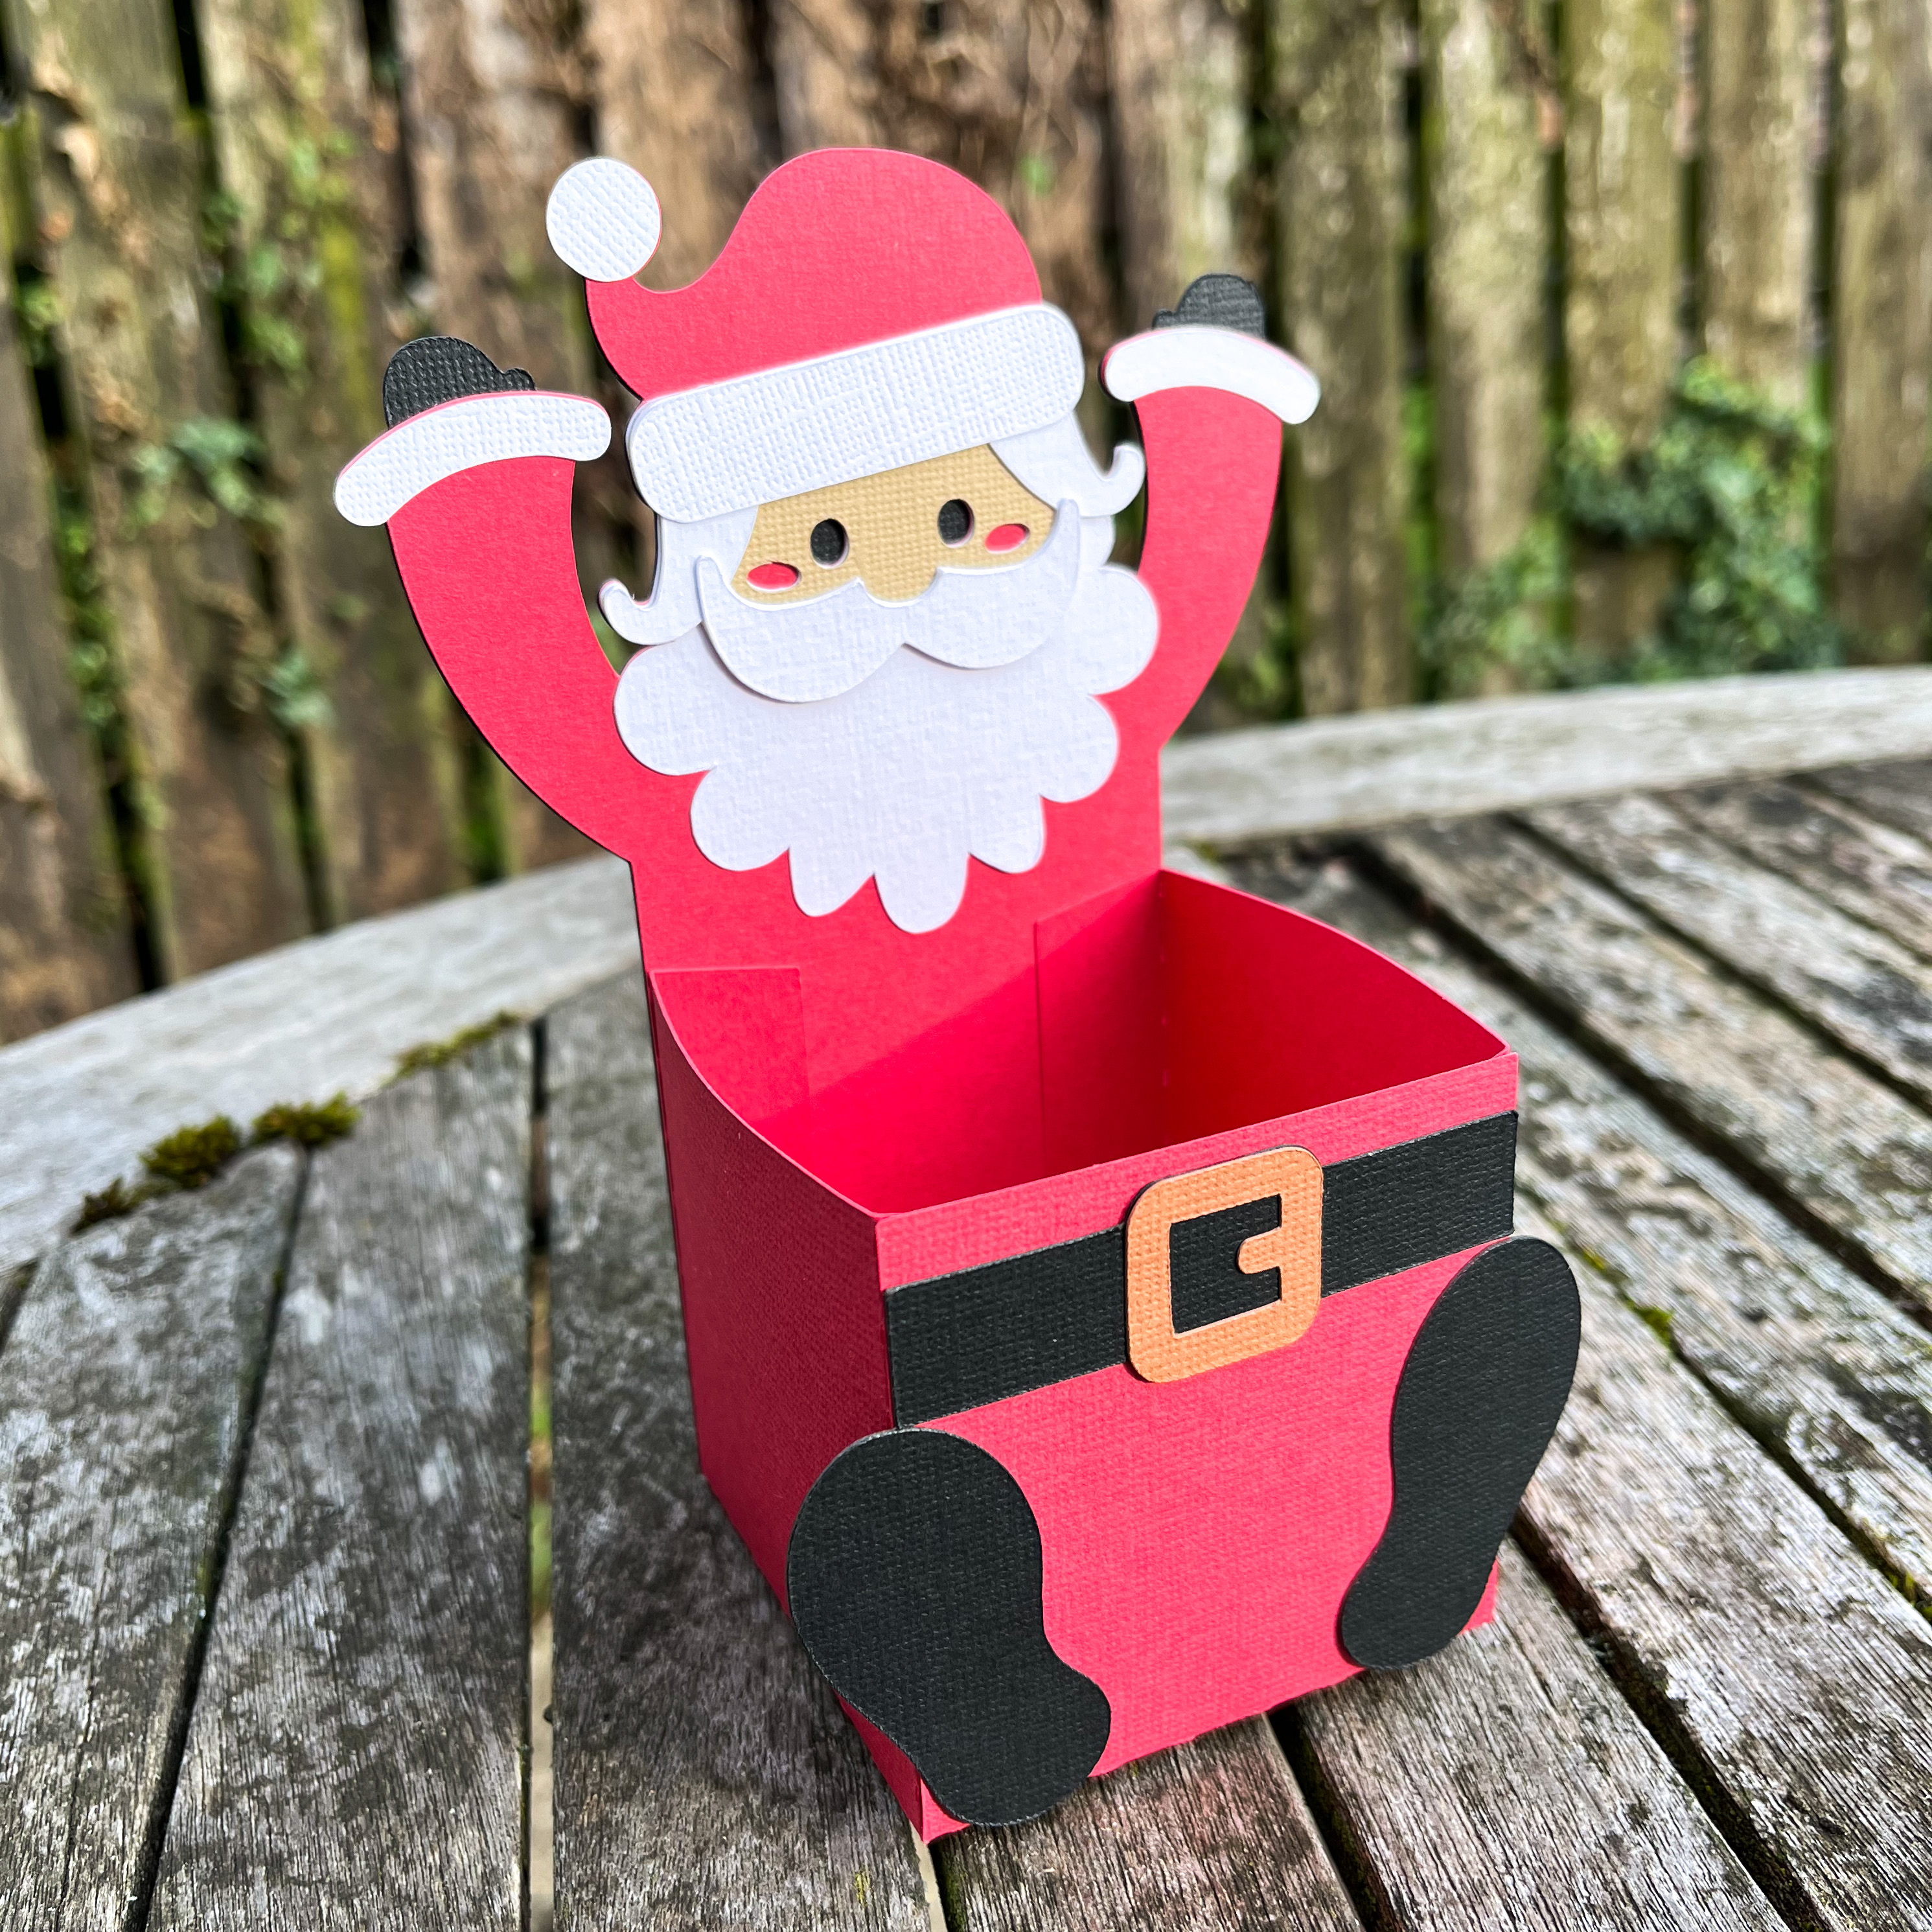
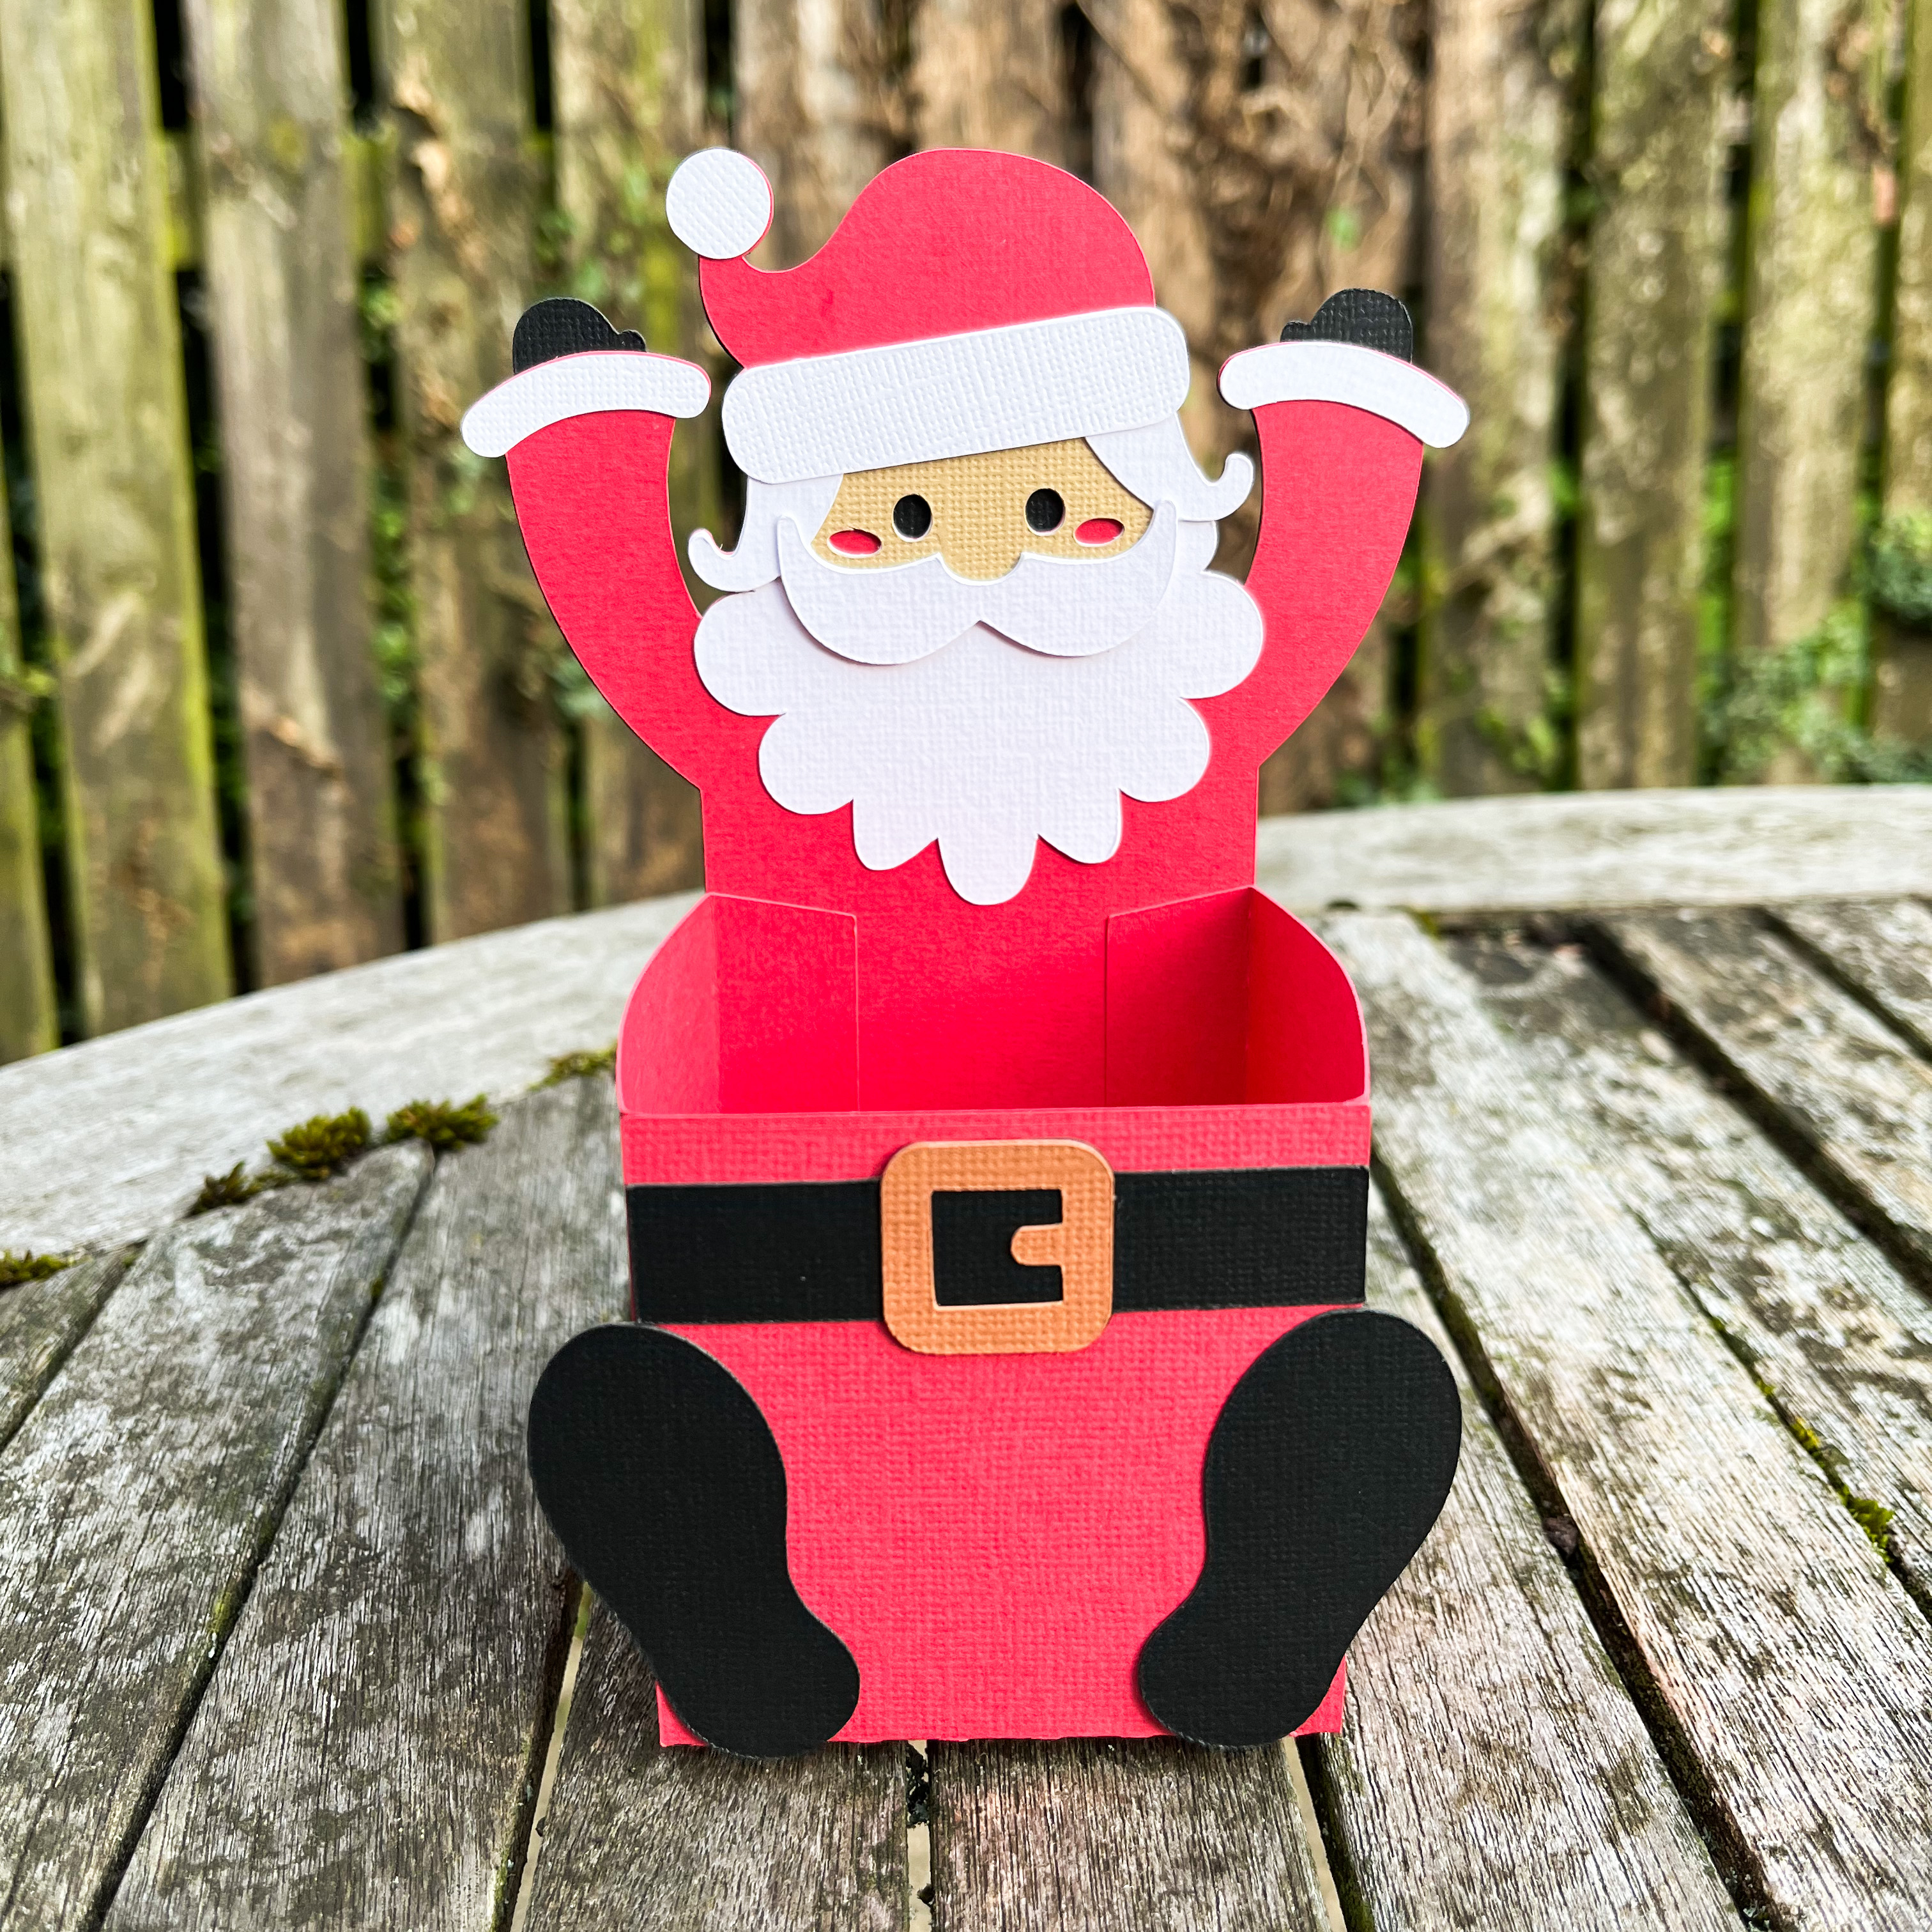
Create a festive Santa treat box with your Cricut, Silhouette, ScanNCut, or other electronic cutting machine! This adorable design features a jolly Santa, perfect for holding holiday treats and spreading Christmas cheer. It’s a charming addition to any holiday celebration and sure to impress!
Download your FREE files below!
This tutorial may include affiliate links, meaning I may earn a small commission if you purchase through them—at no extra cost to you. Your support helps me continue creating helpful content for you!
Download the file.
To download the file, click the link below, or use the alternative link to find the project in Cricut Access.
Materials Needed for Your Santa treat box
To craft this festive box, gather the following supplies:
Cutting Machine: A Cricut or other compatible cutting machine for precise cuts.
Cardstock: Choose cardstock in your preferred colours. I used red, white, black, a skin tone, and brown colours, at 216 gsm in weight.
Cutting Mat: Use a StandardGrip mat to hold your cardstock while cutting.
Glue: I prefer using glue with a fine-tip applicator for precise, clean application.
These essentials will help you create a beautiful holiday card ready to share with loved ones!
Preparing the File for Cutting.
Follow these steps to ensure your file is ready for both cutting on a Standard Grip mat.
1) Download and unzip the files on your computer / device.
2) Go to your Cricut canvas and click upload.
3) Select the Cricut SVG from your downloads to upload it onto your Cricut canvas.
4) Click make it, and follow instructions on screen to cut your card stock pieces out.


Assembly
Follow the instructions and refer to the corresponding photos for each step.
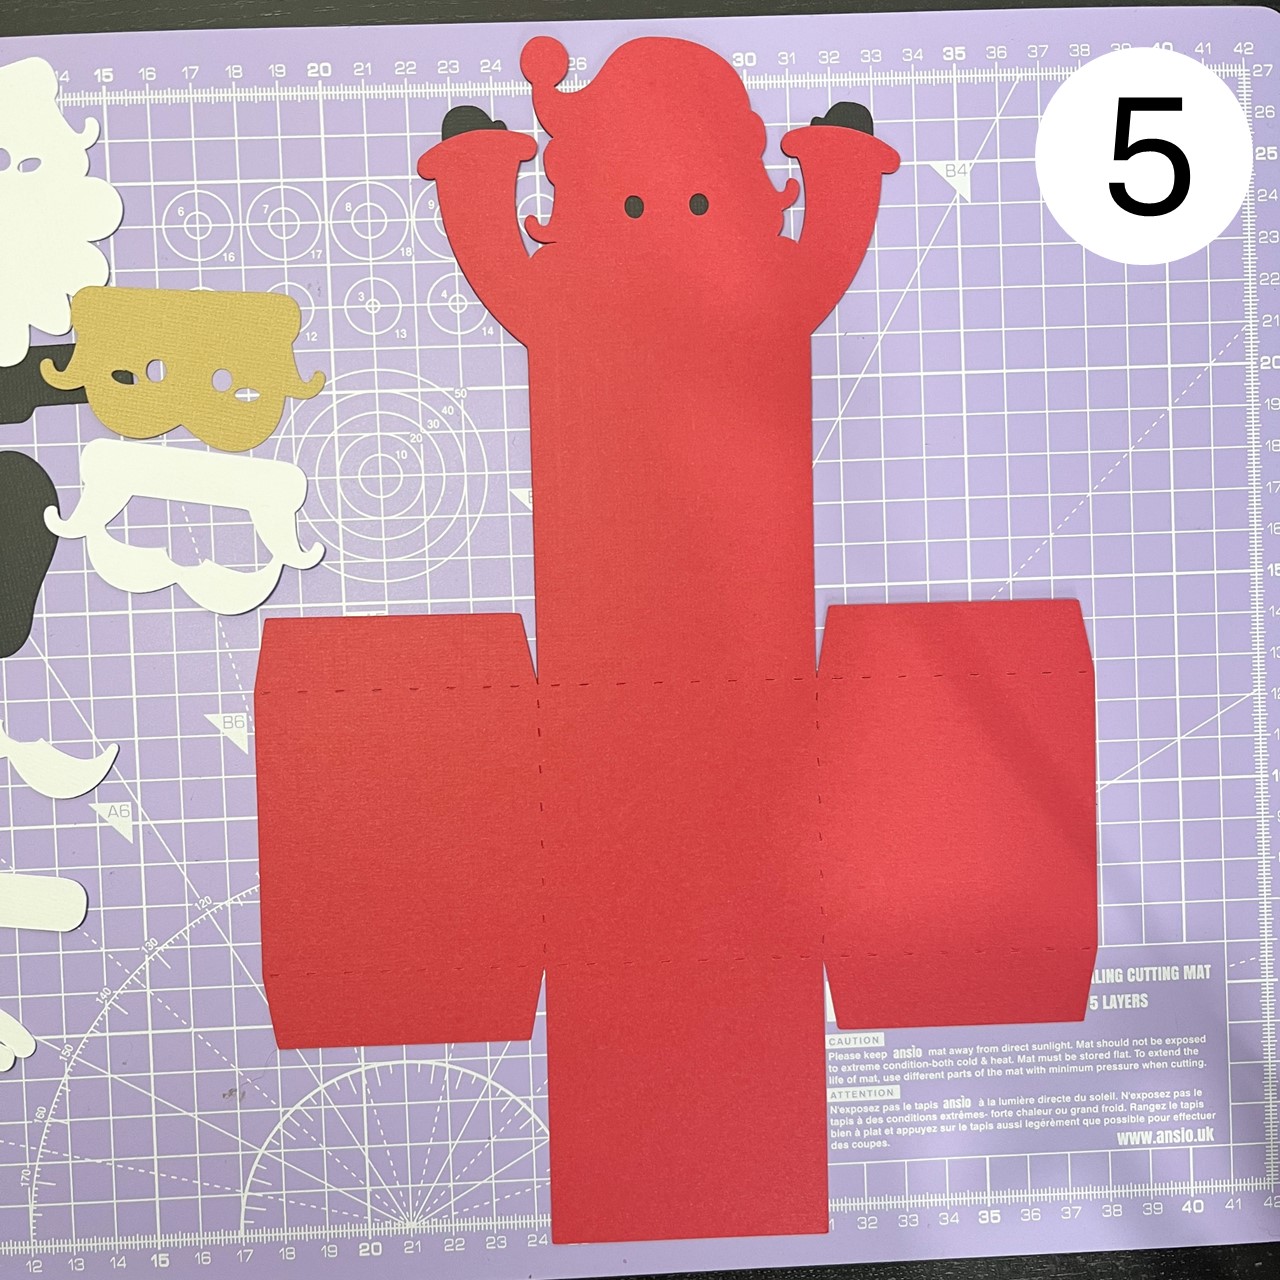
After cutting out all your card stock pieces, your project should resemble the layout shown in the first photo.
Turn your red card stock box base over to the opposite side.
Apply glue to the top section of Santa on the box base, following the placement shown in the photo.
Attach the black card stock piece in place as shown in the photo, pressing down firmly to secure.
Turn the box base back over.
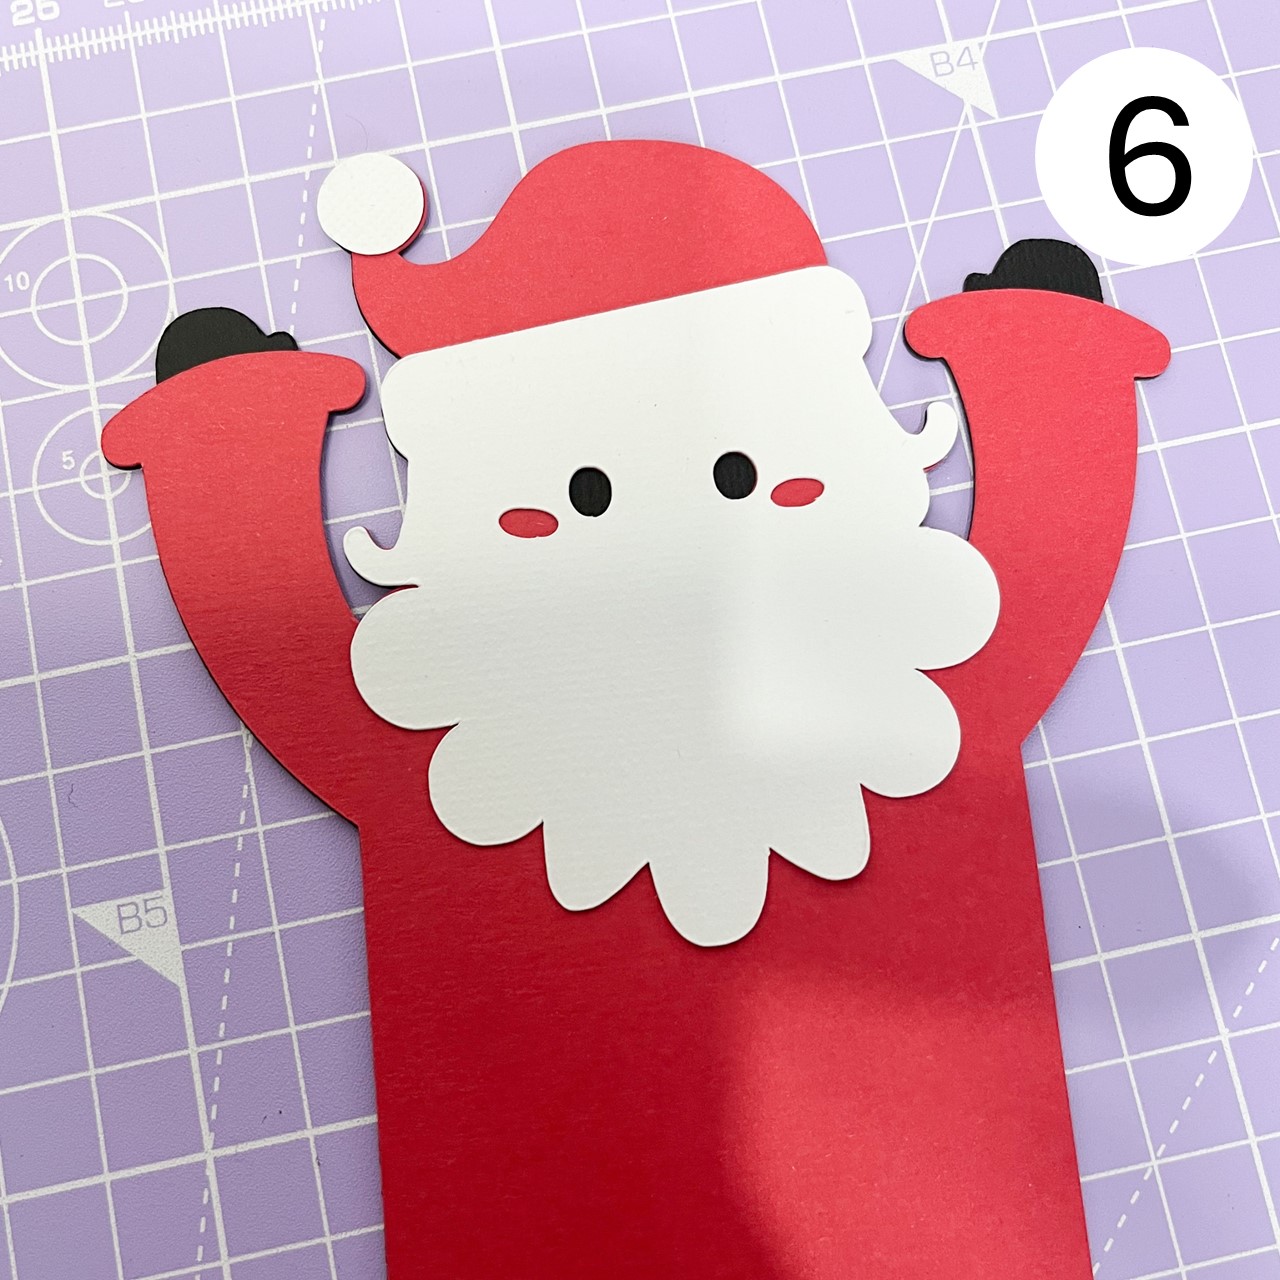
Attach Santa’s beard and the pom-pom on his hat with glue, positioning them as shown in the photo.
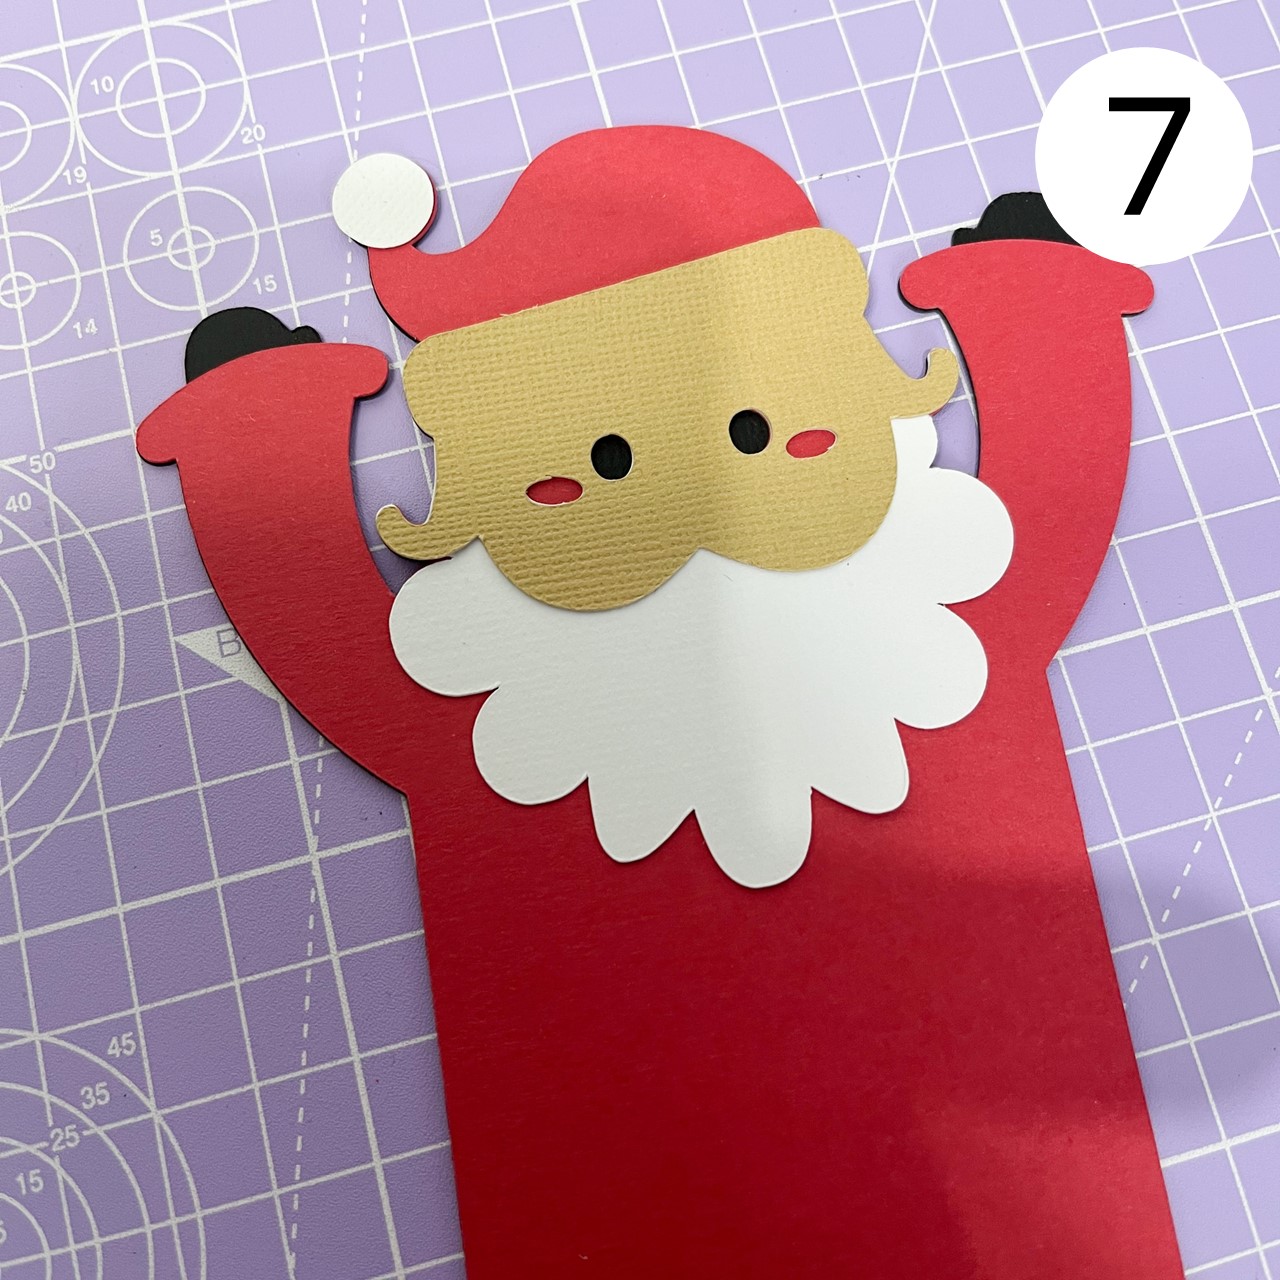
Glue the skin-tone card stock for Santa's face in place, aligning it carefully with the design.
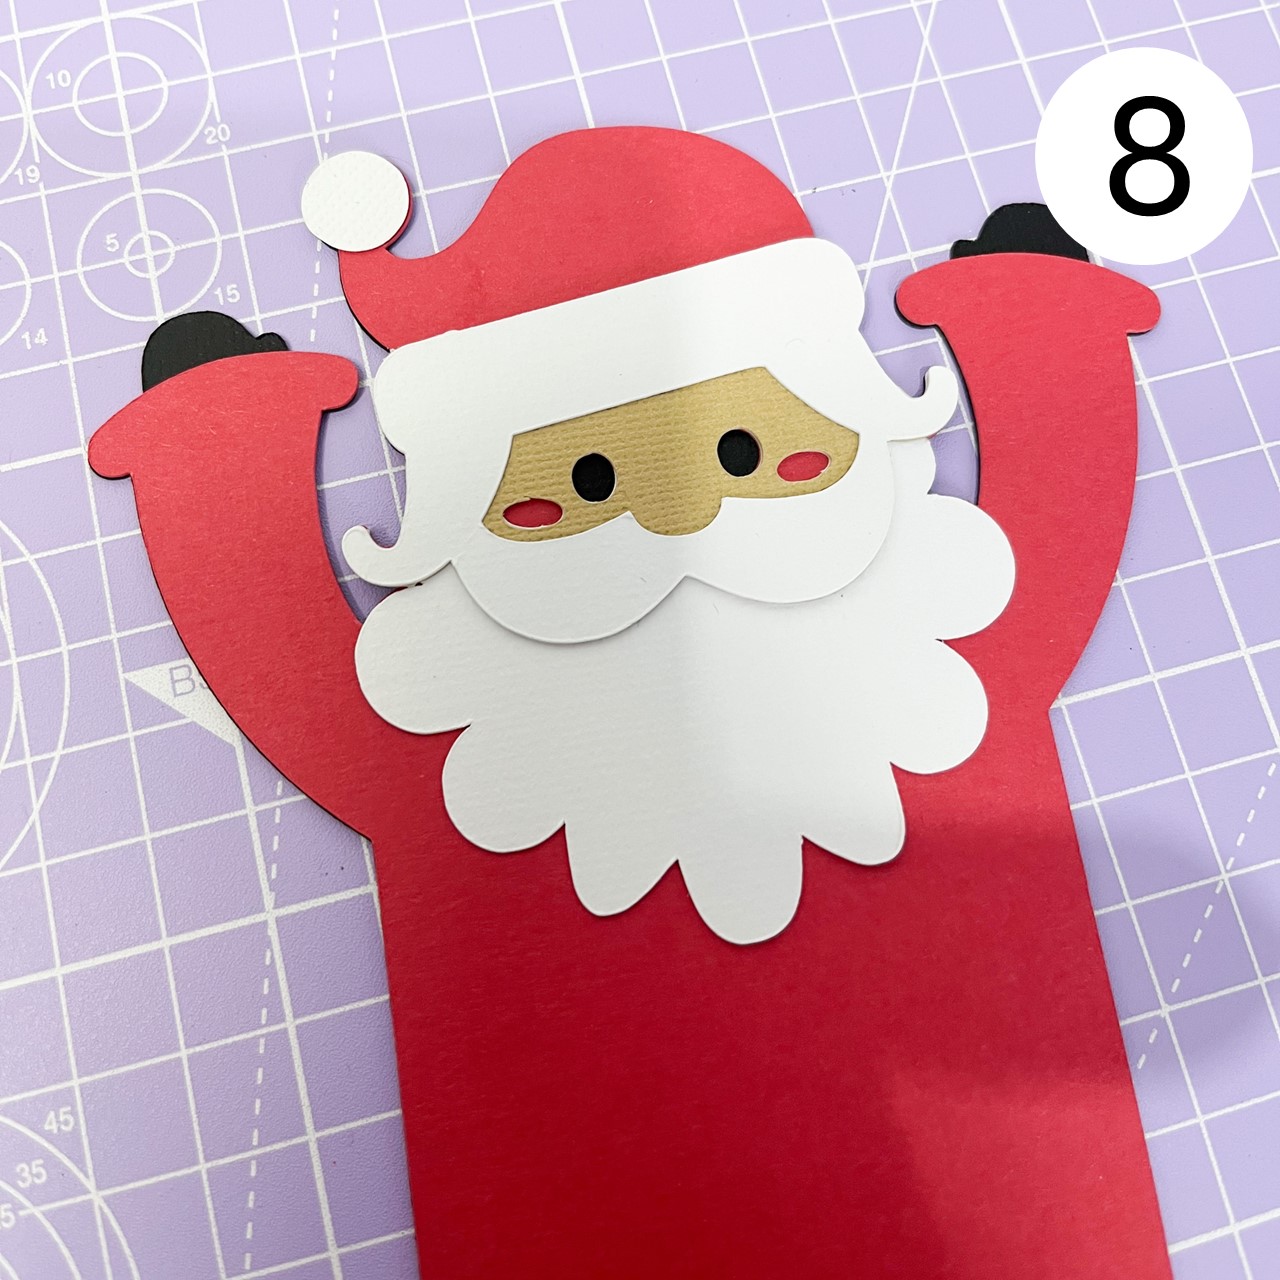
Glue the next section of Santa’s hair and his mustache in place, following the alignment shown in the photo.
Glue the remaining white card stock pieces in place, including the hat trim, sleeve trims, and mustache, ensuring they align as shown in the photo.
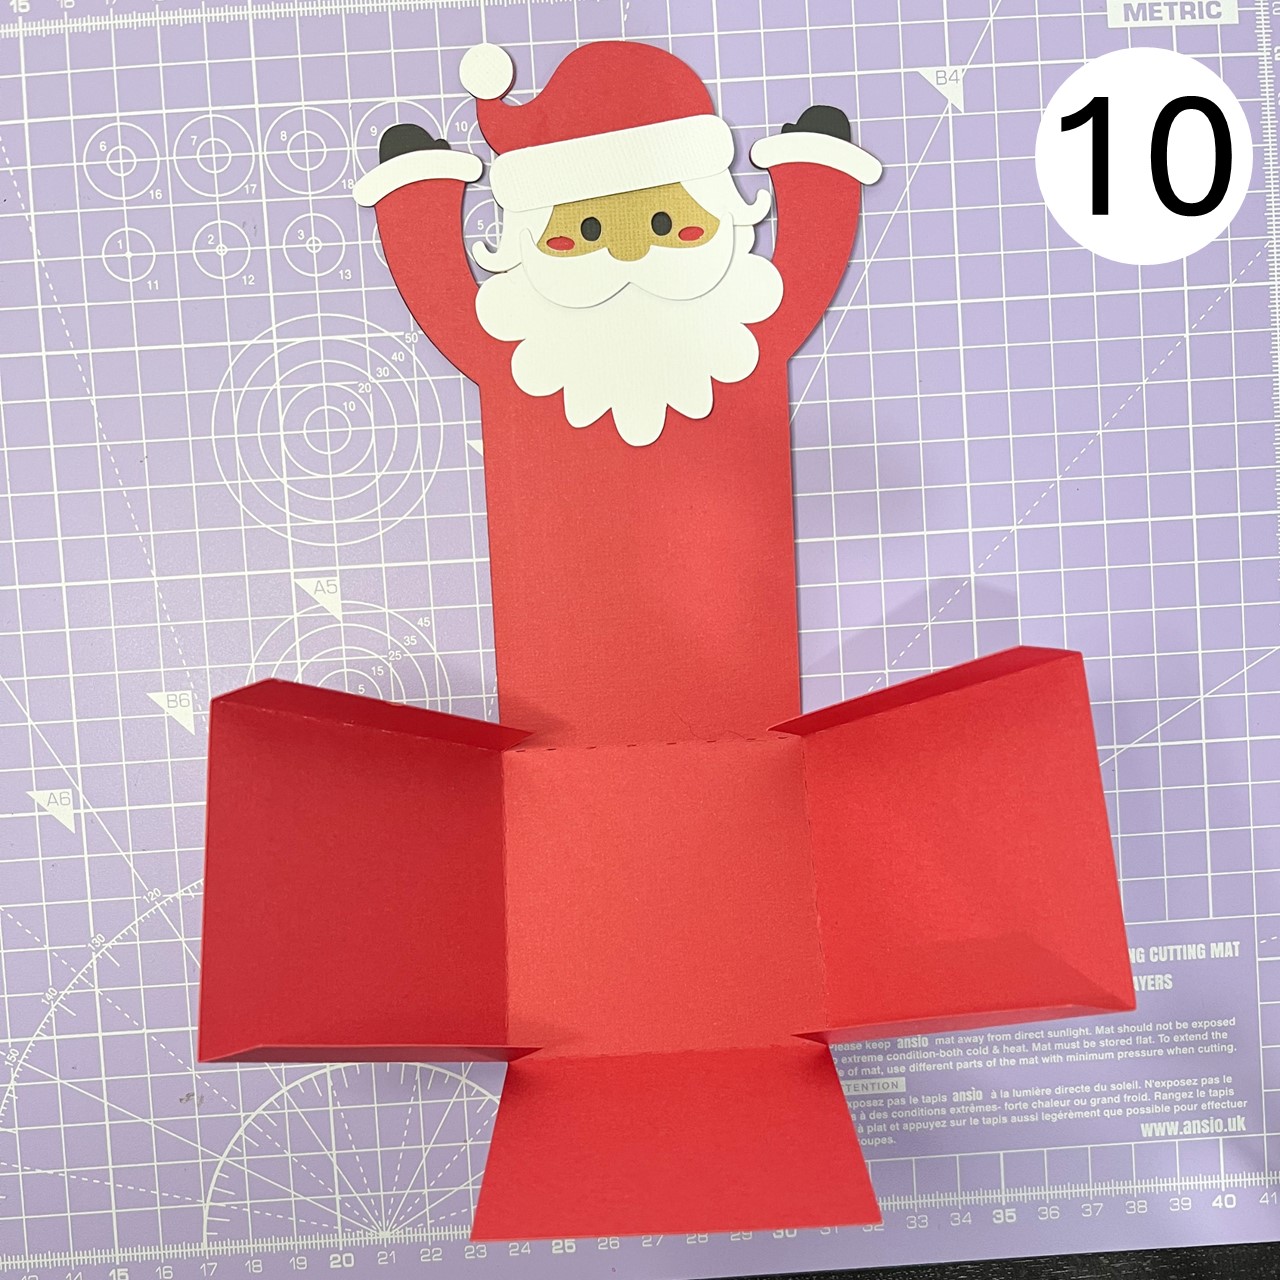
Once the glue is dry, carefully fold the design along the perforated lines.
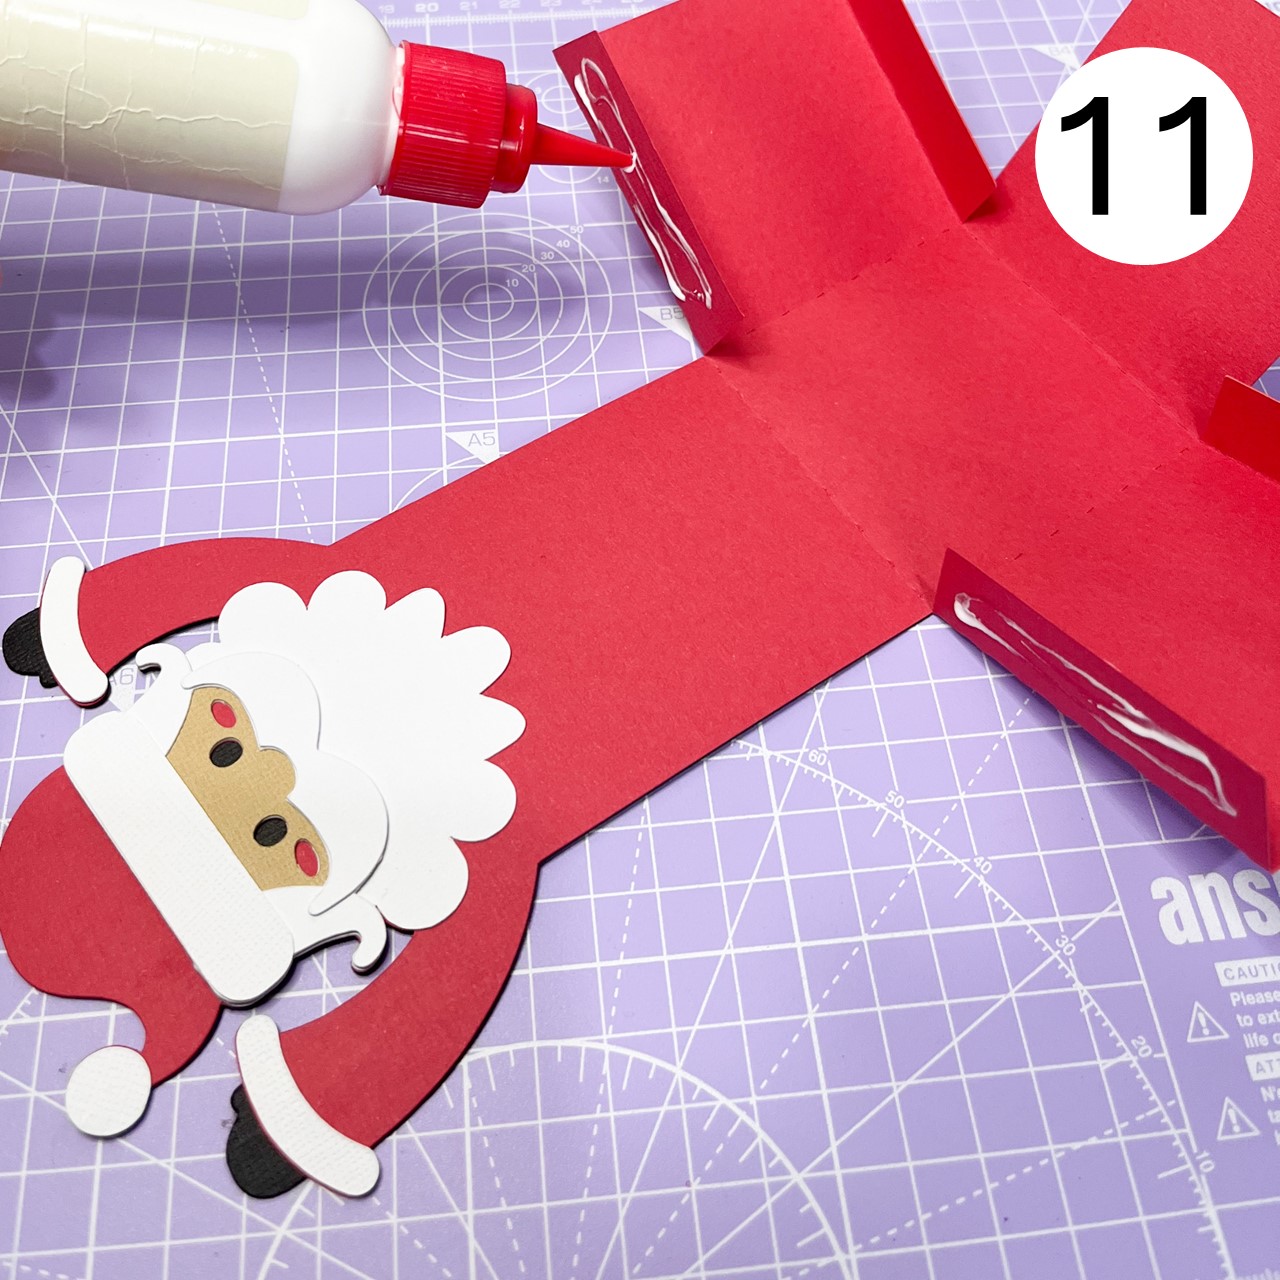
Apply glue to the top two tabs, as indicated in the photo, ensuring they are evenly covered.
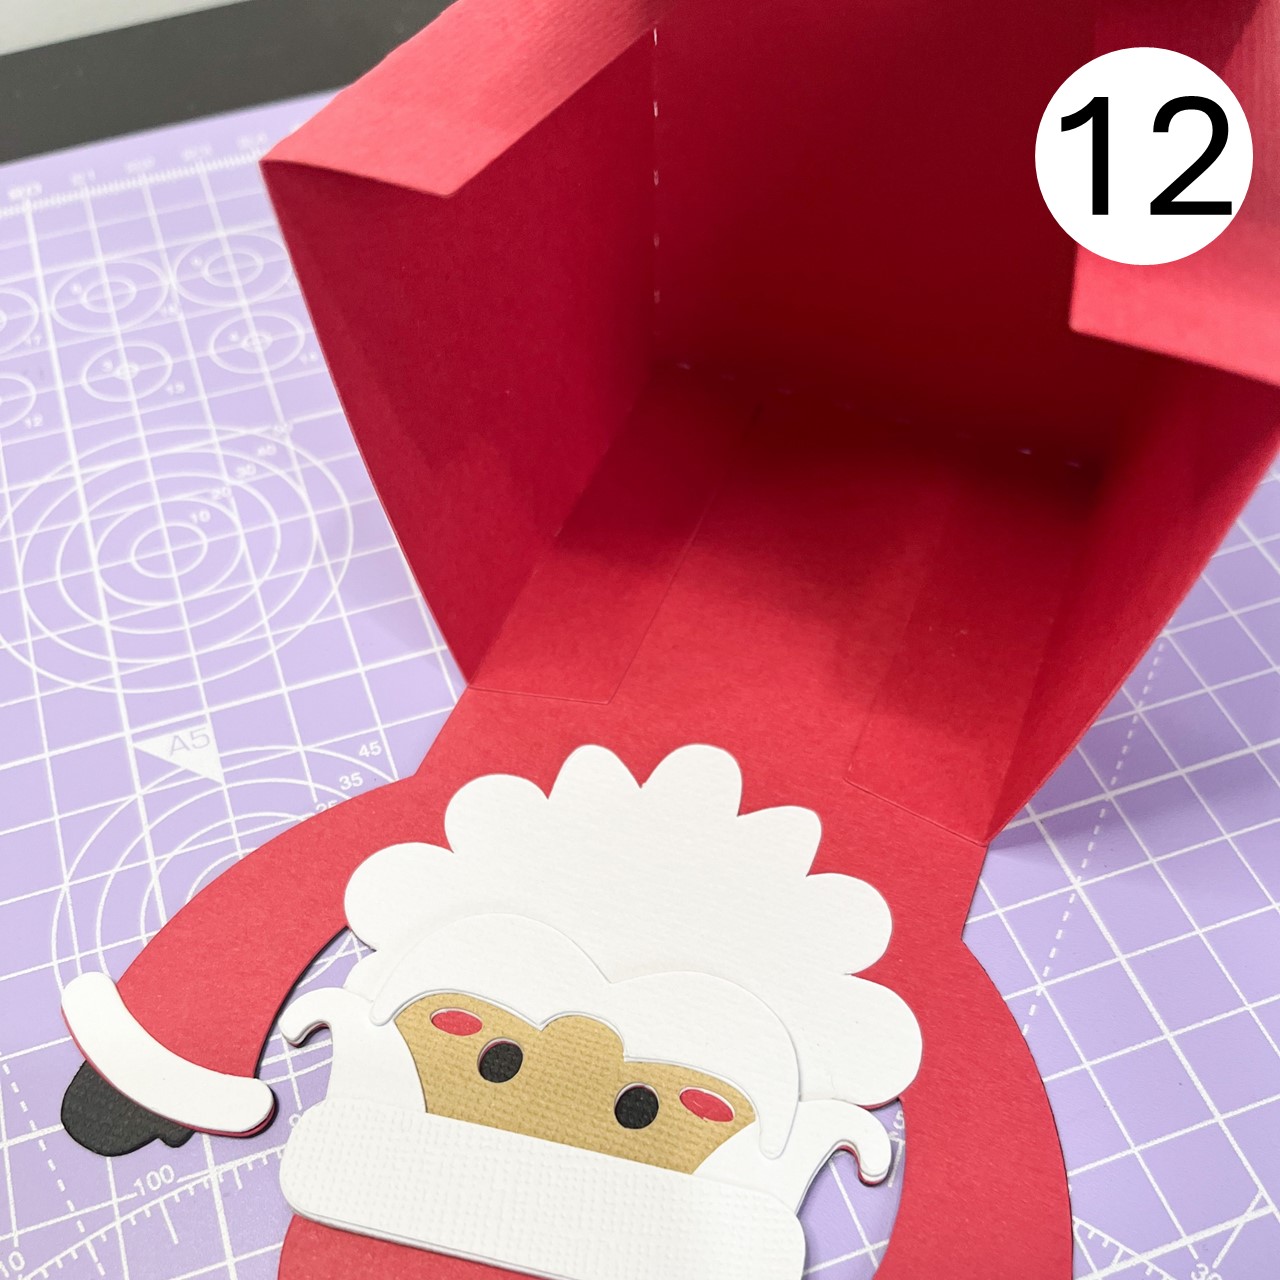
Fold the tabs upwards and stick them to Santa's body, aligning them as shown in the photo.
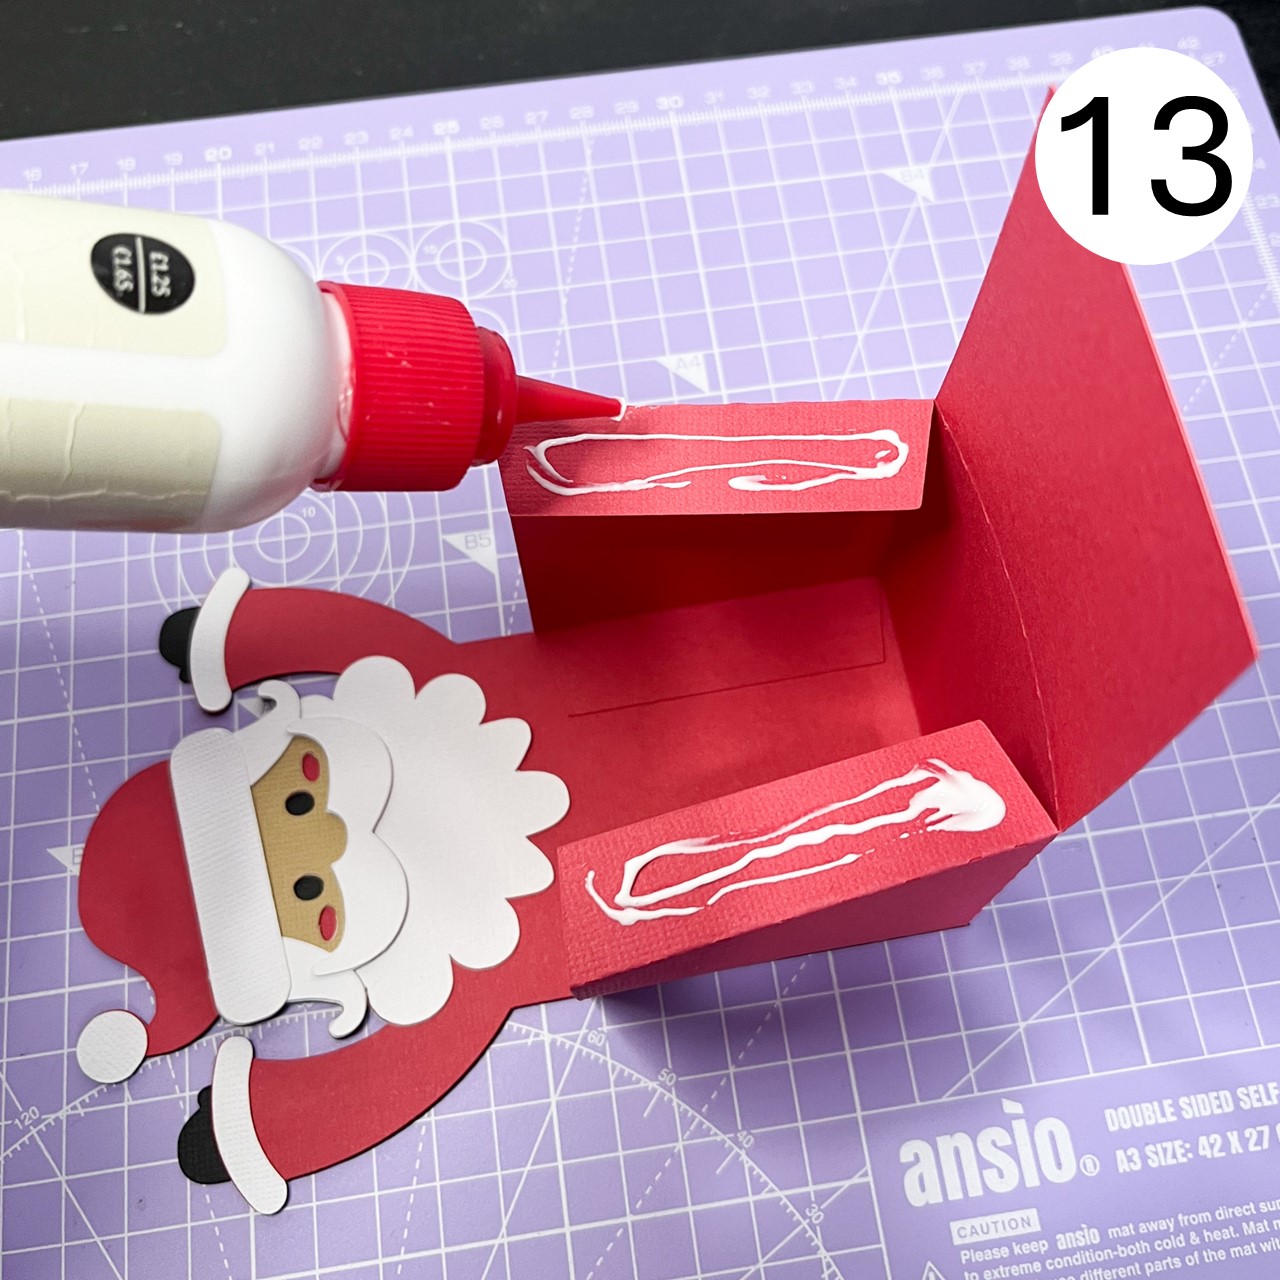
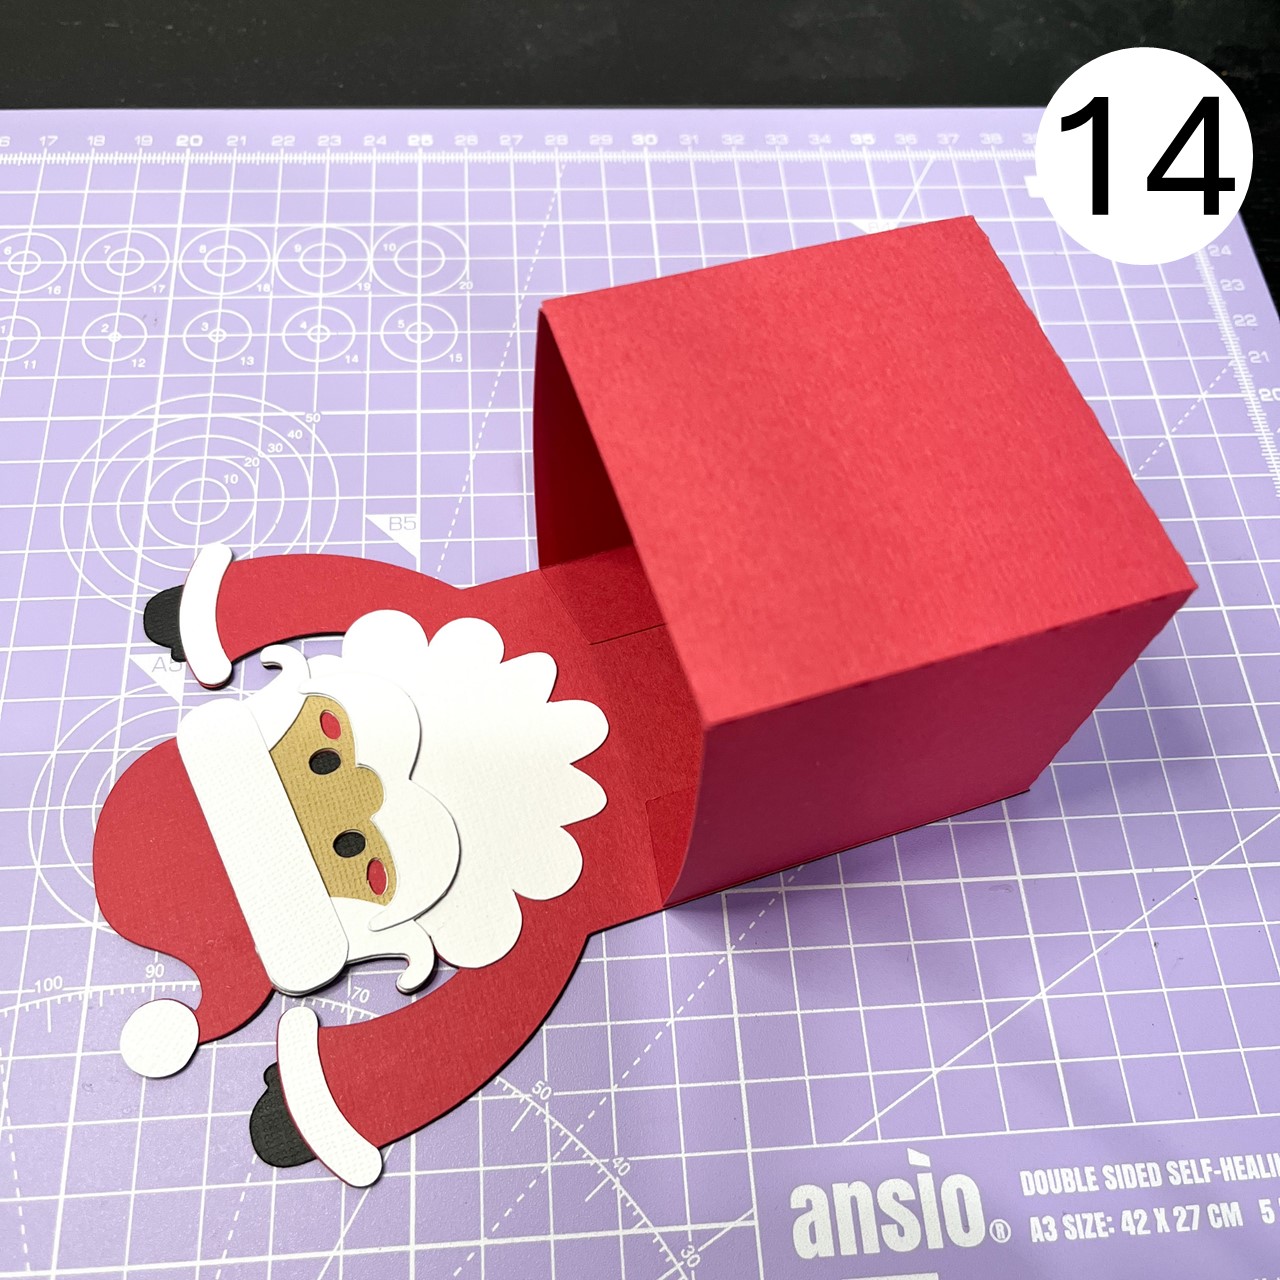
Apply glue to the remaining two tabs, as shown in the photo, ensuring even coverage.
Fold up the remaining flap of the box, securing it into place, as shown in this photo.
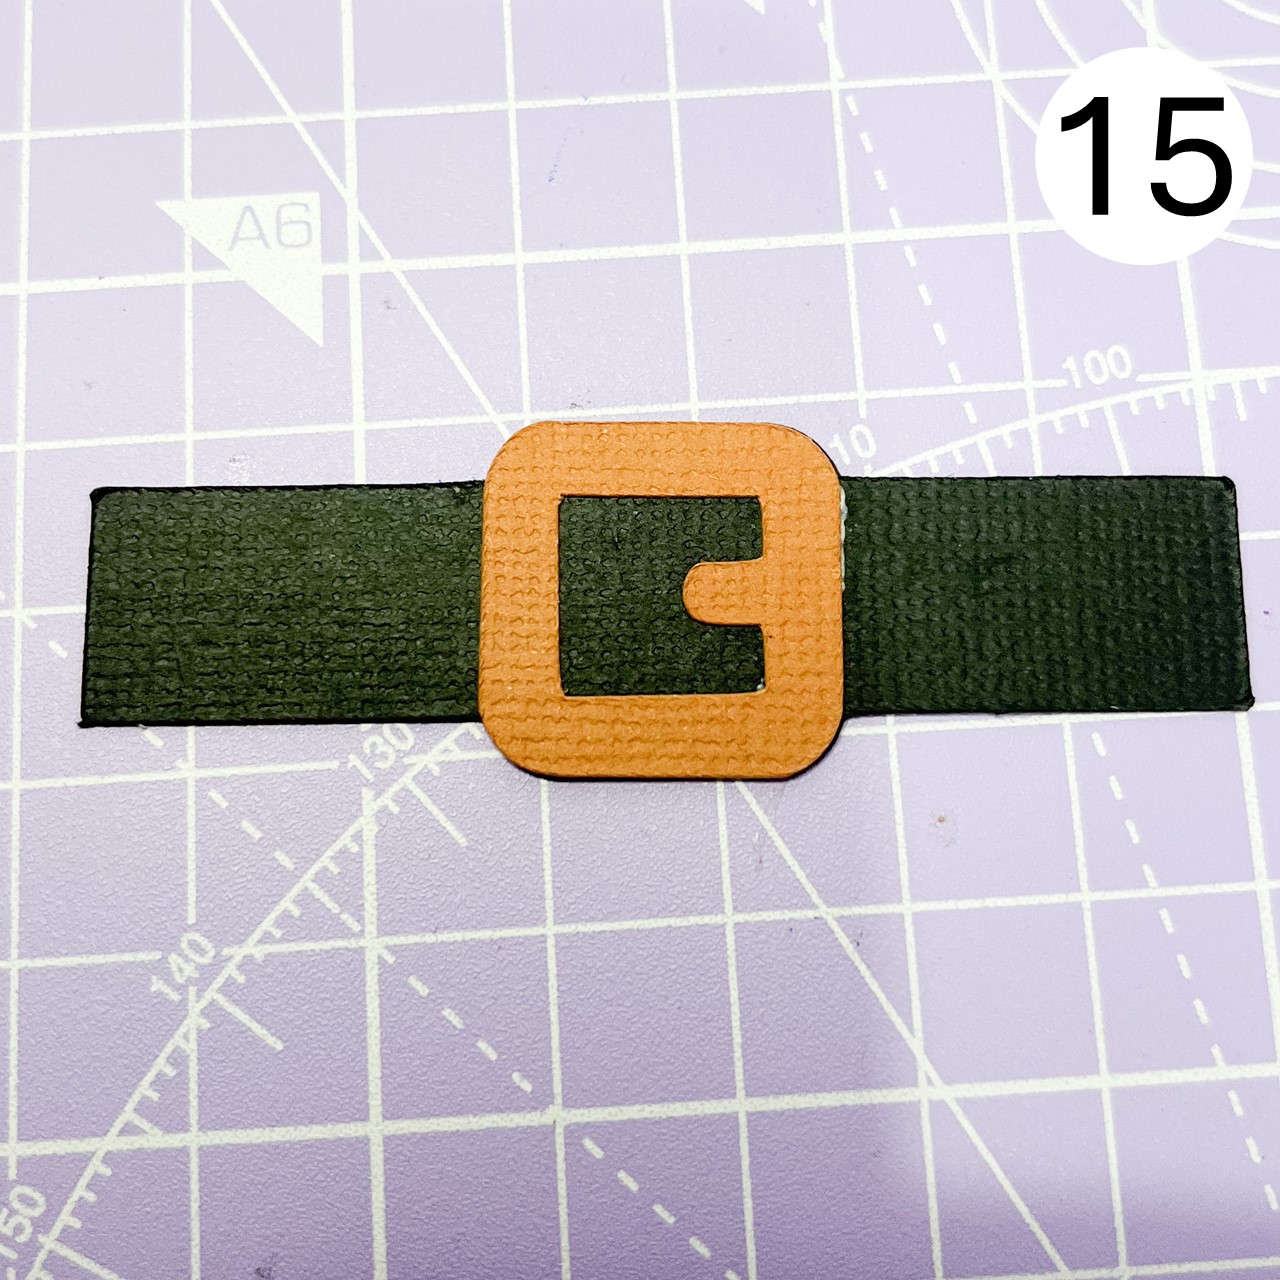
Now, let's create the belt. Glue the buckle onto the belt, positioning it neatly in the center.
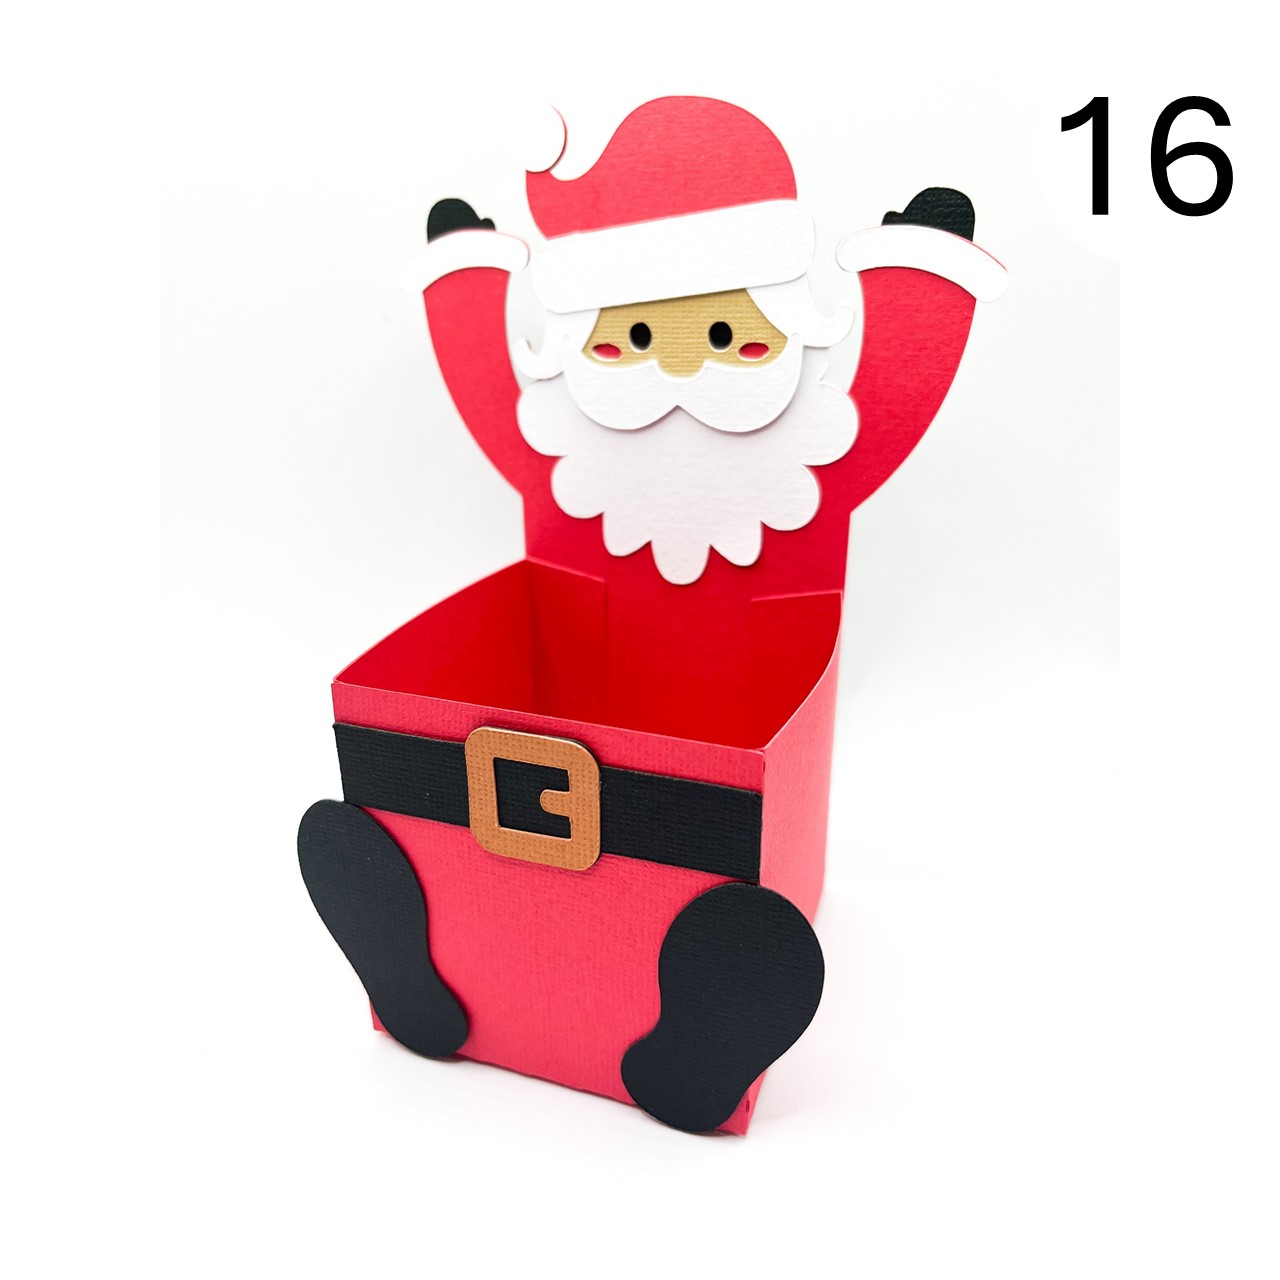
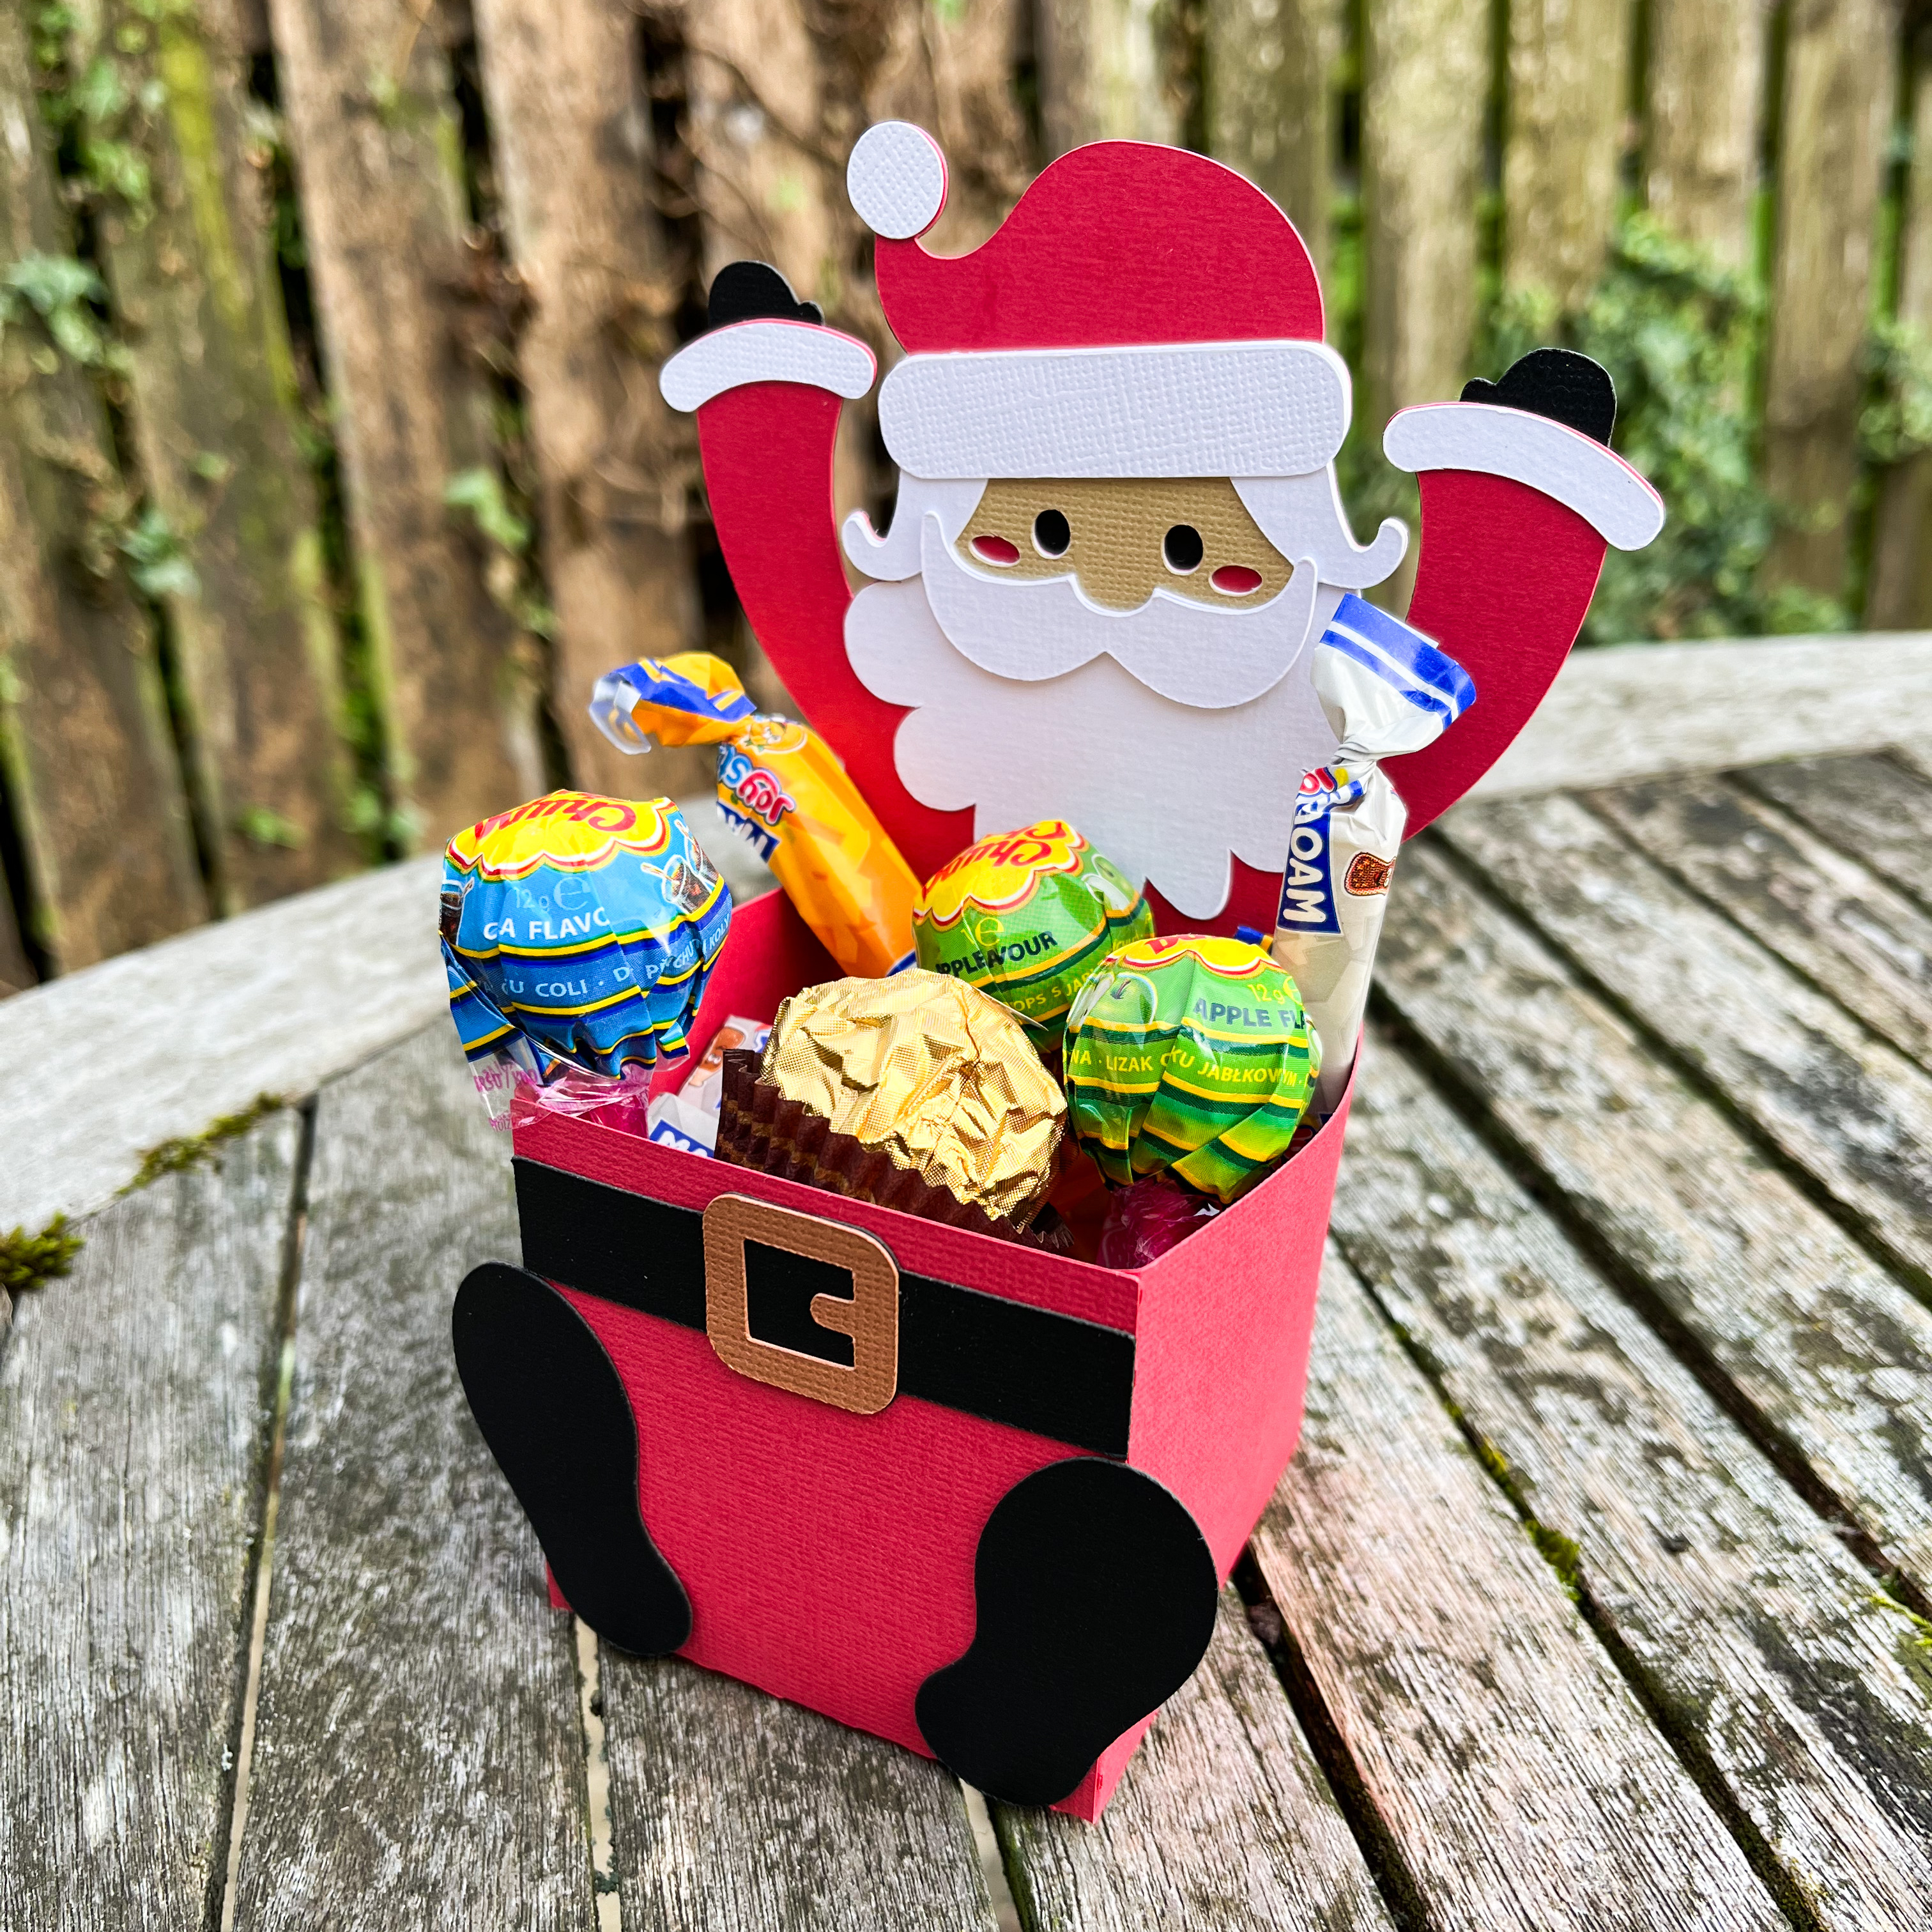
Now, glue the belt and feet onto the box, following the placement shown in the photo. Once everything is secured, your project is complete! Fill your Santa treat box with sweets or other festive goodies to enjoy.


