
Make Your Own Christmas Insert Card
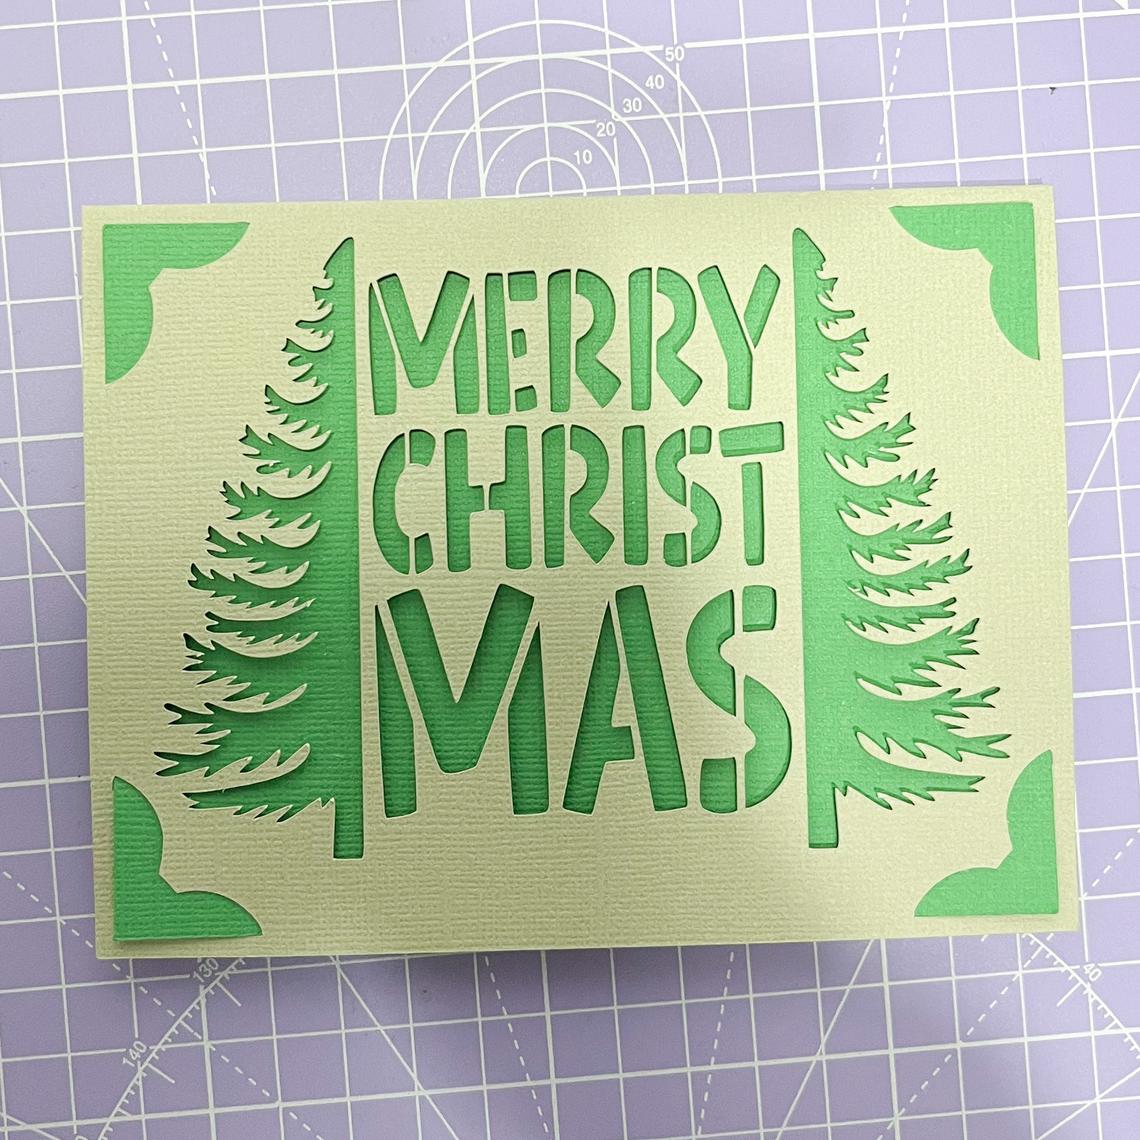
Craft a festive Christmas tree card with your Cricut, Silhouette, ScanNCut, or other electronic cutting machine! This delightful design showcases a Christmas tree, bringing a touch of holiday spirit to your loved ones. It’s perfect for sharing Christmas cheer, and sure to impress!
Download your FREE files below!
This tutorial may include affiliate links, meaning I may earn a small commission if you purchase through them—at no extra cost to you. Your support helps me continue creating helpful content for you!
Materials Needed for Your Christmas Insert Card
To craft this festive card, gather the following supplies:
Cutting Machine: A Cricut or other compatible cutting machine for precise cuts.
Cardstock: Choose cardstock in your preferred colors. I used green and grey, but feel free to pick any combination that suits your style. You may prefer to use insert card blanks if using the Cricut Joy and the card mat.
Scoring tool for the larger cutting machines.
Cutting Mat: Use a StandardGrip mat to hold your cardstock while cutting, or, if you're using a Cricut Joy, a Card Mat will work perfectly.
These essentials will help you create a beautiful holiday card ready to share with loved ones!
Download the file.
To download the file, click the link below, or use the alternative link to find the project in Cricut Access.
Preparing the File for Cutting and Scoring with a Standard Grip Mat
Follow these steps to ensure your file is ready for both cutting and scoring on a Standard Grip mat.
All SVG files are loaded as cut files by default, so you’ll need to change the score line setting to “Score” before clicking "Make It." Here's how to upload the file and adjust the settings in Cricut Design Space.
1) Download and unzip the files on your computer / device
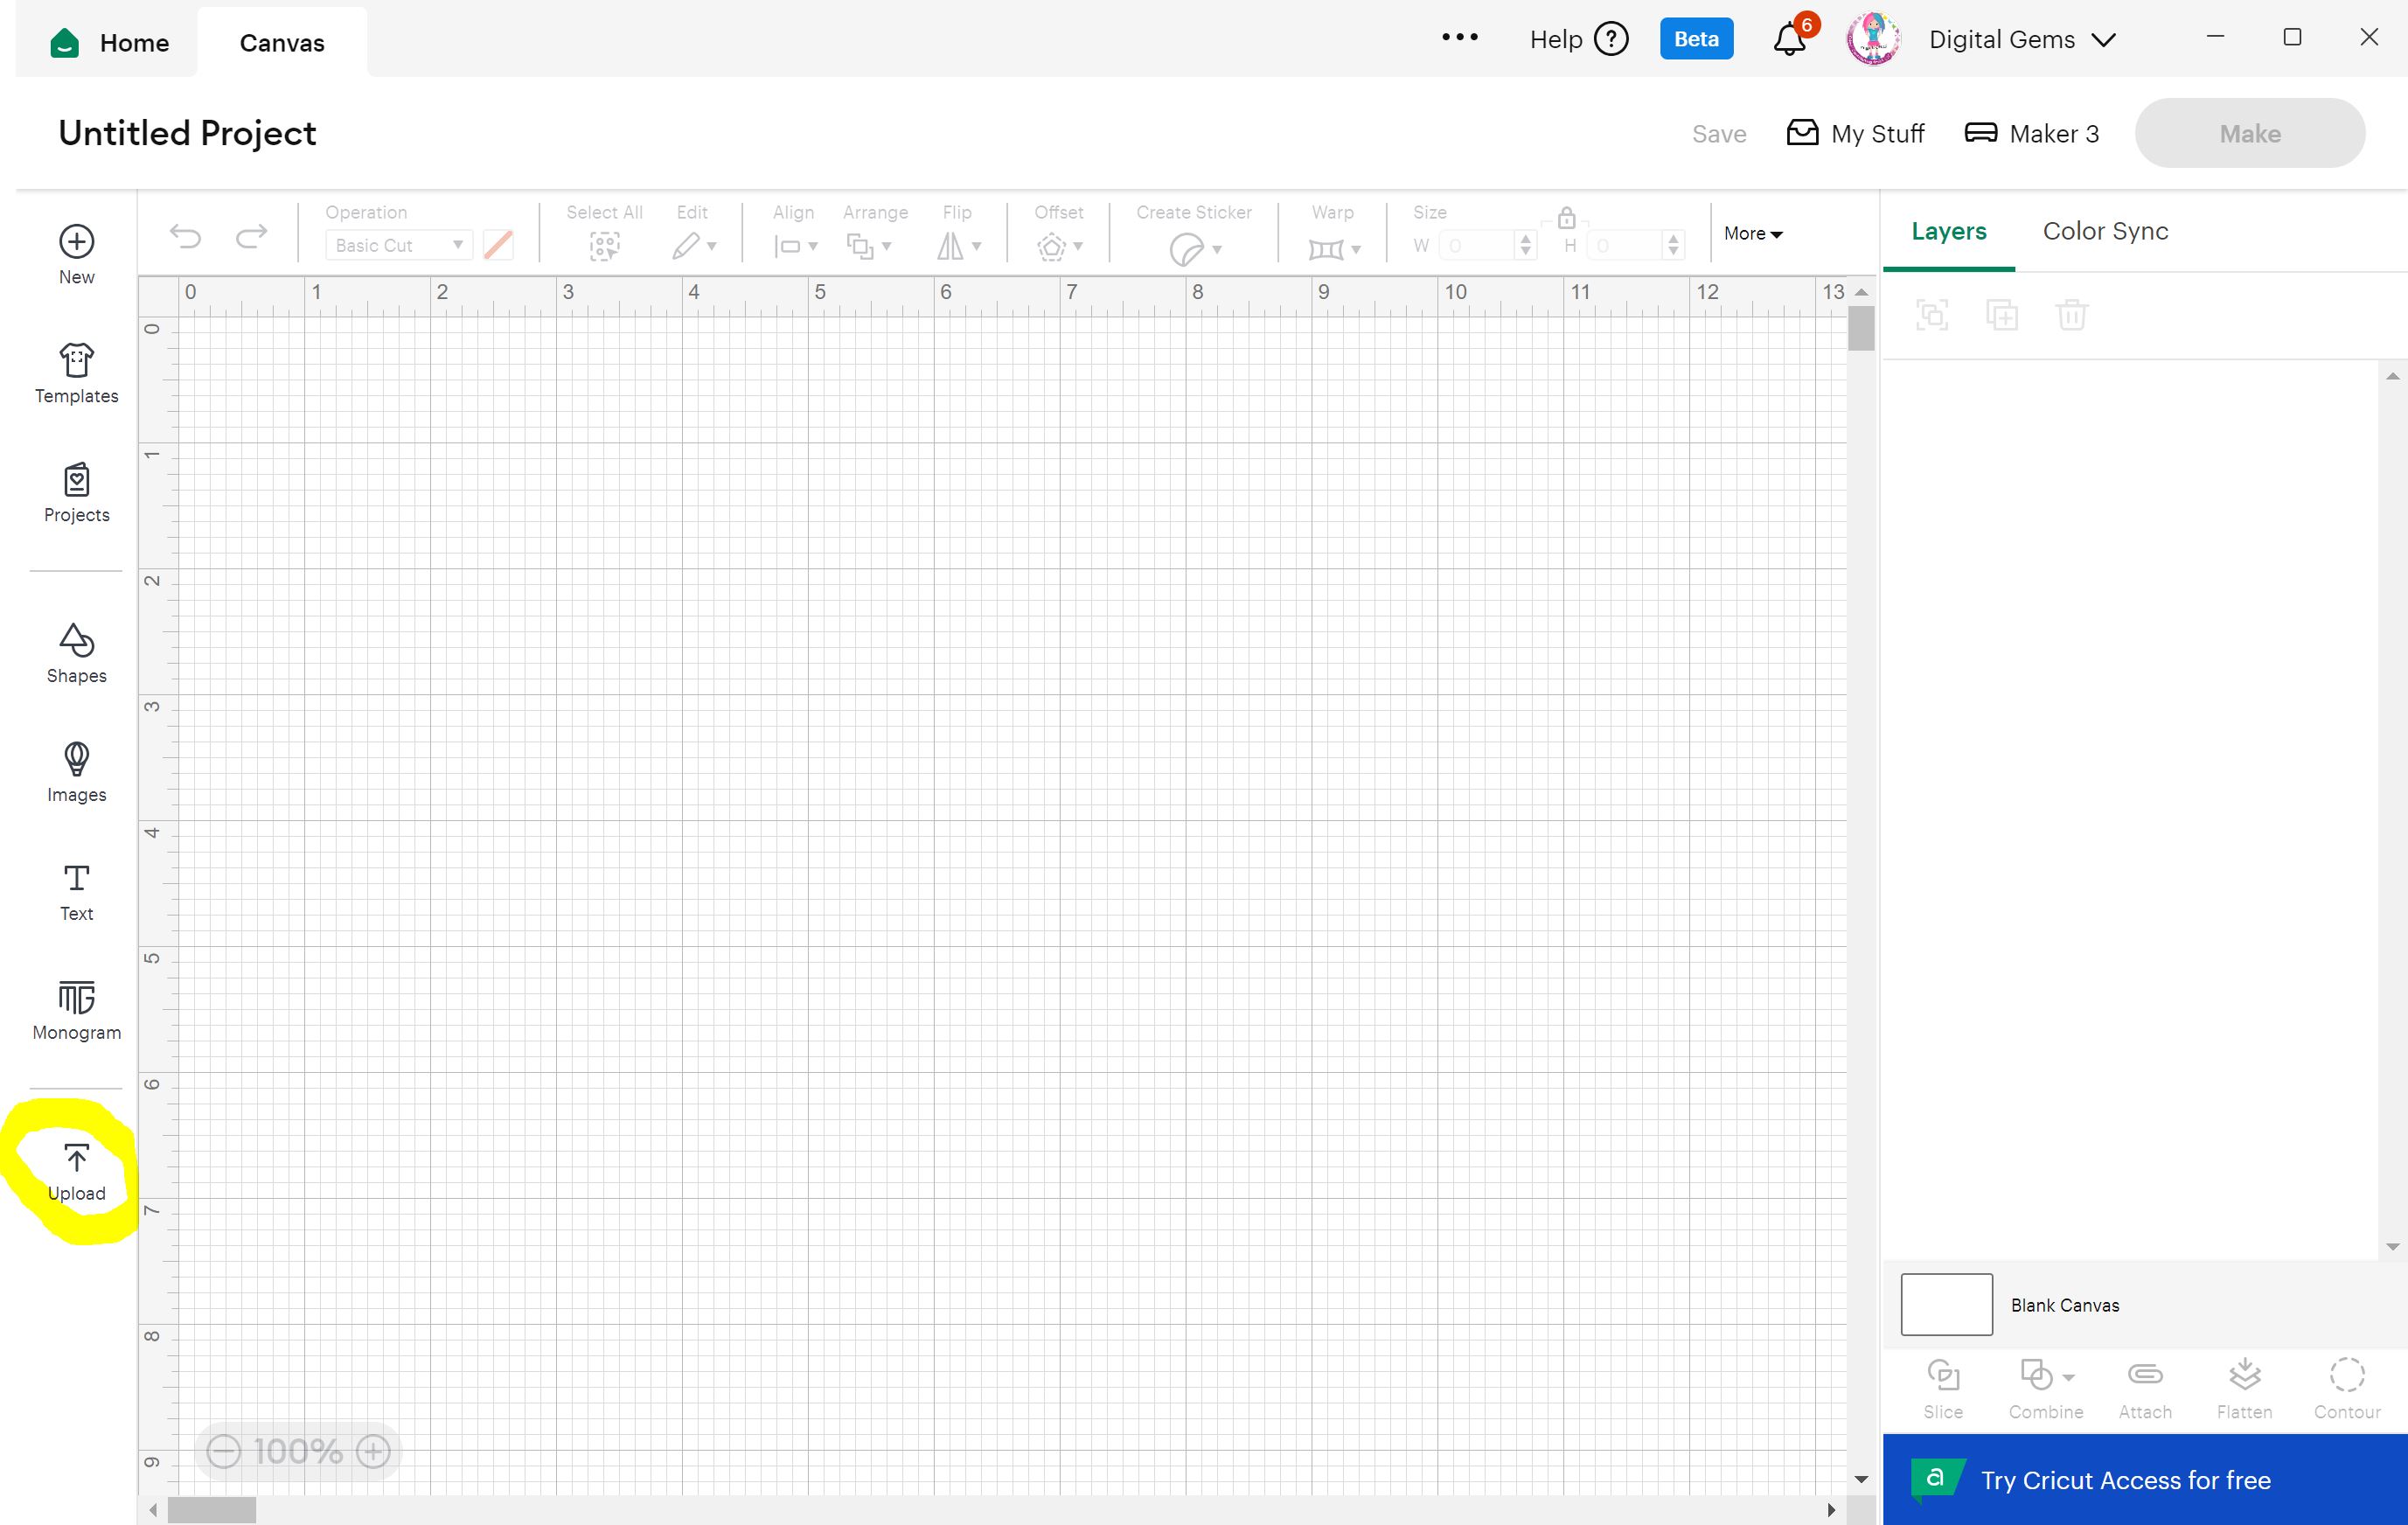
2) Go to your Cricut canvas and click upload.
3) Select the Cricut Explore and Maker SVG from your downloads and upload it onto your Cricut canvas
4) Select the design, right click it, and select ungroup.
5) Select the top two layers and change the cut setting to the pen setting and choose your pen colours.
6) Select the top 3 layers and attach them.
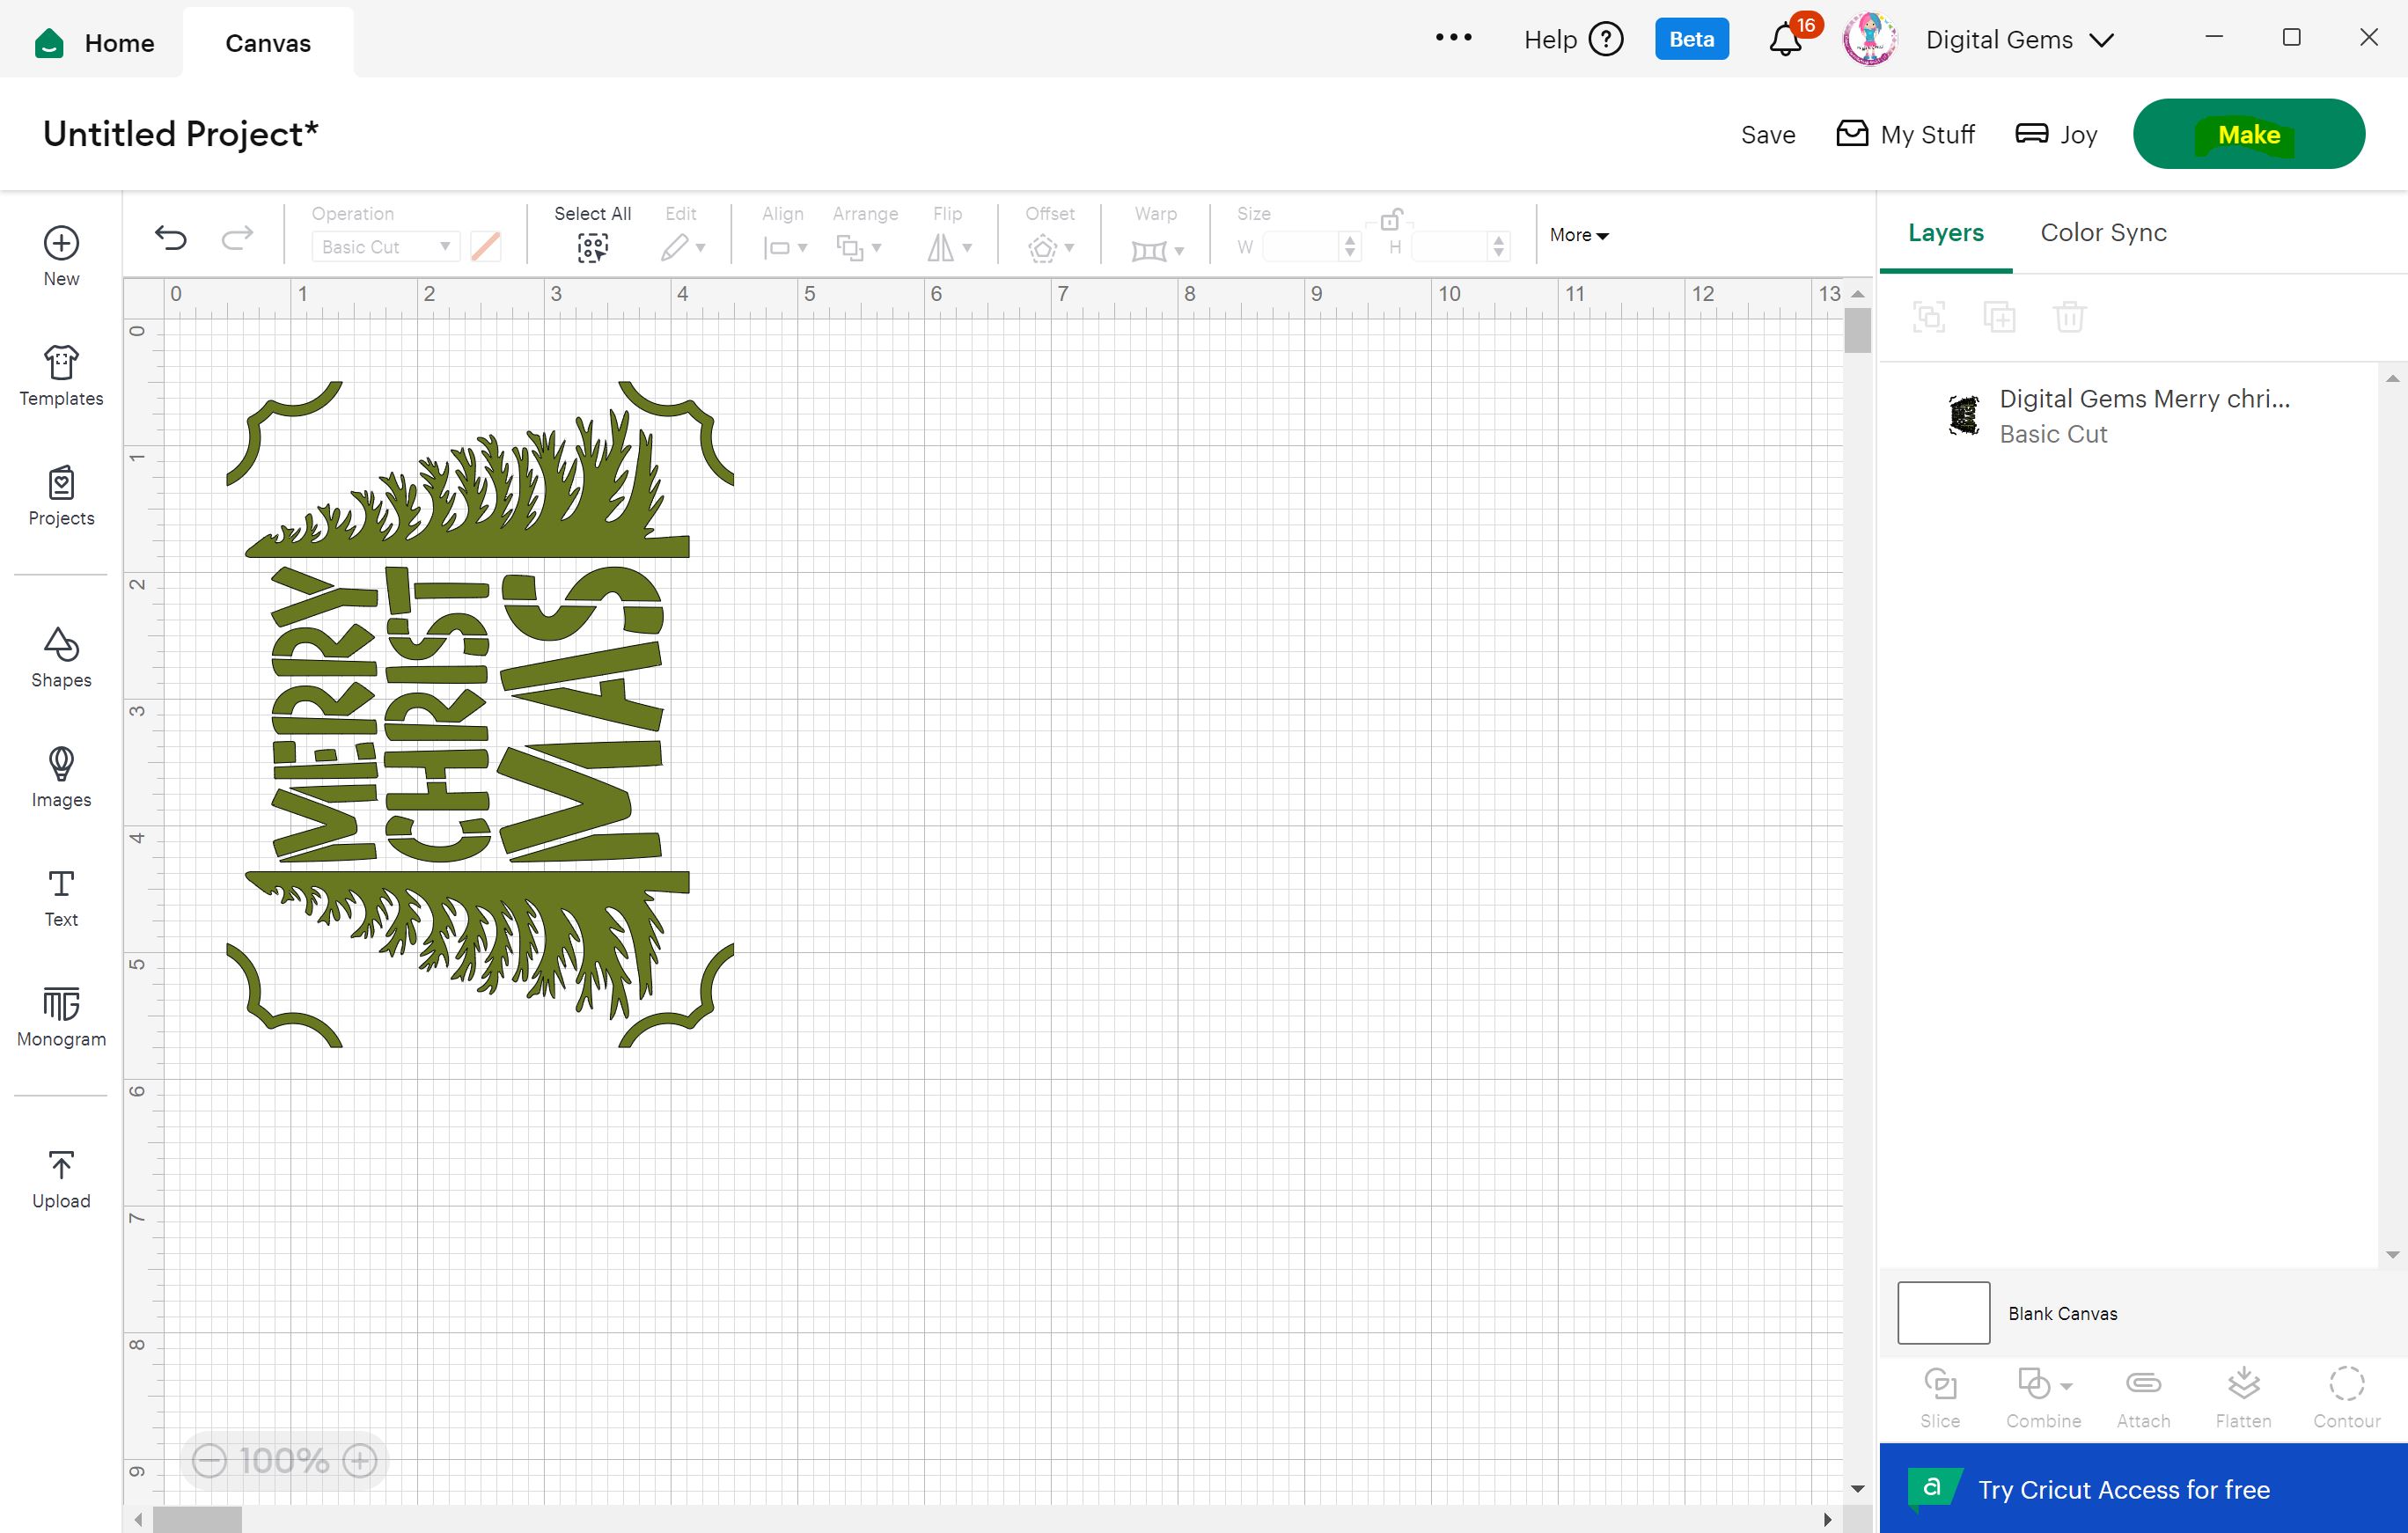
7) Click make it, and cut your card stock pieces out.


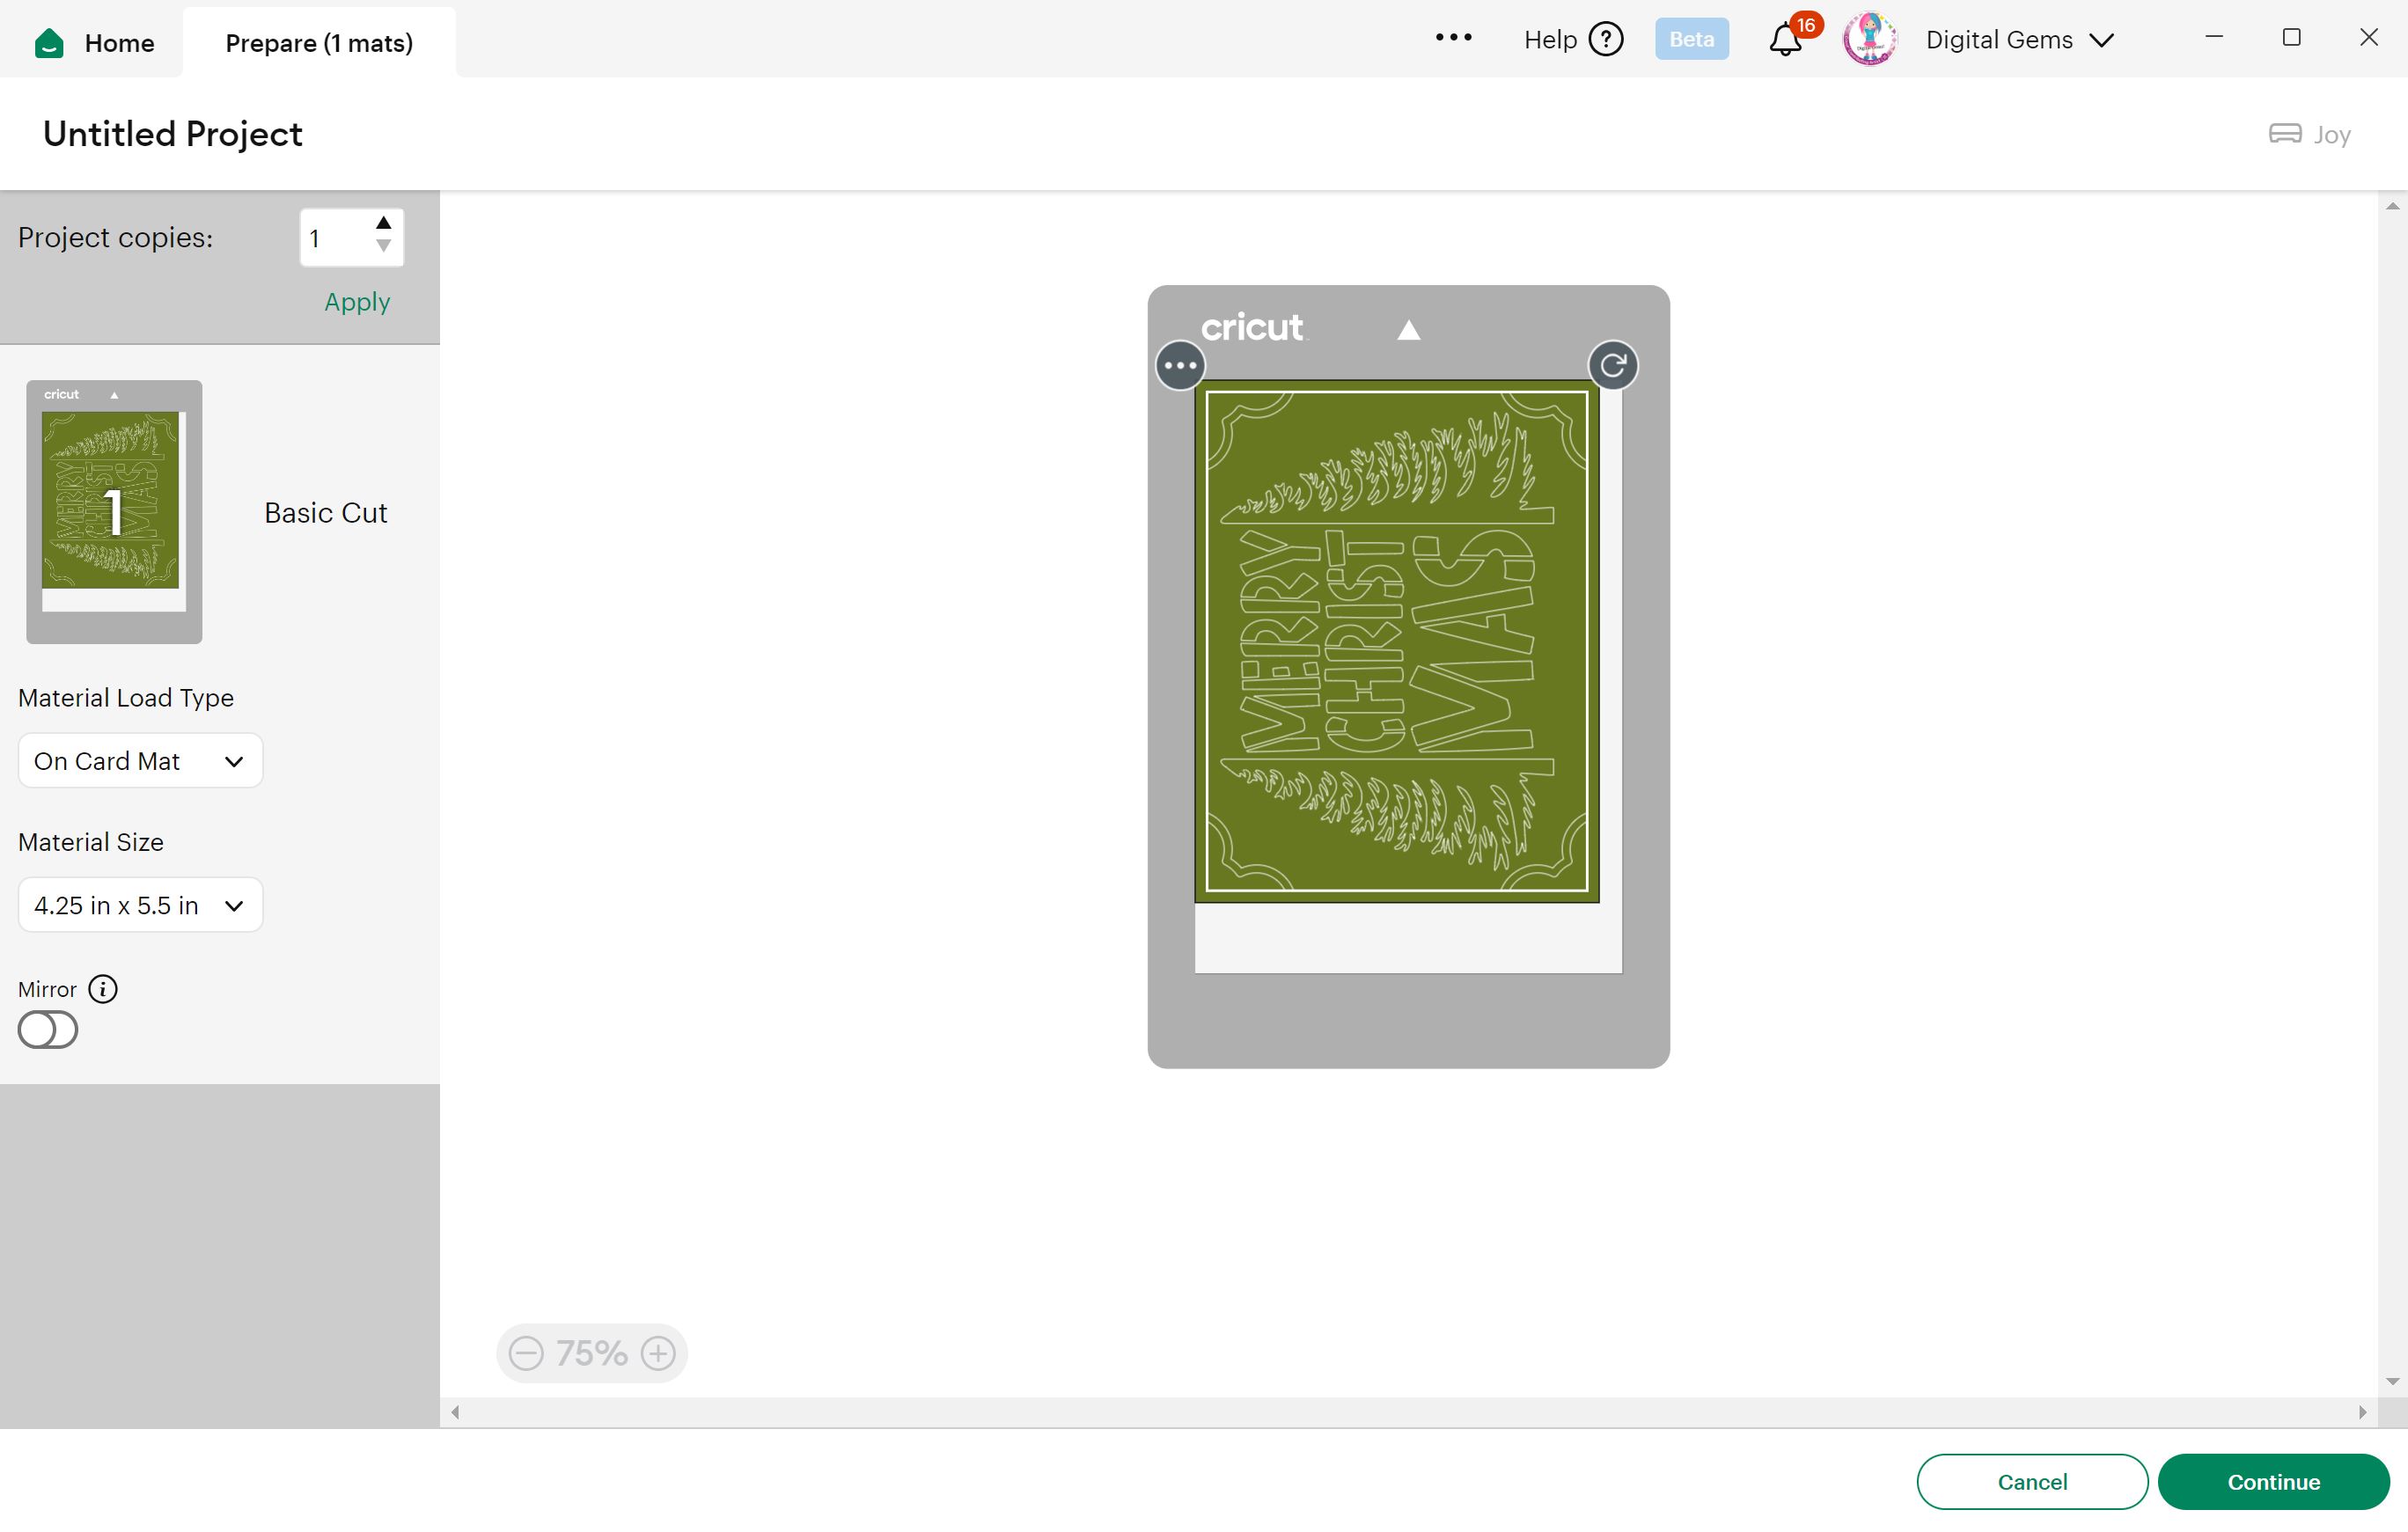
Preparing the File for Cutting on the Cricut Joy using the card mat.
1) Download and unzip the files on your computer / device
2) Go to your Cricut canvas and click upload.
3) Select the Cricut Joy SVG from your downloaded files and upload it onto your Cricut canvas
7) Click make it, select the card mat, and cut your card stock pieces out on the 4.25 x 5.5 inch card blanks.



Assembly
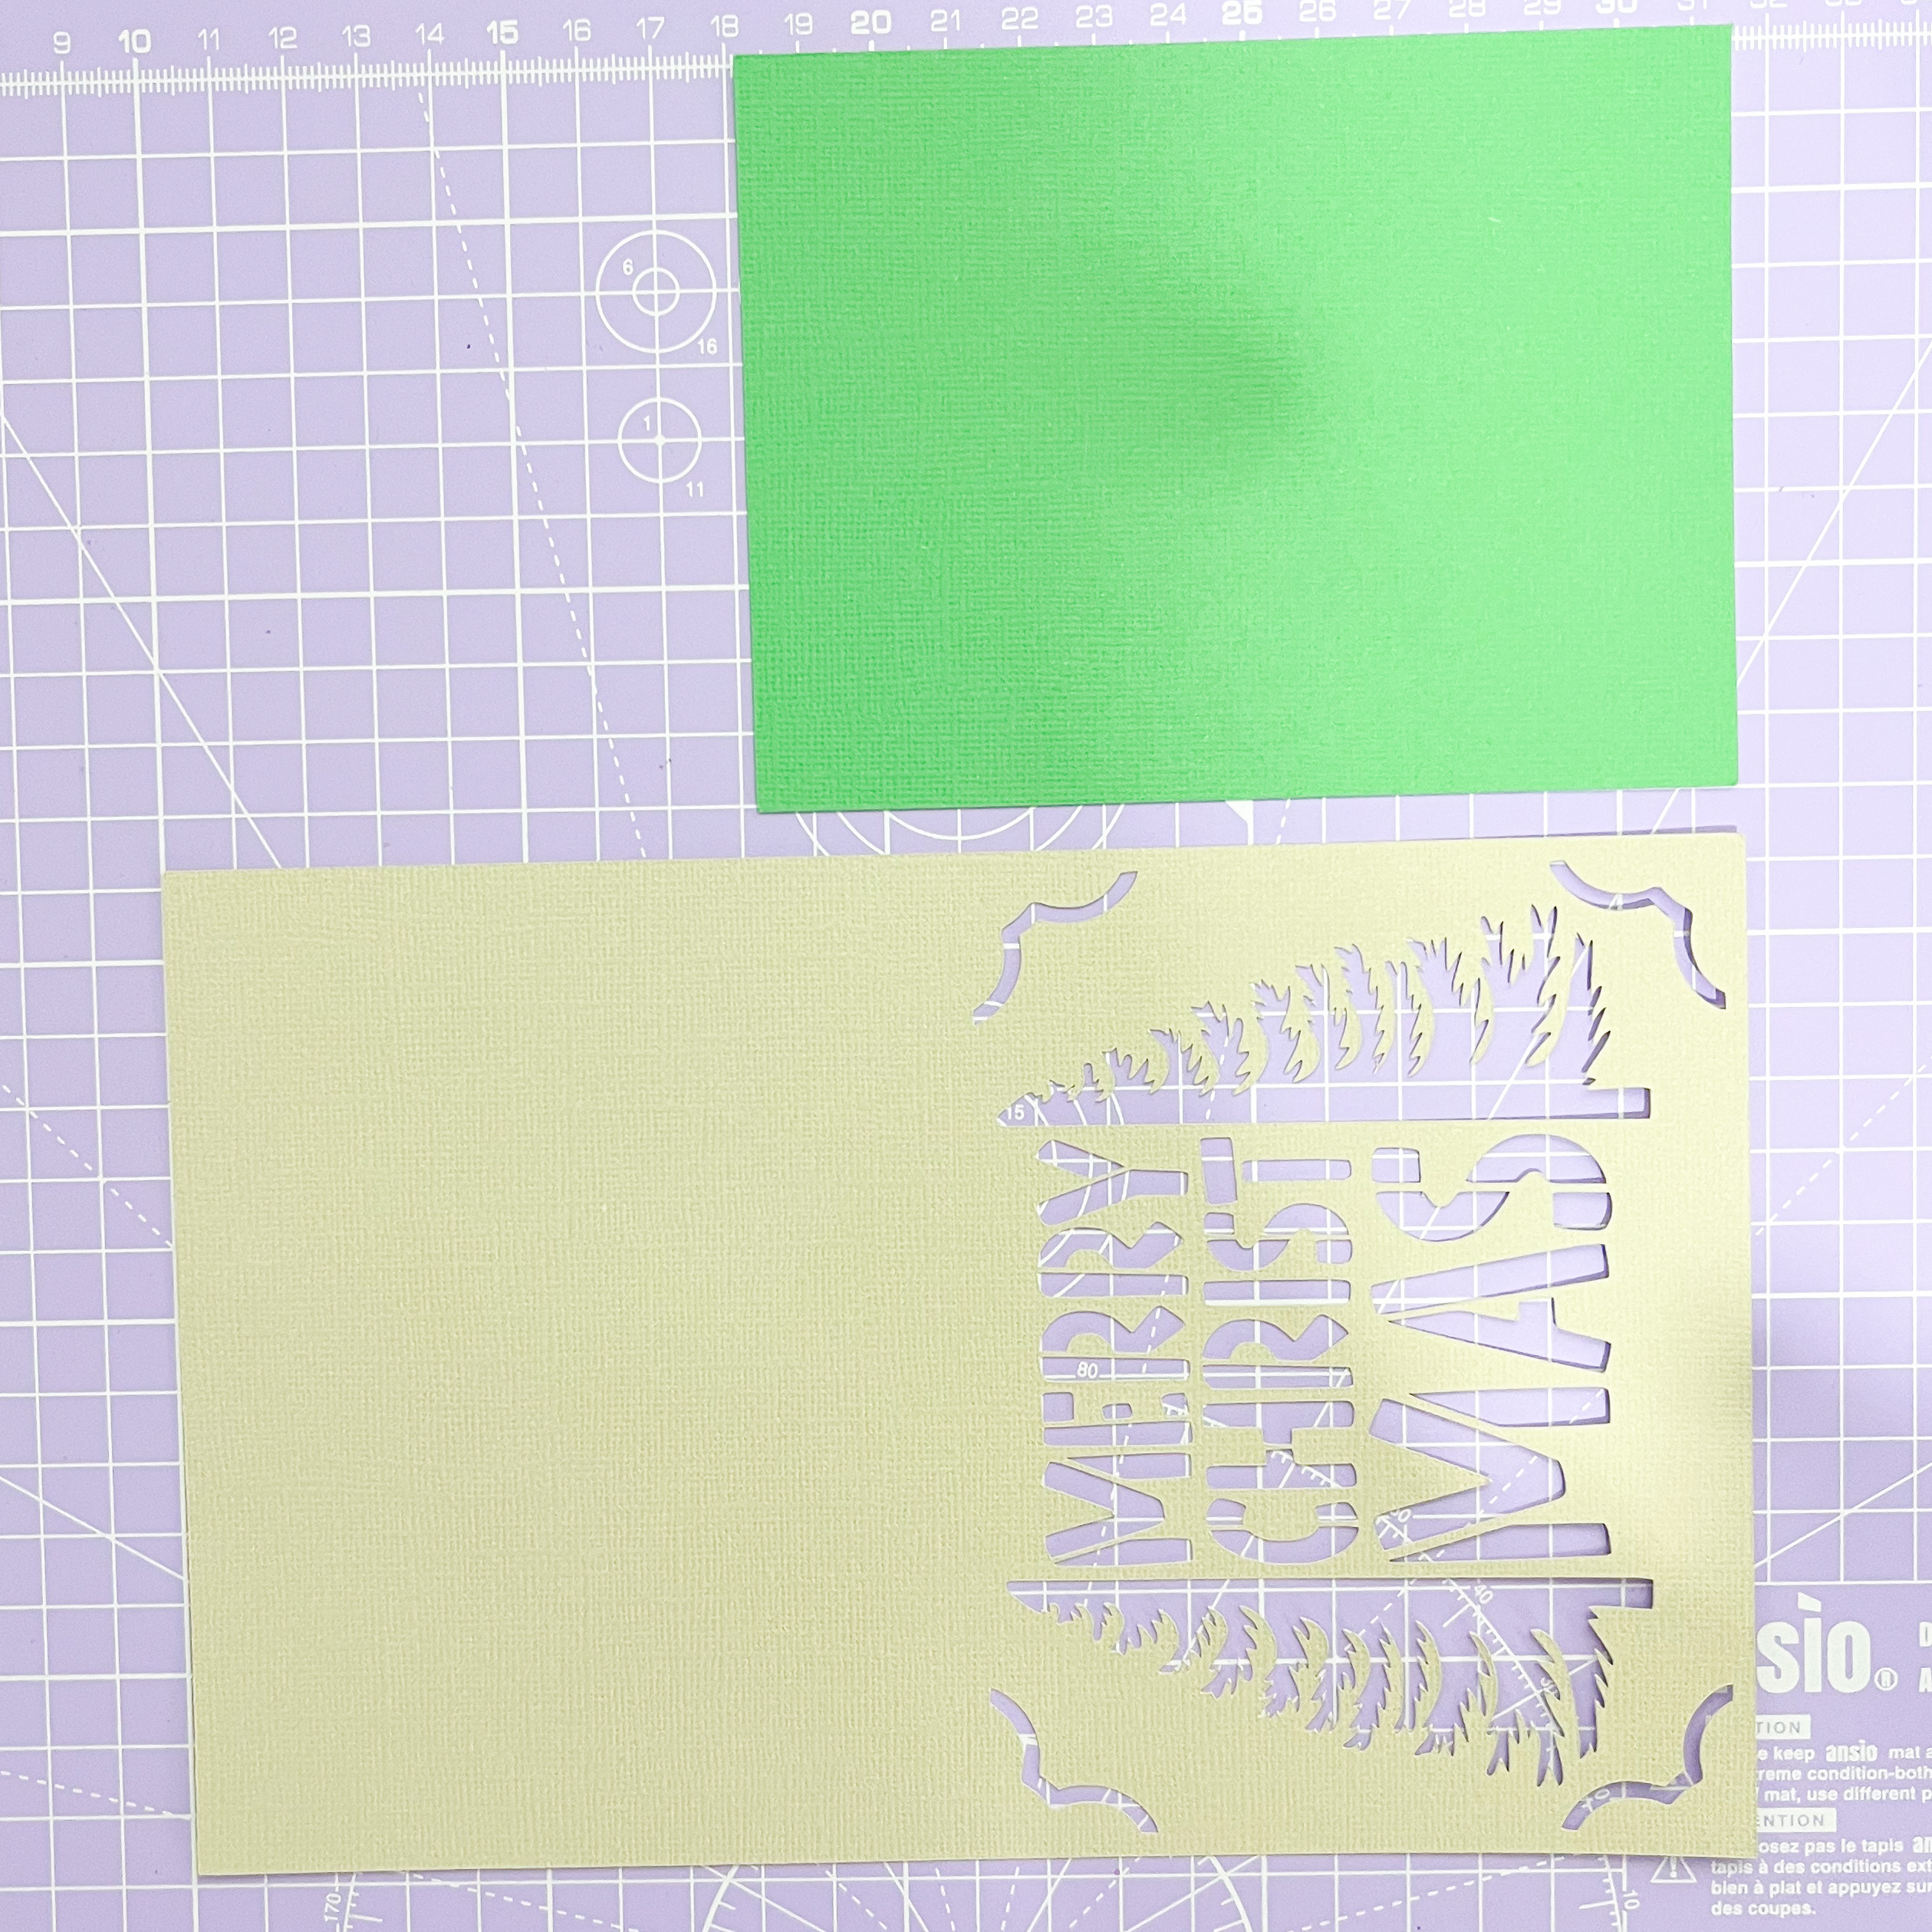
Your card stock will cut out in two pieces, the card base and insert card.
Flip your card base over and slide the insert card into the four pre-cut slits, as shown in the photo. This simple step securely holds the insert in place, giving your card a clean, professional finish without the need for glue or adhesives.
Fold the card base in half and your card is now complete!
